
Introduction to Classic No-Bake Cookies
Why No-Bake Cookies Are a Game-Changer for Busy Professionals
In today's fast-paced world, we often find ourselves juggling work, social commitments, and personal time, leaving little room for elaborate baking adventures. That’s where classic no-bake cookies come to the rescue. These delightful treats are not only quick to prepare—taking just about 20 minutes to whip up—but also require only a handful of simple ingredients like peanut butter, oats, and cocoa powder.
Imagine coming home from a hectic day, and within minutes, you can indulge in a sweet chocolatey bite without ever turning on the oven. For busy professionals, this is a dream come true. According to a recent survey by the American Institute for Cancer Research, convenience has become a major factor in cooking and baking choices. So why not opt for something that marries speed with deliciousness?
No-bake cookies also allow for creativity; you can mix in your favorite ingredients or try variations based on what's available. Want to sneak in some chia seeds or swap in almond butter? Go for it! With classic no-bake cookies, the culinary world is your oyster. You’ll see that whipping up a batch can be a satisfying way to add a homemade touch to your busy life.
Ingredients for Classic No-Bake Cookies
Essential ingredients you'll need
Creating these classic no-bake cookies is a breeze, thanks to their simple and accessible ingredients. Here’s what you’ll need:
- ½ cup (115 grams) butter
- 2 cups (400 grams) granulated sugar
- ½ cup (120 ml) milk
- ¼ cup (20 grams) unsweetened cocoa powder
- ½ cup (125 grams) creamy peanut butter
- 1 teaspoon pure vanilla extract
- 3 cups (300 grams) quick-cooking oats
These ingredients come together to form a deliciously rich treat that packs a punch of flavor and texture.
Possible substitutions for dietary preferences
No problem if you have dietary restrictions! Here are some easy swaps to keep in mind:
- Butter: Replace it with coconut oil for a dairy-free option.
- Granulated sugar: Use coconut sugar or a sugar substitute like stevia for a healthier twist.
- Peanut butter: Opt for any nut or seed butter, such as almond or sunflower seed butter, if allergies are a concern.
These alternatives mean everyone can enjoy your classic no-bake cookies! For more insight on ingredient substitutions, check out this helpful guide.
Step-by-Step Preparation of Classic No-Bake Cookies
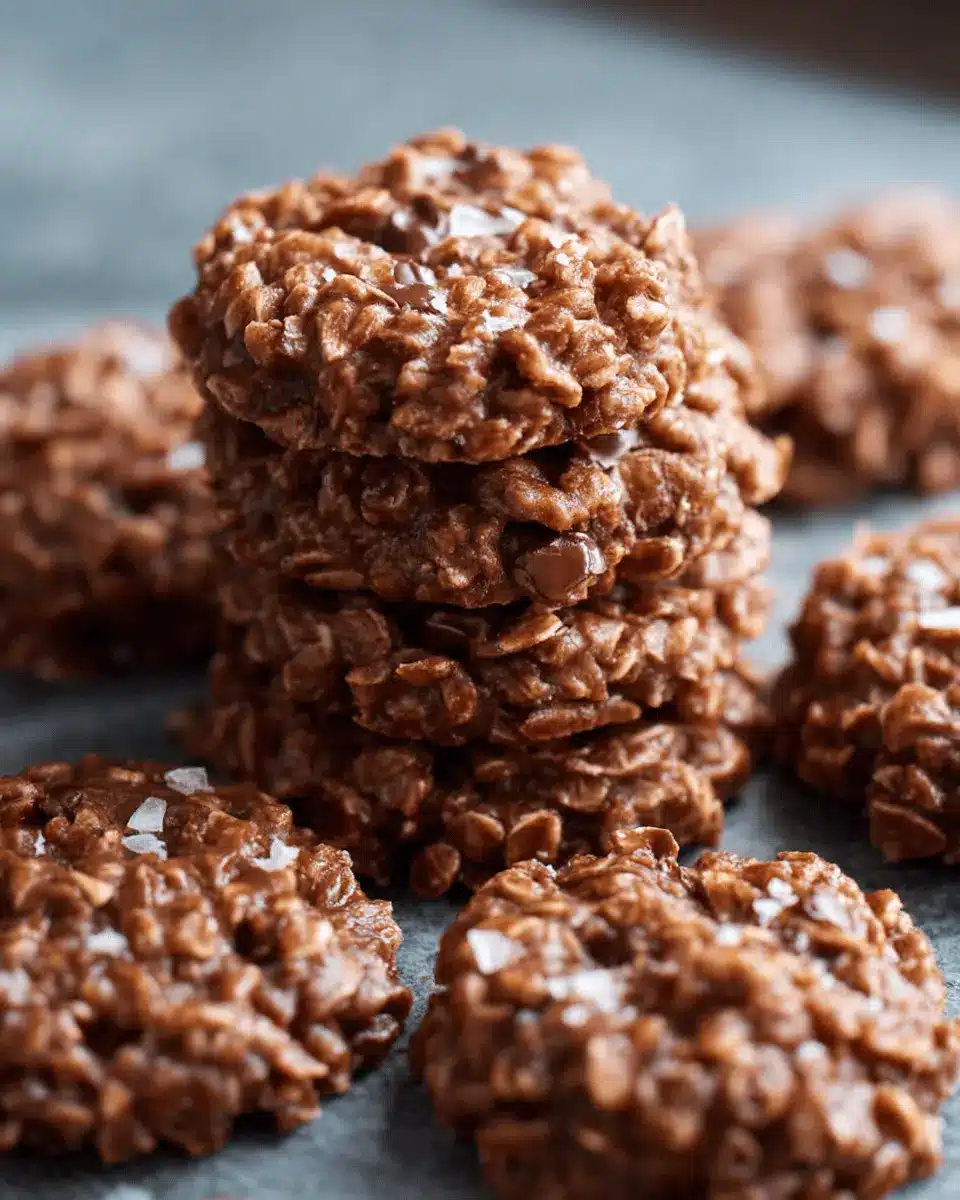
Making classic no-bake cookies is a breeze and perfect for when you want something delicious without turning on the oven. Here’s a friendly guide that breaks down the process for you, ensuring your cookies turn out delectable every time.
Gather Your Ingredients
Before diving into the fun part, it’s essential to gather all your ingredients. Here’s what you'll need:
- ½ cup (115 grams) butter, sliced into pieces
- 2 cups (400 grams) granulated sugar
- ½ cup (120 ml) milk
- ¼ cup (20 grams) unsweetened cocoa powder
- ½ cup (125 grams) creamy peanut butter
- 1 teaspoon pure vanilla extract
- 3 cups (300 grams) quick-cooking oats
Make sure to measure everything out in advance! It'll save time later and make the cooking process feel seamless. Also, line two large baking sheets with parchment paper to prepare for the cookies.
Melt and Combine the Base Ingredients
In a large saucepan, combine the butter, sugar, milk, and cocoa powder over medium heat. Stir frequently to ensure everything melts together. You'll want to keep an eye on it and bring the mixture to a rolling boil. Set a timer for 60 seconds to let it boil, which helps create that perfect fudgy texture. This crucial step is where the magic begins –make sure not to skip it!
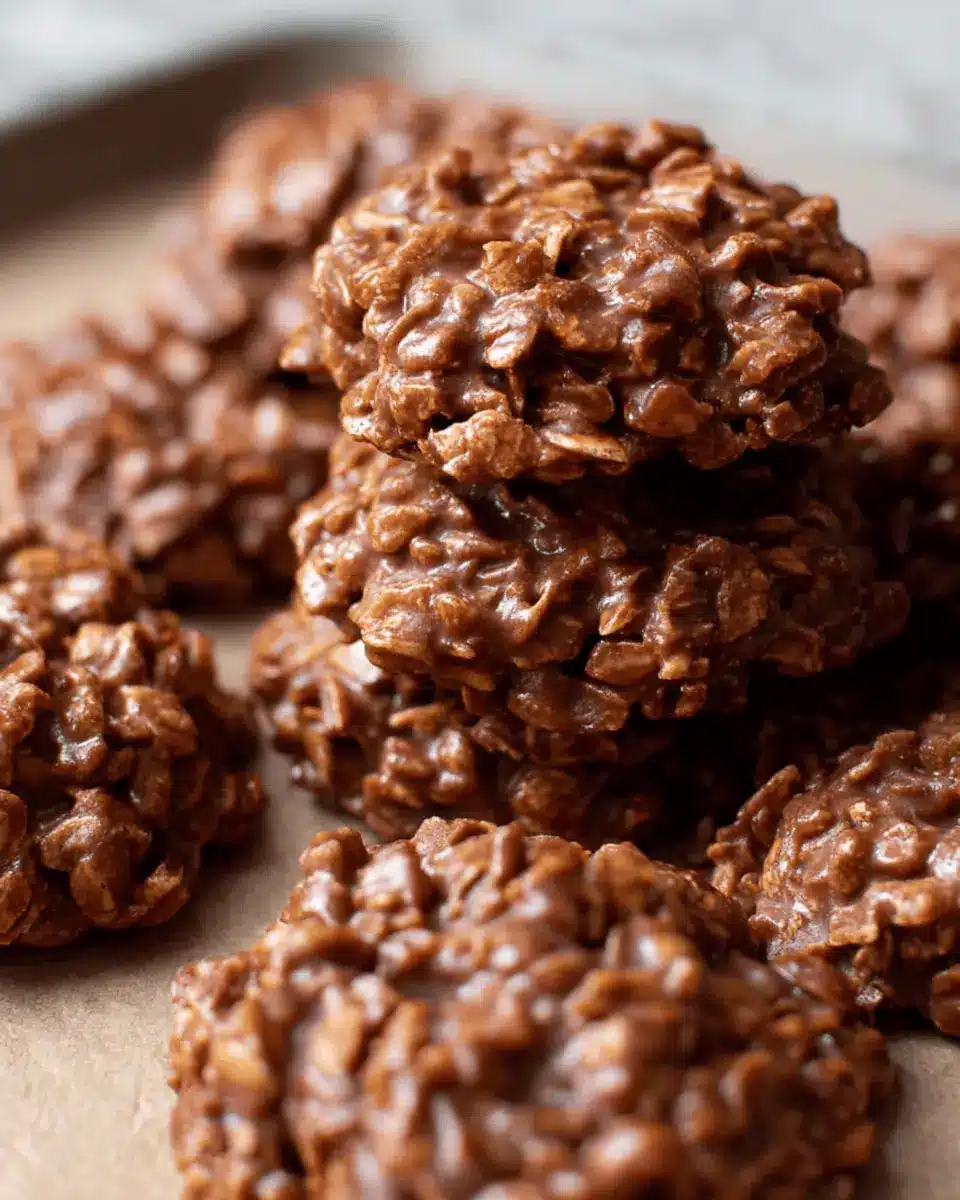
Mix in the Peanut Butter and Oats
After your mixture has beautifully boiled for a minute, remove it from the heat. Stir in the creamy peanut butter and vanilla extract, mixing until fully incorporated. The rich aroma will have you excited already! Now, it’s time to add the oats. Pour them in and use a spatula or spoon to combine thoroughly. Every oat should be coated in that luscious chocolate and peanut butter mixture.
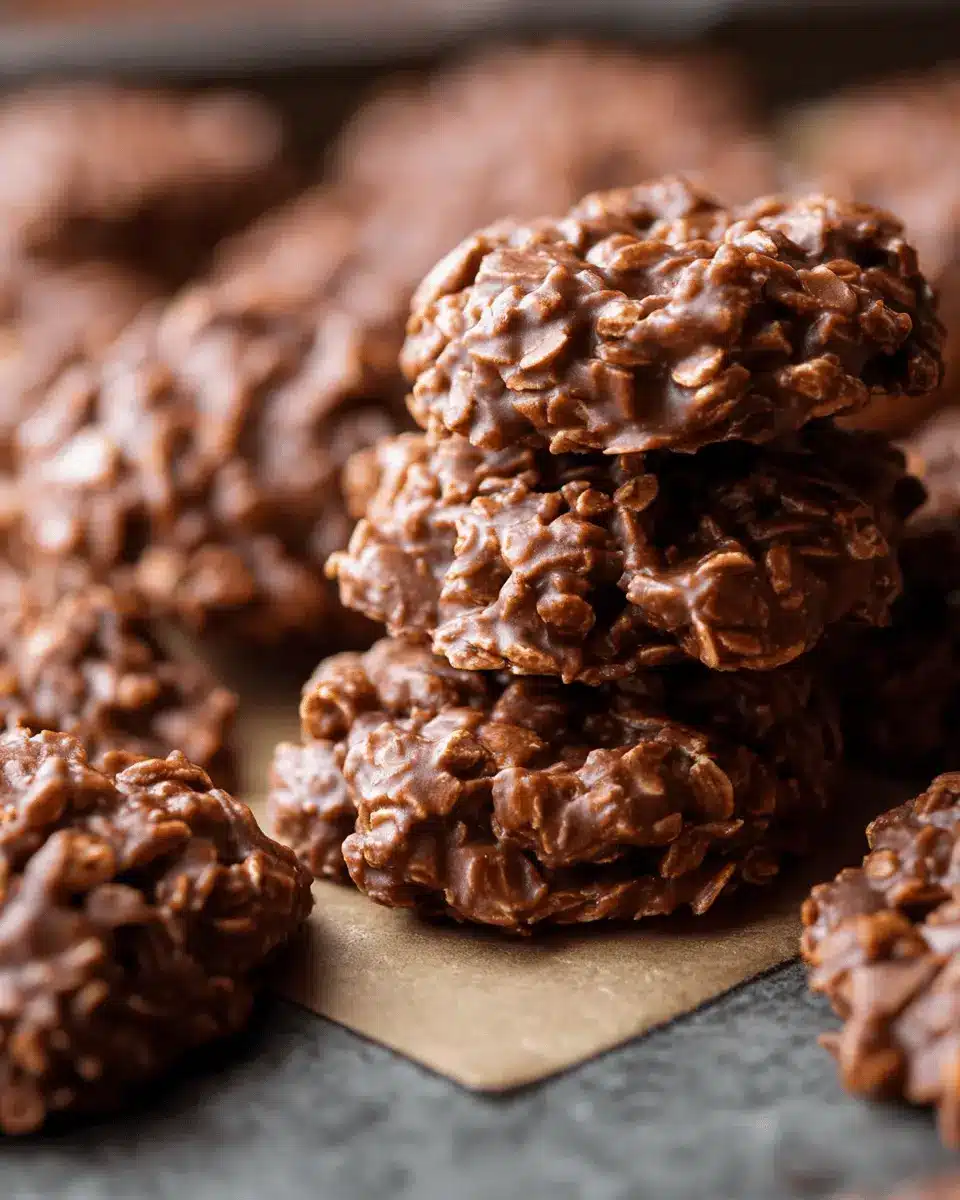
Drop Spoonfuls onto Parchment Paper
Using a cookie scoop or tablespoon, drop generous spoonfuls of the mixture onto your prepared parchment-lined baking sheets. Don’t worry about perfect shapes; these cookies have a charming homemade look. Just keep a bit of space between each cookie, as they may spread slightly as they cool!
Allow Cookies to Cool and Set
Let your classic no-bake cookies rest at room temperature for about 20 to 30 minutes. This waiting game allows them to cool and set perfectly. Once they reach that soft yet firm texture, you can dig in!
For serving and enjoying, consider pairing these cookies with a glass of cold milk or a cup of your favorite herbal tea.
Remember, no-bake cookies are all about enjoyment without the hassle, so have fun with this process! And don’t forget to check out resources like FoodNetwork for more creative twists on your favorite treats!
Variations on Classic No-Bake Cookies
No-bake cookies are a delicious and versatile treat that can be easily customized to suit different diets and preferences. Here are some variations to inspire your next batch!
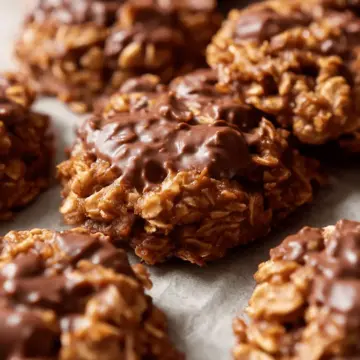
Chocolate Chip No-Bake Cookies
If you can’t resist the allure of chocolate chip cookies, you're in for a treat! To make chocolate chip no-bake cookies, simply stir in a cup of semi-sweet chocolate chips along with the oats. The gooey chocolate complements the peanut butter perfectly, giving you a delightful twist on the classic no-bake cookies.
Vegan No-Bake Cookies
For a plant-based option, just substitute the butter with coconut oil and use almond milk in place of regular milk. Replace the creamy peanut butter with any nut or seed butter of your choice to create vegan no-bake cookies that are just as satisfying. Feel free to add chopped nuts or seeds for added crunch.
For more baking tips, check out Minimalist Baker's excellent blog for vegan desserts that don’t skimp on flavor!
Cooking Tips and Notes for Classic No-Bake Cookies
Important Tips for Perfect Consistency
To achieve the ideal texture for your classic no-bake cookies, ensure you bring your mixture to a rolling boil for exactly 60 seconds. Too long, and they may turn out too hard; too short, and they might be too soft. If you find the mixture is too runny after adding oats, try chilling it in the refrigerator for 10-15 minutes before scooping. A little patience can make all the difference!
Storage Instructions for Longevity
To keep your cookies fresh, store them in an airtight container at room temperature for up to a week. For longer storage, freeze them in a freezer-friendly bag; they can last up to three months! Just remember to let them thaw at room temperature before enjoying them. For more tips on cookie storage, check out this helpful guide from the USDA.
Serving Suggestions for Classic No-Bake Cookies
How to Plate and Serve Them
When it comes to presenting your classic no-bake cookies, a simple yet stylish approach is key. Consider using a white or pastel-colored plate to contrast beautifully against the rich chocolate hue of the cookies. Stack a few cookies in the center, or lay them out side by side with a sprinkle of cocoa or sea salt for an elegant touch. For an extra pop, garnish your plate with fresh berries or mint leaves. This not only makes the dessert visually appealing but also adds a refreshing contrast!
Pairing Suggestions for Beverages
To elevate your dessert experience, think about what you’ll sip while enjoying your classic no-bake cookies. A glass of cold milk is timeless and complements the cookie's richness perfectly. If you're seeking something more adventurous, try pairing with a creamy hot chocolate or a fragrant vanilla chai. For a lighter option, consider an iced herbal tea—something fruity like hibiscus to balance the chocolate flavor.
For more creative drink ideas, check out this resource on unbeatable beverage pairings. Whether you stick with classic options or venture into something new, your classic no-bake cookies will shine!
Time Breakdown for Classic No-Bake Cookies
When you're craving something sweet but don't want to spend hours in the kitchen, these classic no-bake cookies fit the bill perfectly! Here’s a quick look at how long each part of the process takes:
Preparation Time
This recipe takes about 20 minutes for prep. It’s just enough time to gather your ingredients and line your baking sheets.
Cooking Time
The cooking part is quick, taking only 5 minutes. You'll be amazed at how fast you can whip up the chocolatey mixture.
Cooling Time
Let your cookies sit for about 20 minutes to cool and set up perfectly.
Total Time
In just 45 minutes, you can enjoy delicious no-bake cookies that are sure to impress. For more quick and easy recipes, consider checking out sites like Taste of Home or Food Network. Happy baking!
Nutritional Facts for Classic No-Bake Cookies
Calories per cookie
Each of these delightful classic no-bake cookies contains approximately 120 calories. Perfect for satisfying your sweet tooth without overindulging!
Protein content
With creamy peanut butter as a star ingredient, you'll find around 3 grams of protein in each cookie. It's a great way to sneak some extra nutrition into your snack!
Sugars and fats
These cookies have about 9 grams of sugars and 6 grams of healthy fats. The combination makes them a delicious treat while still being mindful of your overall intake. Enjoy them in moderation and savor their rich flavor!
For a deeper dive into balancing treats with healthy eating, check out this Harvard Health article. It's a great resource for understanding nutrition better!
FAQs about Classic No-Bake Cookies
How do I know if my cookies are set properly?
Knowing when your classic no-bake cookies are set just right is all about timing! After you drop spoonfuls of the mixture onto your baking sheets, allow them to cool for about 20 to 30 minutes. They should feel firm to the touch and hold their shape. If they’re still gooey and fall apart, give them a little more time. Don’t worry; if your cookies don’t set perfectly, they’ll still be delicious!
Can I modify the ingredients for allergies?
Absolutely! One of the best things about no-bake cookies is their versatility. If you have nut allergies, you can try substituting the peanut butter with sunflower seed butter or a similar alternative. Similarly, you can use dairy-free milk options if lactose is a concern. For a gluten-free version, ensure you use certified gluten-free oats.
What's the best way to store leftovers?
To keep your classic no-bake cookies fresh, store them in an airtight container at room temperature for up to one week. If you have leftovers that you won’t eat right away, consider freezing them. Just place the cooled cookies in a freezer-friendly bag and store for up to three months. When cravings strike, simply thaw them at room temperature!
For more tips on ingredient substitutions, check out this guide.
Conclusion on Classic No-Bake Cookies
Creating classic no-bake cookies at home celebrates the joy of simplicity in baking. With just a handful of ingredients, you can whip up a delightful treat that’s both quick and satisfying. These cookies bring back cherished memories and are perfect for sharing with friends or enjoying solo. Relish the process and indulge in the rich flavors they offer!
For more tips on no-bake desserts, check out this guide on no-bake treats.
Classic No-Bake Cookies: Easy, Indulgent Treats for Everyone
Equipment
- large saucepan
- cookie scoop
- baking sheets
- parchment paper
Ingredients
- ½ cup butter sliced into pieces
- 2 cups granulated sugar
- ½ cup milk
- ¼ cup unsweetened cocoa powder
- ½ cup creamy peanut butter
- 1 teaspoon pure vanilla extract
- 3 cups quick-cooking oats
Instructions
- Before getting started, make sure to gather all of your ingredients and measure everything out. Line two large baking sheets with parchment paper and set aside.
- Combine the butter, sugar, milk, and unsweetened cocoa powder in a large saucepan and heat over medium heat, making sure to stir often until the butter is melted and everything is well combined. Bring the mixture to a rolling boil and allow to boil for 60 seconds (make sure to set a timer!) stirring occasionally.
- Remove from the heat, and stir in the peanut butter and vanilla extract until fully combined. Stir in the oats and mix until all of the oats are coated with the mixture and everything is well combined.
- Drop spoonfuls of the mixture onto the prepared baking sheets (I like to use a 1.5 tablespoon cookie scoop). Allow to cool for 20 to 30 minutes, serve, and enjoy!
Leave a Reply