
Introduction to the Best Home-Baked Japanese Cheesecake
What is Japanese cheesecake and why is it special?
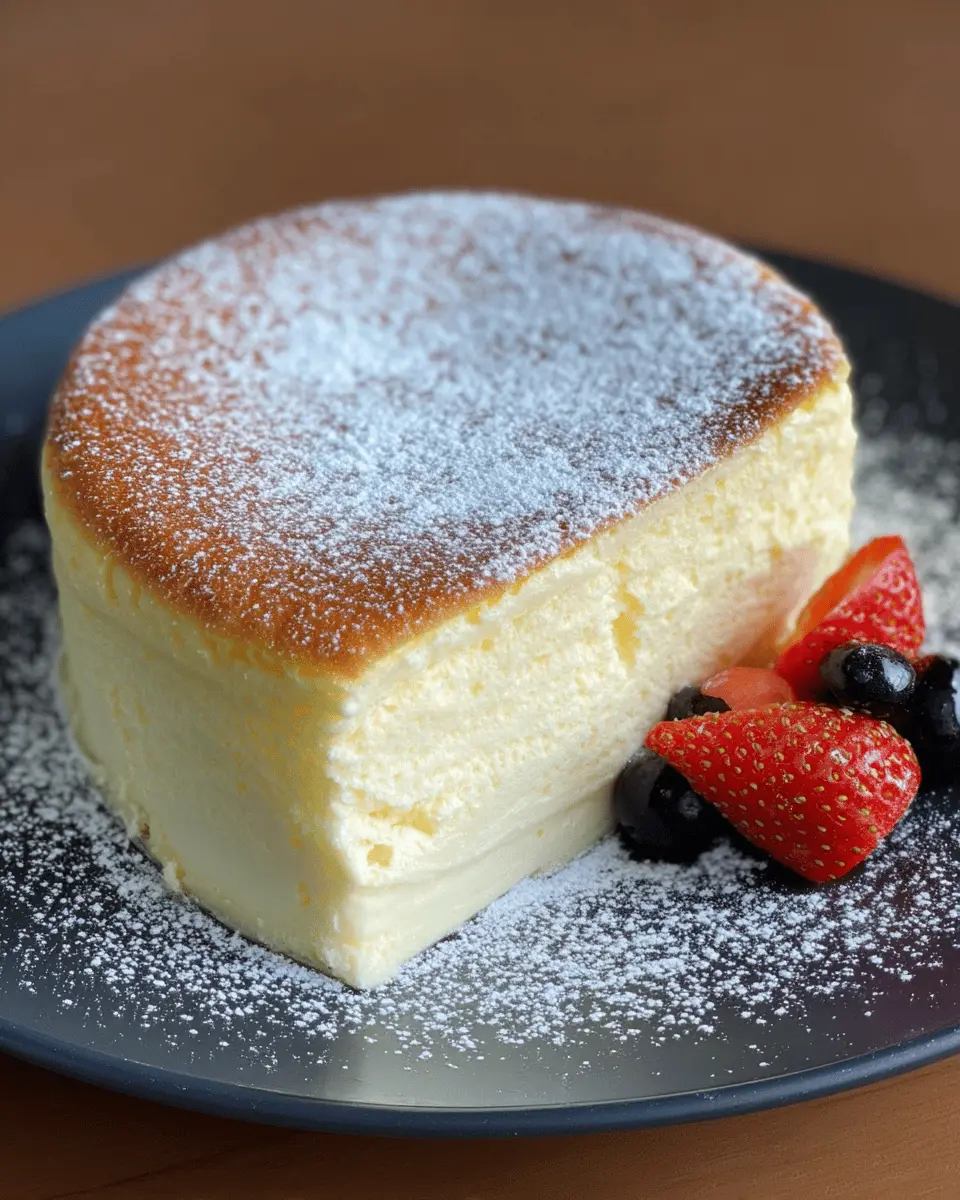
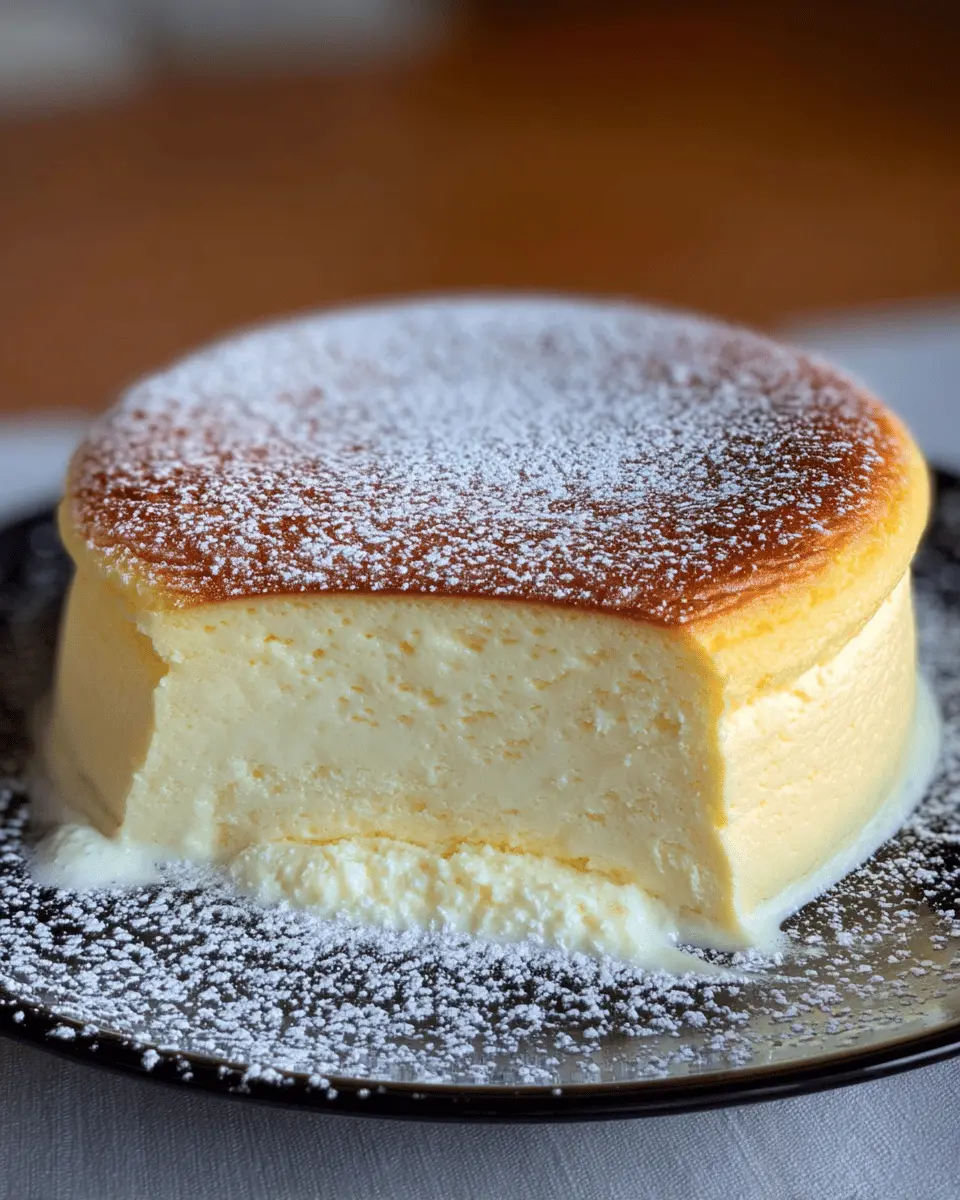
Have you ever dreamt of indulging in a dessert that's both creamy and airy, a treat that feels light yet comforting? Enter the best home-baked Japanese cheesecake, also known as fluffy cotton cheesecake. Unlike traditional cheesecakes that can be quite dense, Japanese cheesecake is characterized by its weightless texture and subtle sweetness, often leaving you wanting just one more bite.
So, what sets it apart? The secret lies in the delicate balancing act of meringue and cream cheese, resulting in a cheesecake that jiggles and dances on your plate. This delightful dessert is typically made with minimal ingredients like cream cheese, eggs, and sugar, allowing each element to shine. As it bakes, a gentle fold of the egg whites creates that signature souffle-like rise, creating a visual masterpiece.
If you love baking or are just looking for a unique dessert to impress your friends, this recipe by Kat Lieu is sure to become a staple in your kitchen. Whether enjoyed fresh from the oven or after a chill in the fridge, every slice offers a delightful experience that is simply unforgettable. Ready to give it a whirl? Let's dive into the recipe!
Ingredients for the Best Home-Baked Japanese Cheesecake
To achieve the best home-baked Japanese cheesecake, having the right ingredients is essential. Here’s a quick rundown of what you’ll need to create that light, fluffy texture that makes this dessert so delightful.
Essential Ingredients for a Fluffy Cheesecake
- Cream Cheese: 8 oz of cream cheese is a must! It’s the heart of your cheesecake, providing rich flavor and a smooth texture.
- Eggs: Both the egg whites and yolks are crucial—5 of each contribute to the fluffiness of the cake. The whites will be beaten into stiff peaks, creating that airy lift.
- Butter & Milk: ¼ cup of butter and ½ cup of milk ensure your cake remains moist and creamy.
- Sugar: You need both ¼ cup of fine granulated sugar for sweetness in the batter and ¼ cup for the meringue, balancing flavors beautifully.
- Cornstarch and Flour: 2 tablespoons of cornstarch and ¼ cup of flour (or rice flour for a gluten-free option) help to stabilize the cheesecake while keeping it light.
For a touch of flavor, consider adding a dash of vanilla extract or lemon juice! Interested in learning more about the science of baking? Check out resources like King Arthur Baking for deeper insights.
Step-by-Step Preparation of Japanese Cheesecake
Creating the best home-baked Japanese cheesecake might seem daunting, but don’t worry! I’ll guide you through each step of the process, ensuring you craft a delicate, fluffy masterpiece that will impress family and friends. Let’s get started!
Prep your ingredients
First things first, gather all your ingredients. A little organization goes a long way in the kitchen! Here’s what you’ll need:
- 5 egg whites and yolks, separated
- 8 oz cream cheese
- ¼ cup butter
- ½ cup milk
- Essential ingredients like fine sugar, cornstarch, and flour (choose rice flour if you’re gluten-free!)
Make sure everything is at room temperature for smoother mixing. This small step will help achieve the perfect texture. You might want to prep your baking pans too, lining them with parchment paper to prevent sticking.
Prepare the egg white meringue
Beat the egg whites in a mixing bowl until they start to froth. Add ¼ teaspoon of cream of tartar—it helps stabilize the meringue. Continue whisking until you reach stiff peaks. This is a crucial step, as it gives your cheesecake that airy, soufflé-like texture. If you're unsure how to beat egg whites, check out this helpful guide on the science of meringue.
Create the creamy batter
In a saucepan over low heat, combine the cream cheese, butter, and ¼ cup of sugar. Stir until it transforms into a smooth, creamy mixture. Remove from heat and gently whisk in the egg yolks. Next, incorporate your flour and cornstarch. These act like magic ingredients, lending structure to your cheesecake while keeping it light. Finally, pour in the milk and give it a good mix until everything is integrated.
Combine the egg whites and batter
Now comes the fun part! Fold a bit of the beaten egg whites into the creamy batter. This helps lighten the batter and makes it easier to incorporate the rest. Take your time here—gently fold until just combined. Too much mixing will deflate all that lovely air you've worked so hard to create.
Bake in a bain-marie
Preheat your oven to 330°F. Prepare your bain-marie by placing a deep baking dish filled with water at the bottom rack—this will create steam to keep your cheesecake moist. Pour your batter into the prepared baking pan and then carefully place it in the water bath. Bake for about 25 minutes. After that, lower the temperature to around 245°F for an additional 45 minutes. Keep an eye on the oven—if you see cracks forming, your temperature might be too high.
Cool and unmold your cheesecake
Once baked, allow your cheesecake to cool in the oven for about 10 minutes. Carefully transfer it to a cooling rack. When it’s cool enough to handle, invert it onto a plate, removing the parchment paper gently. Now you can admire your lovely creation!
Finally, this Japanese cheesecake is delightful served warm or chilled. Pair it with fresh strawberries or a drizzle of honey for a beautiful presentation. Enjoy every bite of your work, because you’ve just created the best home-baked Japanese cheesecake!
Variations of Japanese Cheesecake
Matcha Japanese Cheesecake
For a unique twist on the quintessential dessert, consider adding matcha, the finely ground green tea powder. This variation brings a lovely earthy flavor and stunning green hue. Simply mix in 1-2 tablespoons of matcha powder into your batter before baking. It’s perfect for those who enjoy a gentle hint of bitterness to balance the sweetness.
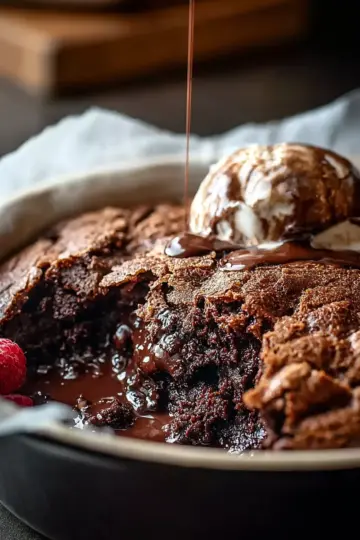
Chocolate Japanese Cheesecake
If you’re a chocolate lover, indulgence awaits! Incorporating melted chocolate into your cheesecake batter gives it a rich, decadent taste. Use about 4 oz of semi-sweet or dark chocolate, melted and then mixed in with the cream cheese and butter. The result? A velvety delight that offers more than just a sugar rush.
Fruit-topped Variations
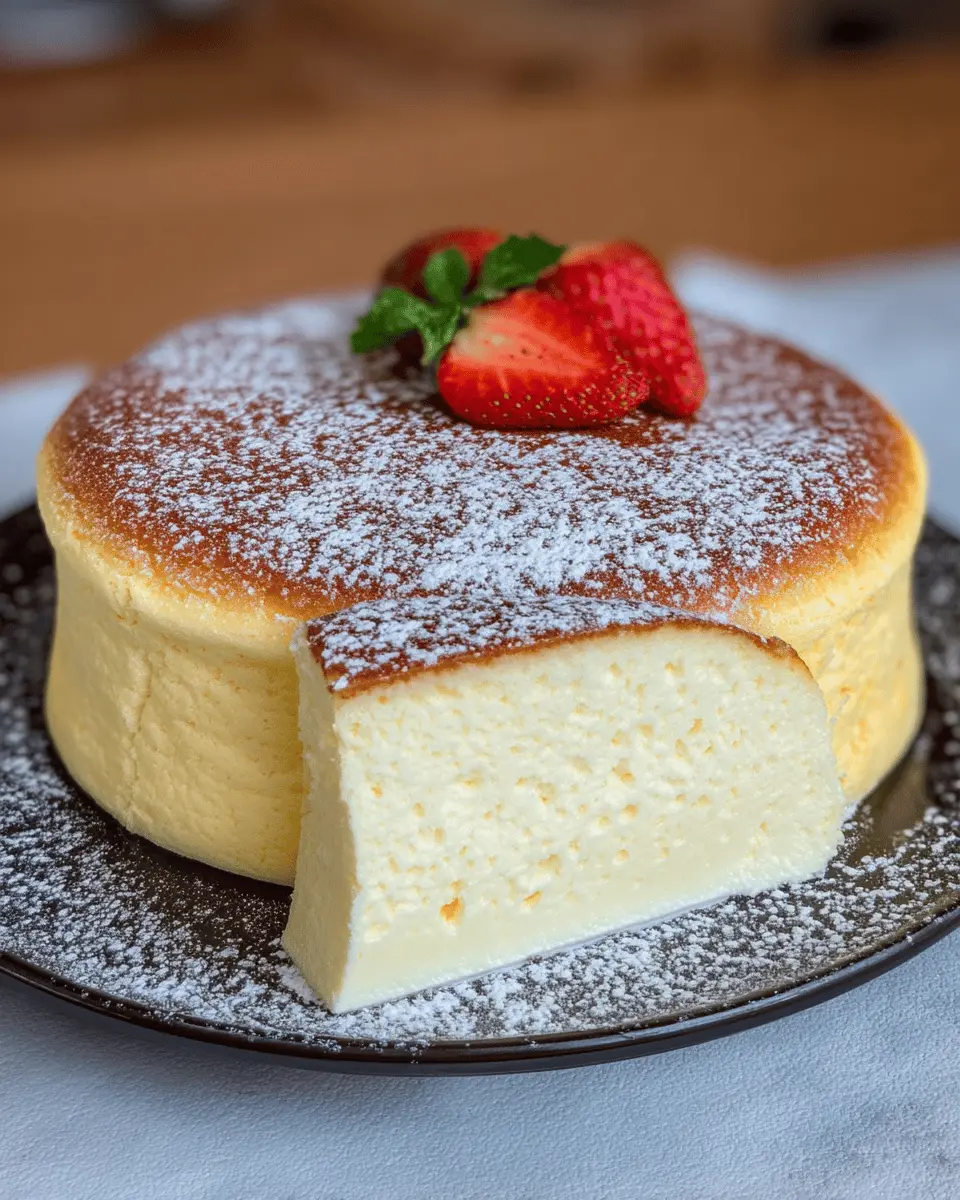
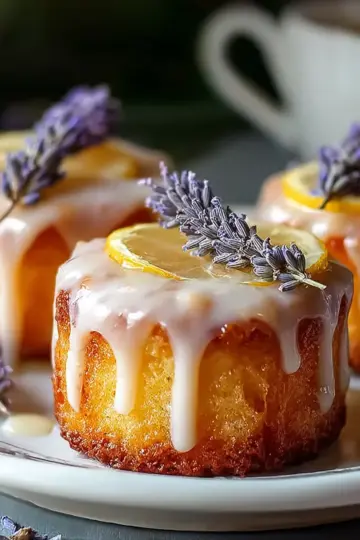
To elevate the best home-baked Japanese cheesecake, top it with fresh fruits like strawberries, blueberries, or passionfruit. A drizzle of honey or a light syrup can amplify those fruity flavors beautifully. Imagine slicing into that fluffy cake to reveal a vibrant topping – it's a feast for both the eyes and the palate!
Explore more ideas for perfecting your cheesecake by visiting Serious Eats for professional tips and inspiration!
Baking Tips and Notes for Japanese Cheesecake
Common pitfalls and how to avoid them
One of the most common issues when baking the best home-baked Japanese cheesecake is under-mixing the batter. This can lead to chunks of egg whites floating at the top, resulting in a cake that’s uneven in texture. To avoid this, ensure you fold the batter gently but thoroughly. Also, be careful not to open the oven door too soon. A sudden temperature drop can cause your cake to collapse!
Expert tips for perfect results
For a truly airy and fluffy cake, make sure your egg whites are at room temperature before whipping them into stiff peaks. This simple step can make a big difference in achieving that beautiful rise. Additionally, consider investing in a reliable oven thermometer. Your oven's temperature may not always match the dial, and the right temperature is crucial for baking a stunning cheesecake. Lastly, patience is key—let your cheesecake rest in the oven after baking to minimize cracks.
For more expert baking advice, check out King Arthur Baking for tips on proper mixing techniques.
Serving Suggestions for Japanese Cheesecake
Best toppings to enhance flavor
When serving the best home-baked Japanese cheesecake, consider elevating its mild flavor with delicious toppings. A dusting of confectioner’s sugar adds a sweet touch, while fresh strawberries or mixed berries provide a burst of freshness. For a unique twist, try matcha powder or honey drizzled on top. Experiment with different fruits and sauces, such as raspberry coulis or chocolate sauce, to find your favorite combination!
Pairings for dessert
Pair your cheesecake with a warm beverage like green tea or a chilled fruit-infused herbal tea to balance the creamy texture. You can even serve it alongside a scoop of vanilla ice cream for an indulgent treat. This delightful dessert can be enhanced with simple yet flavorful companions like a side of cheesecake-flavored yogurt or a crunchy biscuit crumble for extra texture. Enjoy!
Time Breakdown for Japanese Cheesecake
Preparation Time
Getting everything ready for the best home-baked Japanese cheesecake takes about 20 minutes. This includes gathering ingredients and preparing your baking pans.
Baking Time
Once your batter is mixed, pop it in the oven for about 70 minutes. This time includes the initial bake and the gentle resting period afterward.
Total Time
From start to finish, you're looking at around 1 hour and 30 minutes for this delightful dessert. Trust us, this soft and fluffy cheesecake is worth every minute!
For more on cake baking times, you can explore resources from King Arthur Baking Company.
Nutritional Facts for Japanese Cheesecake
Calories
One slice of the best home-baked Japanese cheesecake contains approximately 250-300 calories, making it a delightful yet relatively light dessert option.
Protein
With about 7 grams of protein per slice, this cheesecake offers a satisfying treat without compromising your nutrition goals.
Sugar Content
Each slice contains around 10-15 grams of sugar. This sweetness, combined with the cheesecake's unique fluffiness, creates a perfectly balanced dessert experience.
For more insights on nutritional values, consider checking resources like NutritionData for detailed breakdowns of ingredients.
FAQs about Japanese Cheesecake
Why did my cheesecake crack?
Cracks can appear on your Japanese cheesecake for a few reasons, primarily due to temperature fluctuations. If the oven is too hot or you're baking without a proper water bath (bain-marie), it can cause the outer layer to cook faster than the inside, leading to cracks. To avoid this, always monitor your oven temperature closely and ensure you follow the water bath method as described in the recipe. A gentle baking process allows for that signature custard-like texture without flaws.
Can I make this cheesecake ahead of time?
Absolutely! The best home-baked Japanese cheesecake can be made a day in advance. Just let it cool completely after baking, then wrap it tightly in plastic wrap and store it in the fridge. This will give the flavors time to meld beautifully, enhancing the overall taste.
What’s the best way to store leftovers?
If you have leftovers, store your cheesecake in an airtight container in the fridge to keep it fresh for up to 3 days. For longer storage, consider freezing it—slice the cheesecake before freezing and wrap each slice individually to maintain quality. Just remember, it’s best enjoyed slightly chilled or at room temperature for that delightful jiggly texture!
Conclusion on the Best Home-Baked Japanese Cheesecake
Creating the best home-baked Japanese cheesecake is rewarding and surprisingly simple. With its airy texture and delightful flavor, this dessert is perfect for impressing friends or indulging in a cozy night at home. Share your creations, and you'll soon find this recipe becomes a cherished tradition!
For a deeper dive into cheesecake techniques, check out Serious Eats for expert tips, or explore Japan Centre for unique ingredient options.

The Best Home-Baked Japanese Cheesecake Recipe by Kat Lieu
Equipment
- mixer
- Pot
- baking pan
- parchment paper
- oven
Ingredients
Egg White Meringue (Stiff Peaks)
- 5 large egg whites
- ¼ teaspoon cream of tartar or vinegar or lemon juice
- ¼ cup fine sugar granulated sugar (Not Confectioner sugar)
Cake Batter
- 5 large egg yolks
- 8 oz cream cheese 1 bar
- ¼ cup butter
- ½ cup milk
- ¼ cup fine sugar granulated sugar
- 2 tablespoon corn starch magic ingredient
- ¼ cup flour use rice flour or Mochiko for gluten-free
Optional Toppings
- strawberries
- confectioner sugar
- fruits of your choice
- honey
- matcha powder
Instructions
Instructions
- Separate 5 beautiful eggs. Place the egg yolks in a bowl, and the egg whites in a mixer bowl.
- Place the butter, cream cheese and ¼ cup of fine sugar into a pot over low-heat. Allow the ingredients to melt, and mix together into a beautifully smooth batter mixture.
- Remove the pot from heat, and add the egg yolks into the batter mixture. Mix well, but gently.
- Add the cornstarch and flour. Once again, mix well. Clumps should disappear.
- Add milk and optionally vanilla extract or other flavors of your choice.
- Mix well. The batter should be smooth and liquid-y. You won’t have to strain this mixture.
- Set aside the batter as you beat the egg whites into stiff peaks.
- Pre-heat oven to 330F. Prepare a bain-marie by putting water in a deep rectangular baking pan or dish. Place into the oven.
- Prepare baking pans— with these ingredients, you can bake one 8-inch cake or two 6-inch cakes. Line the bottoms of the baking pans with circular parchment paper, and the inside sides with rectangular strips of parchment paper.
- Once you achieve stiff peaks, place some beaten egg white into the batter and mix together.
- Repeat the above step two more times.
- Pour the batter into the rest of the egg whites and mix together using folding techniques. You don’t want to over-mix or under mix.
- Pour the well-incorporated, but not over-mixed batter into the baking pan(s).
- Bake bain-marie style for 25 minutes at 330F. Adjust the temperature if needed.
- After 25 minutes, if your cake has not risen, allow it to stay at the same temperature and give it time to rise. Then lower the oven temperature to about 245-265F, and bake for an additional 45 minutes.
- Allow your cake to rest in the oven after baking for about 10 minutes.
- Remove from the oven. Be careful and use oven mitts as needed.
- Place a sheet of parchment paper over the cake. Place a plate over the cake and parchment paper. Flip the cake upside down so the top of it is now the bottom.
- Remove the wet parchment paper from the cake, replace the bottom parchment paper of the cake.
- Place another plate on top of the cake. Flip the cake again, carefully.
- Serve when still warm, or chill in the fridge. It won’t be bouncy or fluffy after chilling though!

Leave a Reply