
Introduction to Cheesy Garlic Chicken Wraps
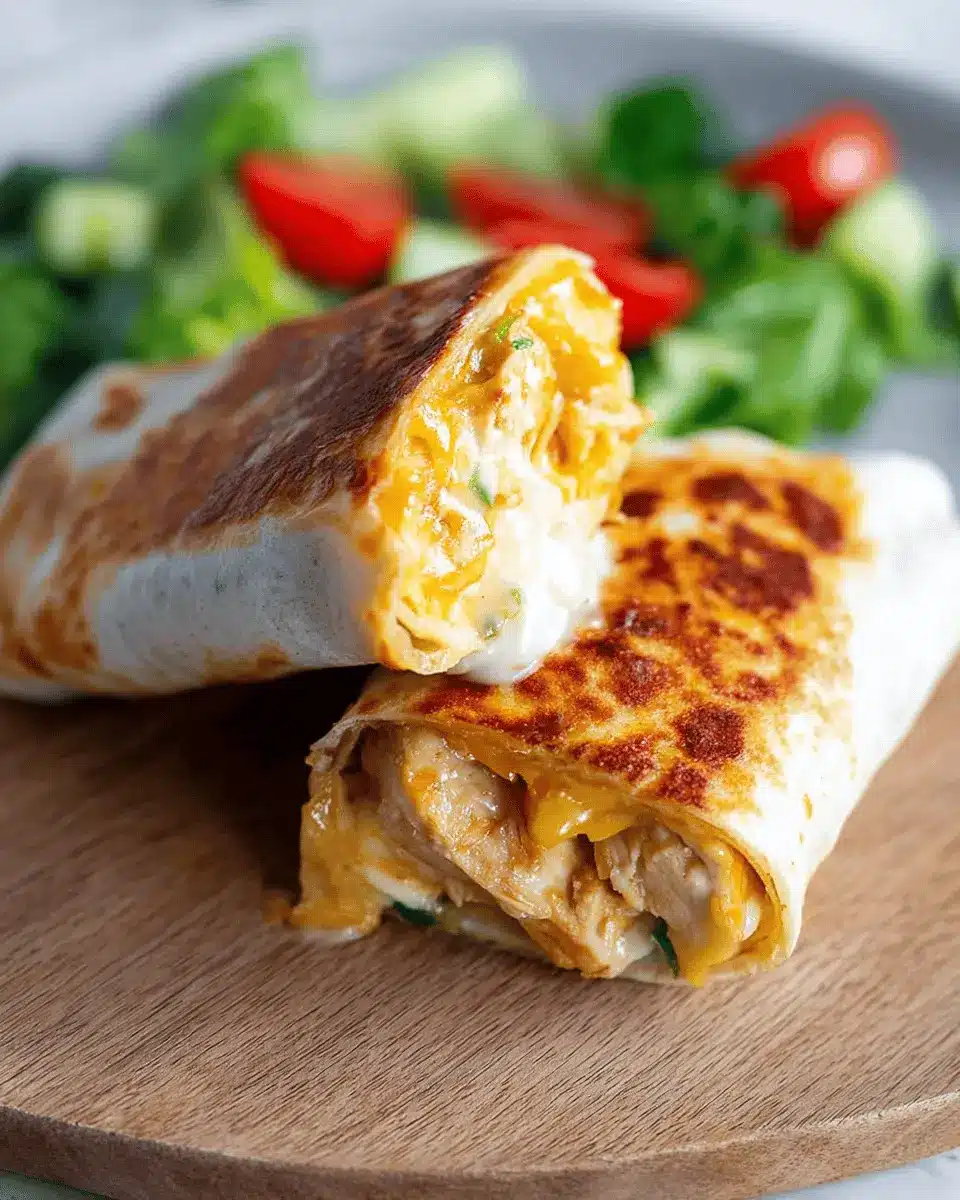
If you’re searching for a quick, satisfying meal that feels indulgent yet stays on the healthy side, look no further than cheesy garlic chicken wraps. They’ve become a staple in my kitchen, delivering that perfect balance of flavor and nutrition. With just a handful of ingredients and minimal prep time, these wraps are ideal for busy days when you crave something comforting without the guilt.
The beauty of these wraps lies in their versatility. You can easily customize them with your favorite proteins or veggies, making them suitable for various diets. Using cooked chicken, like rotisserie, simplifies the process while packing your meal with high protein, helping you stay fueled throughout the day.
Not only do they taste amazing, but they also provide a satisfying crunch on the outside and a melty, garlic-infused interior that’s hard to resist. Serve them with a side salad or some roasted veggies, and you’ve got a delicious and balanced meal. If you want to boost your meal prep game, consider whipping up the chicken filling in advance—it's a game changer for weekday lunches!
Let’s dive into the recipe for these irresistible cheesy garlic chicken wraps.
Ingredients for Cheesy Garlic Chicken Wraps
Creating the perfect cheesy garlic chicken wraps is all about having the right ingredients on hand. Here’s what you’ll need for a deliciously satisfying meal:
- Tortillas: Grab 2 large tortillas, be they regular or low-carb/high-protein options. They serve as the base for your wraps.
- Cooked Chicken: About 7 oz (200 grams) of chopped cooked chicken is essential. Rotisserie chicken works wonders for convenience and flavor!
- Garlic: Use 2 cloves of fresh garlic, minced or grated, to impart that rich garlicky taste. Feel free to adjust based on your preference.
- Dressings: Combine 2 tablespoons of light mayonnaise with 1 tablespoon of light Greek yogurt for creaminess, plus a kick from 2 teaspoons of hot sauce (I recommend Frank’s).
- Seasoning: Season with ¼ teaspoon of salt to enhance the flavors.
- Cheese: You’ll need 3 oz (90 grams) of grated cheese; a cheddar blend provides just the right amount of gooeyness.
- Green Onion: Including a chopped green onion adds a nice crunch.
- Olive Oil Spray: This is key for crisping up your wraps in the pan.
With these simple ingredients, you can whip up a comforting meal that’s high in protein and sure to impress. For more tips and variations, check out resources like EatWell101 or Healthline for healthier ingredient swaps!
Step-by-step Preparation of Cheesy Garlic Chicken Wraps
Creating delicious cheesy garlic chicken wraps is easier than you might think! Follow these simple steps to prepare a satisfying meal that’s both comforting and high in protein. Grab your apron, and let’s get cooking!
Gather your ingredients
Before diving into cooking, it’s essential to have everything you need. Here's what you should gather for your wraps:
- 2 large tortillas (regular or low-carb/high-protein)
- 7 oz of cooked chicken, chopped (rotisserie works beautifully)
- 2 garlic cloves, minced or grated (feel free to adjust based on your love for garlic)
- 2 tablespoons of light mayonnaise
- 1 tablespoon of light Greek yogurt or plain yogurt
- 2 teaspoons of hot sauce (Frank’s hot sauce is a fan favorite)
- ¼ teaspoon of salt
- 3 oz of grated cheese (cheddar blend or your choice)
- 1 green onion, chopped
- Olive oil spray
Having your ingredients prepped makes the process smoother and more enjoyable. Plus, you can easily substitute or add ingredients if you’re feeling adventurous, such as diced peppers or spinach.
Mix the filling
In a medium-sized bowl, combine your chopped chicken, minced garlic, light mayonnaise, yogurt, hot sauce, and salt. Stir the mixture until every ingredient is well incorporated. The hot sauce adds a delicious kick, so don’t be shy! You can taste the filling at this stage; if you’d like it more garlicky or spicy, feel free to modify the amounts to suit your palate.
Assemble the wraps
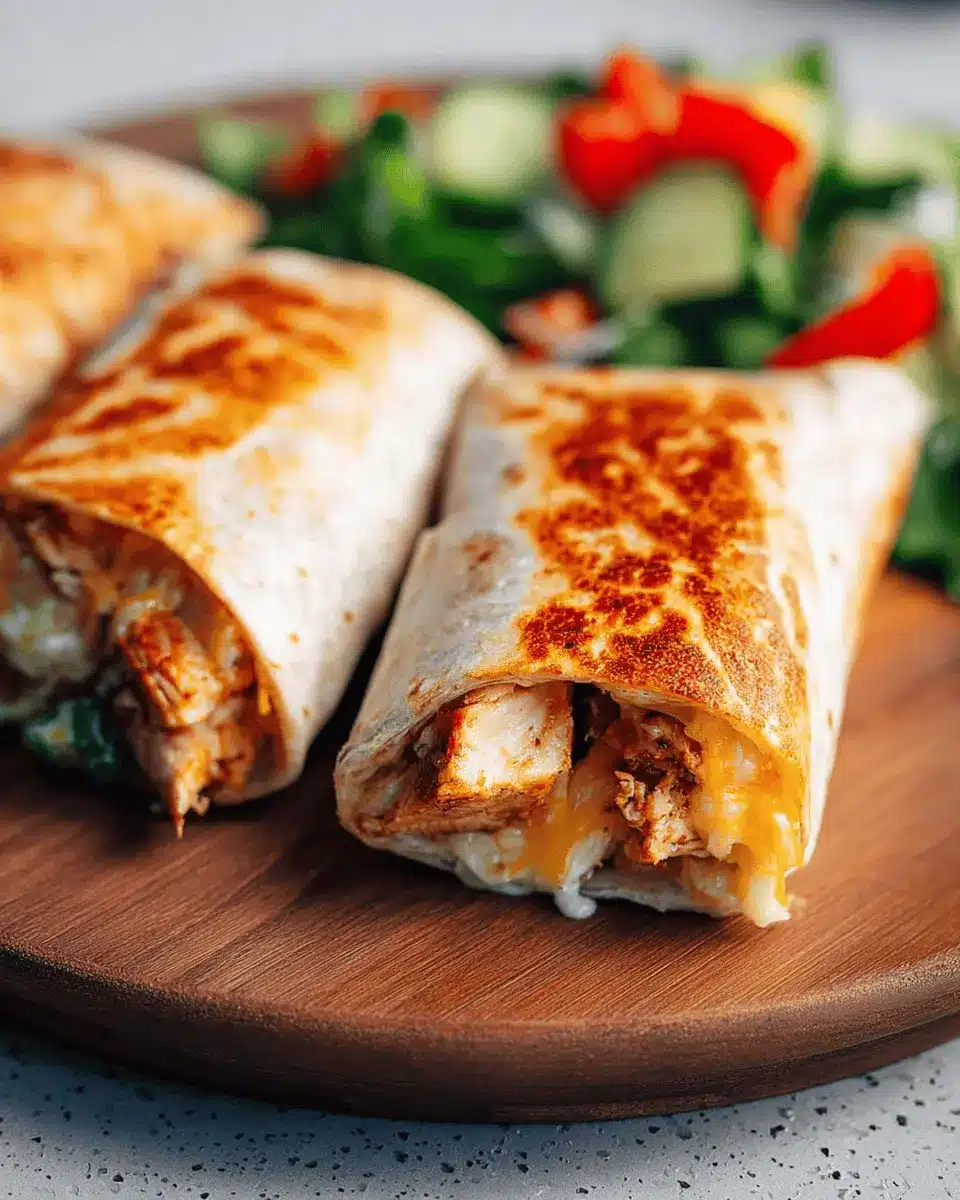
Now that you have your filling mixed, it’s time to assemble those tasty wraps. Lay out one tortilla on a clean surface. On the lower third of the tortilla, sprinkle about 2 tablespoons of cheese. Top this with roughly ⅔ cup of your chicken mixture and another tablespoon of cheese for that glorious gooey center. Finish off with a sprinkle of chopped green onion.
Next, fold in the sides of the tortilla before rolling it up tightly from the bottom to ensure all that delicious filling stays within the wrap.
Cook the wraps to crispy perfection
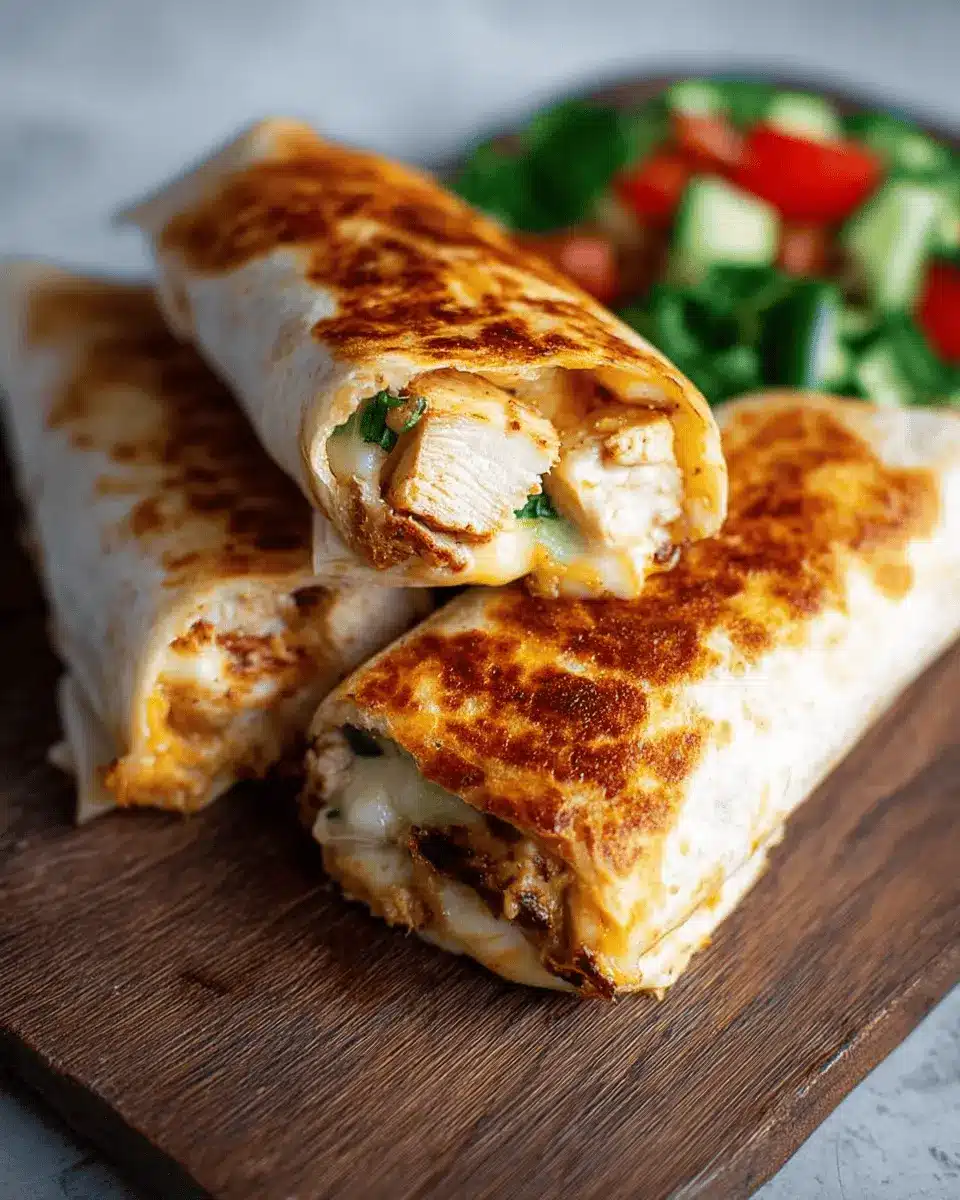
Heat up a non-stick pan over medium-high heat and spray it lightly with olive oil. This step is crucial for achieving that golden, crispy exterior. Place the wraps seam-side down in the pan. Cook for about 3 to 4 minutes on each side. This method not only crisps up the outside but also helps melt the cheese and allows the filling to warm through. For best results, cover the pan with a lid to trap heat and encourage a perfect finish.
Slice and serve
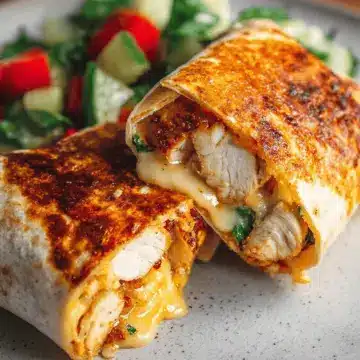
Once you’ve achieved that delightful golden color, it’s time to slice and serve your cheesy garlic chicken wraps! Cut each wrap in half diagonally, exposing the warm, cheesy goodness inside. Serve them with a crunchy salad or roasted veggies, and perhaps a side of salsa for dipping. Don’t forget, you can also enjoy these wraps with some chips or pickles for an extra crunch!
And there you have it—quick, easy, and fulfilling cheesy garlic chicken wraps that are sure to impress! Did you enjoy this recipe? Share your experiences and ideas in the comments below!
For more great ideas on high-protein meals, visit healthline.com or eatingwell.com for additional inspiration!
Variations on Cheesy Garlic Chicken Wraps
Cheesy Spicy Chicken Wraps
For those who crave a little extra heat, try my cheesy spicy chicken wraps. Simply add diced jalapeños or a sprinkle of chili flakes to the chicken mixture. The combination of melty cheese, garlic, and spicy kick will satisfy your adventurous taste buds. You could even swap the cheese for pepper jack to amp up the flavor! Looking for inspiration? Check out this guide on spicy ingredients that can elevate your wraps to the next level.
Vegetarian Cheesy Garlic Wraps
If you're seeking a vegetarian version, my vegetarian cheesy garlic wraps are equally delicious! Replace the chicken with sautéed mushrooms, bell peppers, or even roasted chickpeas for an added protein boost. Mix the veggies with garlic, a cream cheese alternative, and your favorite cheese to create that irresistible, gooey texture. This guarantees that even non-meat eaters can enjoy these cheesy garlic chicken wraps. For tips on plant-based cooking, consider visiting this resource for more creative ideas!
Cooking Tips and Notes for Cheesy Garlic Chicken Wraps
Making cheesy garlic chicken wraps can be a breeze with a few handy tips. Ensure your tortillas are fresh and pliable for easy wrapping. If you're using rotisserie chicken, it saves time and adds flavor—just make sure to chop it into small pieces. Adjust the garlic according to your taste; you can always start with less and add more if you want that punchy flavor!
For extra crispiness, feel free to experiment with cooking methods. An air fryer can give you that golden finish in a fraction of the time. But if you’re in the mood for a little extra indulgence, the pan-frying method creates a beautiful texture.
Want to stretch this meal further? Use any leftover filling in salad bowls or as a topping for baked potatoes! For more chicken wrap inspiration, check out Healthy Chicken Wrap Ideas. Happy cooking!
Serving Suggestions for Cheesy Garlic Chicken Wraps
These cheesy garlic chicken wraps are a delicious standalone dish, but pairing them with the right sides can elevate your meal to new heights. Consider serving them alongside:
-
Crunchy Salad: A fresh salad with mixed greens, cherry tomatoes, and a tangy vinaigrette adds a refreshing contrast to the rich flavors of the wraps. You can check out this simple salad recipe for a quick idea.
-
Roasted Vegetables: Caramelized veggies like zucchini, bell peppers, or broccoli not only add nutrients but also a lovely sweetness.
-
Dipping Options: Think salsa, or even a zesty yogurt-based dip to complement the garlicky goodness.
-
Side Snacks: Serve them with crunchy tortilla chips for that satisfying crunch.
Pairing these wraps thoughtfully makes for a satisfying meal, whether it’s lunch or dinner!
Time Breakdown for Cheesy Garlic Chicken Wraps
Preparation Time
Get started on your cheesy garlic chicken wraps with just 15 minutes of prep. Gather your ingredients, chop the chicken, and mix the filling. It’s a quick and easy process that ensures you’re ready to roll (literally!).
Cooking Time
Once prepped, cook those wraps to golden, crispy perfection in only 7 minutes. This time includes both sides, so you can enjoy that melty cheese and flavorful filling without a long wait.
Total Time
In just 22 minutes, you’ll have a delicious meal ready to devour. Perfect for a quick lunch or a busy weeknight dinner, these wraps bring satisfaction in minimal time. For more efficiency, consider making the filling ahead—your future self will thank you!
For more tips on preparing quick meals, check out EatingWell.
Nutritional Facts for Cheesy Garlic Chicken Wraps
Calories
Each wrap contains approximately 476 calories, making it a filling option for a hearty lunch or quick dinner.
Protein
Loaded with 38 grams of protein, these cheesy garlic chicken wraps provide a great boost for your day, ensuring you feel full and energized.
Sodium
Keep an eye on your intake; each wrap has around 1,090 mg of sodium. Pairing these wraps with fresh veggies can help balance your meal!
For more nutritional insights, check out resources from the USDA or Healthline.
FAQs about Cheesy Garlic Chicken Wraps
Can I make these wraps ahead of time?
Absolutely! You can prepare the chicken filling 2–3 days in advance and store it in the fridge. It saves time on busy weeknights. Just wrap it up in tortillas and cook when you’re ready to enjoy a delicious meal.
What can I substitute for the chicken?
If you're looking for alternatives, you can use shredded turkey bacon, chicken ham, or even plant-based protein options like tempeh or tofu for a vegetarian twist. Just ensure to season well for that same garlicky flavor!
How do I store leftovers?
Store any leftover cheesy garlic chicken wraps in an airtight container in the fridge for up to 2 days. To reheat and regain that delightful crispiness, pop them in a skillet or air fryer—great for enjoying that melty goodness again. For tips on how to keep your wraps fresh, check out this helpful article on food storage.
These easy-to-make wraps are not only delicious but also versatile enough to fit a variety of dietary needs!
Conclusion on Cheesy Garlic Chicken Wraps
In summary, these cheesy garlic chicken wraps are your go-to meal for a hearty lunch or a cozy dinner. Packed with flavor and protein, they offer quick prep and satisfying bites. Don’t hesitate to mix up your ingredients or pair them with fresh sides—get creative and enjoy!
Cheesy Garlic Chicken Wraps
Equipment
- Non-stick pan
Ingredients
Wrap Ingredients
- 2 large tortillas regular or low-carb/high-protein
- 7 oz cooked chicken about 200 grams, chopped (rotisserie is great)
- 2 cloves garlic minced or grated (adjust to taste)
- 2 tablespoons light mayonnaise
- 1 tablespoon light Greek yogurt or plain yogurt
- 2 teaspoons hot sauce like Frank’s
- 0.25 teaspoon salt
- 3 oz grated cheese about 90 grams (I used a cheddar blend)
- 1 green onion chopped
- Olive oil spray
Instructions
Instructions
- In a bowl, mix chopped chicken, garlic, mayonnaise, yogurt, hot sauce, and salt.
- Lay out your wrap. On the lower third of the tortilla, sprinkle about 2 tablespoons of cheese, then top with about ⅔ cup of the chicken mixture. Add another tablespoon of cheese and a sprinkle of green onion.
- Fold in the sides of the tortilla, then roll it up tightly from the bottom.
- Heat a non-stick pan over medium-high. Spray with olive oil.
- Place wraps seam-side down. Cook for 3–4 minutes per side until crispy and golden. Cover with a lid to help heat the inside.
- Slice in half and serve!
Leave a Reply