
Introduction to Homemade Strawberry Jam
Why Homemade Strawberry Jam is a Must-Try
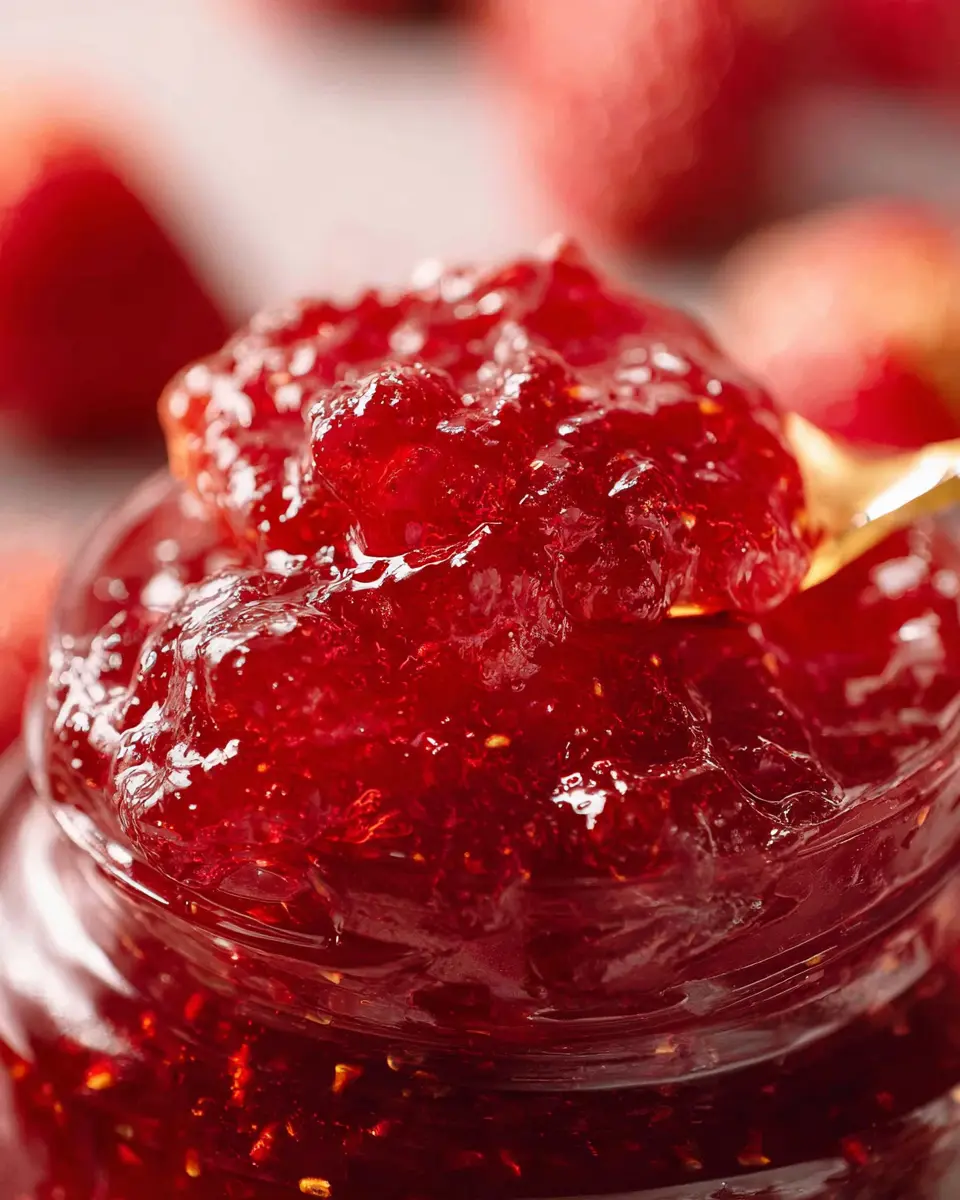
If you’ve ever wanted to taste summer in a jar, then homemade strawberry jam is your answer. There's a certain magic in crafting your own jam from fresh strawberries—it's a cherished way to savor the sweetness of the season. You only need three simple ingredients: strawberries, sugar, and lemon juice. Seriously, who knew that creating something so delicious could be this easy?
Making your own jam is not just a fun kitchen project; it’s also a wonderful way to recreate nostalgic moments. Remember the smell of warm toast slathered with sweet, fruity goodness? When you make it yourself, you can adjust the flavors and sweetness to your liking. Plus, you can experiment with add-ins like herbs or citrus for a unique twist!
With the right tips, you can create a vibrant spread that pairs beautifully with everything from your breakfast toast to decadent desserts. For more information on the benefits of homemade jams, check out this article from Food & Wine.
Ready to get started? Let’s dive into the delightful world of strawberry jam making, and bring a taste of summer into your kitchen all year round!

Ingredients for Homemade Strawberry Jam
Essential ingredients for the perfect jam
Making your own strawberry jam is not only rewarding, but it’s also surprisingly simple! The star ingredients you'll need to create that luscious, fruity spread include:
- 2 lbs fresh strawberries (900g), hulled and halved
- 1¼ cup granulated sugar (250g)
- 2 tablespoon lemon juice (30mL)
The strawberries are the heart of this recipe, so pick bright red, sweet-smelling ones for the best flavor. Learn more about selecting perfect strawberries [here](https://www.strawberriesarethebest.com/select-str strawberries).
Optional flavor add-ins for extra zing
Once you've nailed the basics, consider elevating your strawberry jam with some optional add-ins!
- Zest of 1 lemon can add an extra layer of brightness.
- A sprinkle of fresh herbs like basil or mint can introduce a unique twist.
- For a floral touch, a dash of rose water works wonders too!
These little additions can transform your jam into something uniquely yours—perfect for slathering on scones or dolloping on yogurt!
Step-by-step preparation of Strawberry Jam
Making your own strawberry jam is a delightful way to preserve the taste of summer and revel in the joy of homemade goodness. Ready to dive in? Let’s break it down into easy-to-follow steps.
Gather and prep your strawberries
Start by selecting the best strawberries you can find. Look for those vibrant red beauties that are sweet and fragrant—these varieties not only look appealing but also offer the richest flavor. Aim for about 2 lbs (900g). Once you’ve got the perfect batch, wash them thoroughly, hull (remove the green tops), and then roughly chop them into smaller pieces. This will help them break down more easily during cooking.
Combine strawberries, sugar, and lemon juice
In a spacious medium pot, mix your chopped strawberries with 1¼ cup (250g) of granulated sugar and 2 tablespoons (30mL) of lemon juice. The lemon juice not only adds a zingy flavor but also helps in the gelling process, ensuring that your jam thickens perfectly. You’ll want to stir the mixture until the sugar is fully dissolved, which will set the stage for a deliciously sweet jam.
Cooking the mixture to the right consistency
Place the pot over medium-high heat and stir frequently. As the mixture heats up, you’ll notice it transitioning from solid strawberries to a syrupy blend. Once it reaches a steady boil, reduce the heat to medium-low to prevent it from overflowing. Allow the jam to simmer, stirring regularly, for approximately 45 minutes. Keep an eye on the temperature—aim for 220°F (104°C) on a candy thermometer. This temperature ensures that your strawberry jam will reach its perfect gelling point.
Test jam doneness with the cold plate method
To check if your jam is ready, you can use the cold plate method. Grab a plate and pop it in the freezer for a few minutes. Once chilled, drop a small spoonful of your jam onto the plate. Return it to the freezer for about 2 minutes, then check the consistency. If the jam holds its shape and wrinkles slightly when you run your finger through it, congratulations! Your jam is done. If not, continue simmering and test again until you reach that right texture.
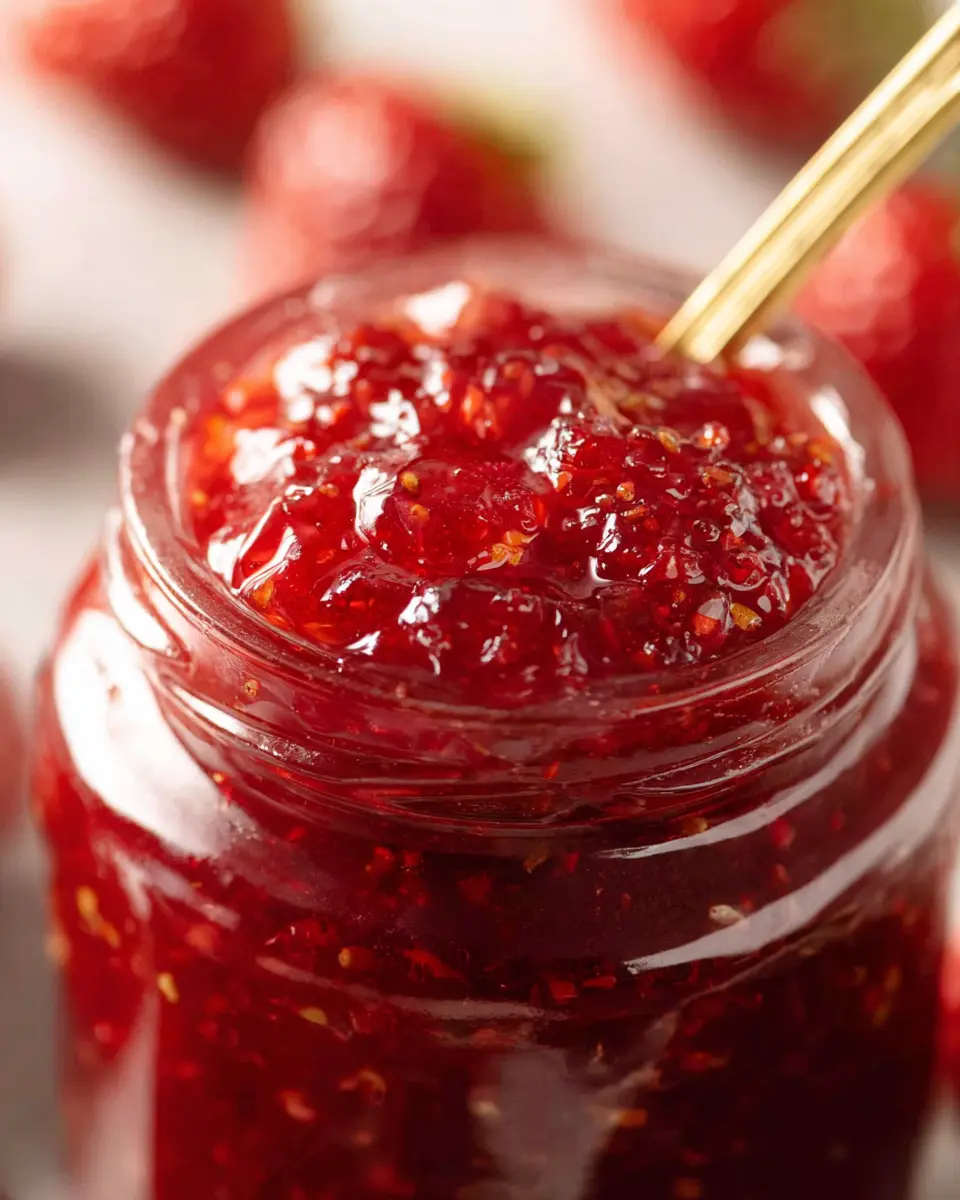
Pouring and cooling the jam into jars
Once your strawberry jam is achieved, it’s time to jar it up! Carefully pour the hot jam into sterilized mason jars, leaving about ¼ inch of space at the top. Seal the jars with their lids and allow them to cool at room temperature. As they cool, you’ll hear a delightful “pop” sound, which indicates the jars have sealed properly. For short-term storage, keep your jam in the refrigerator, but you can also process it in a water bath for long-term preservation.
And there you have it—your very own homemade strawberry jam! Whether you’re spreading it on toast or using it as a topping for yogurt, this simple recipe is sure to become a staple in your kitchen. For more preserving tips and tricks, consider checking out resources about homemade fruit preserves here. Happy jamming!
Variations on Strawberry Jam
Lemony Strawberry Jam Variation
For a bright and zesty twist, consider adding lemon zest alongside the lemon juice in your strawberry jam. This will enhance the citrus notes and create a refreshing flavor profile that's perfect for summer mornings! The added acidity balances the sweetness beautifully, making it an ideal spread for buttered toast.
Herb-Infused Strawberry Jam
Feel adventurous? Toss in some freshly chopped herbs—like basil or mint—just minutes before your jam is ready. This herb-infused strawberry jam offers a delightful, unexpected depth that pairs wonderfully with cheese platters. Trust us, your taste buds will thank you!
Floral Strawberry Jam with Rose Water
For something a bit more elegant, try a splash of rose water to your base recipe. This floral strawberry jam introduces a unique aroma and subtle flavor that works wonders on scones or drizzled over yogurt. Just remember, a little goes a long way—start with a teaspoon, and adjust to your personal taste!
By experimenting with these variations, you'll elevate your homemade strawberry jam and keep things exciting. Don’t hesitate to get creative and find your own special twist!
Cooking Tips and Notes for Strawberry Jam
Selecting the Best Strawberries
When making strawberry jam, your choice of strawberries can make or break the flavor! Look for berries that are bright red and have a sweet fragrance. You want them juicy but not mushy, as overly ripe strawberries can add a fantastic depth of flavor. Remember, if they have any mold, they should be discarded.
Importance of Sterilizing Jars
Sterilizing your jars before filling them with strawberry jam is essential for preventing bacterial growth. Whether you use your dishwasher’s sterilize setting or boil the jars and lids for 15 minutes, this step extends the shelf life of your jam significantly. It’s a simple practice that ensures your hard work stays safe and delicious!
Tips for Achieving the Right Texture
To achieve that perfect jam consistency, frequent stirring is crucial to prevent sticking. If you prefer a smoother texture, consider using a potato masher to break down the berries or pulse them before cooking. Don't forget to test a drop of the mixture on a cold plate; it’s a quick and reliable way to check if it's achieved that wonderfully thick, spreadable texture.
Serving suggestions for Strawberry Jam
Best pairings: toast, scones, and more
One of the simplest pleasures in life is enjoying strawberry jam on warm toast, crispy scones, or fluffy pancakes. The rich, sweet taste pairs beautifully with butter, making breakfast a treat! You can also layer it on a fresh bagel topped with cream cheese for an extra creamy delight. For a lovely afternoon snack, serve it alongside clotted cream and shortbread cookies.
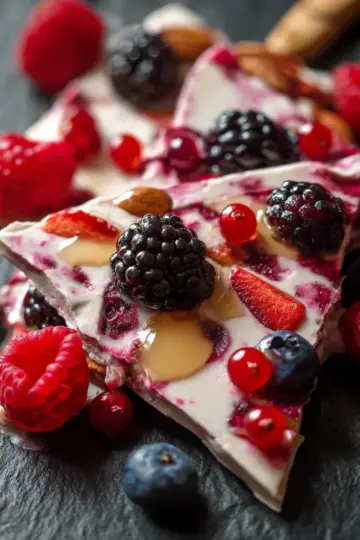
Unique uses for your homemade jam
Beyond breakfast, get creative with your strawberry jam! Use it as a delicious filling for cakes or pastries, or drizzle it over yogurt or ice cream for a refreshing dessert. You can even stir a spoonful into your favorite vinaigrette to add a sweet twist. Want to impress your guests? Mix strawberry jam into cocktails, like sparkling water or a mixer for mocktails. The possibilities are endless! For more ideas, check out this link.
Time Breakdown for Strawberry Jam
Preparation time
Get ready in just 10 minutes! In this brief window, you'll wash, hull, and chop those lovely strawberries.
Cooking time
The real magic happens during the 2 hours of cooking. Patience is key as the heat transforms your ingredients into that delicious strawberry jam you crave.
Total time
All in all, you’ll need 2 hours and 10 minutes from start to finish, giving you just enough time to daydream about how you’ll enjoy your homemade jam!
For tips on choosing the best strawberries, check out this guide on selecting fresh produce!
Nutritional Facts for Strawberry Jam
Serving Size Information
In this delightful strawberry jam recipe, each serving is just 1 tablespoon. With this portion, you can enjoy the vibrant flavor of fresh strawberries without overwhelming your diet.
Key Nutritional Highlights
Strawberry jam is not only delicious but also provides:
- Calories: 37 kcal per serving
- Carbohydrates: 9.5g, primarily from natural sugars in strawberries
- Potassium: 14mg, which supports healthy muscle function
- Fiber: 0.2g, contributing to digestive health
- Vitamin C: 6.6mg, an important antioxidant for your immune system
Spread this homemade strawberry jam joyfully across your breakfast items, knowing you're enjoying something that adds flavor and nutrition! For more information on the health benefits of strawberries, check out reputable sources like the USDA and Healthline.
FAQs about Strawberry Jam
How long does homemade strawberry jam last?
When properly stored, homemade strawberry jam can last for up to a year if sealed in sterilized jars and stored in a cool, dark place. Once opened, it’s best to enjoy it within 3 weeks if kept in the refrigerator. Always check for signs of spoilage, such as off smells or mold, before use.
Can I freeze strawberry jam for future use?
Absolutely! Freezing is a fantastic way to extend the life of your strawberry jam. Just make sure to leave some space at the top of the jar for expansion. You can also use freezer-safe containers or bags. It’s best enjoyed within a year but can last longer if stored properly.
What can I do if my jam didn’t set properly?
If your strawberry jam hasn’t set as expected, don’t fret! You can either re-cook the jam by adding a bit more sugar and pectin and simmering again, or you could even create a delightful strawberry sauce to drizzle over desserts. Sometimes, a little creativity is all you need! For a helpful guide on the setting process, check out The National Center for Home Food Preservation.
Conclusion on Homemade Strawberry Jam
Recap on why making strawberry jam is rewarding
Making homemade strawberry jam is truly a satisfying experience. Not only do you get to savor the fresh flavors of ripe strawberries, but the process allows for creativity and personalization. Homemade jam fills your kitchen with delightful aromas and tastes far superior to store-bought varieties. Plus, it’s a wonderful way to preserve summer’s bounty. Enjoying your own jar of strawberry jam brings a sense of accomplishment that store-bought never quite matches!
For more tips on preserving fruit and making delightful jams, check out this guide on preserving.
Strawberry Jam
Equipment
- Medium pot
- Candy thermometer
Ingredients
- 2 lbs strawberries halved
- 1.25 cups granulated sugar 250g
- 2 tablespoon lemon juice 30mL
Instructions
- Prep the strawberries by washing, hulling, and roughly chopping.
- Add the chopped strawberries, sugar, and lemon juice to a large pot. Place over medium-high heat.
- Stirring frequently, bring the berries to a boil. Reduce the heat to medium-low to keep the berries at a simmer.
- Let the jam simmer for about 45 minutes, frequently stirring, until the jam is thick and syrupy and reaches 220F on a candy thermometer.
- Check to see if it's ready by adding a small drop to the frozen plate. Return it to the freezer.
- Once it has thickened to your liking, remove the jam from the heat.
- When it’s done, pour the jam into a mason jar and chill overnight.
- Serve on French bread or scones.

Leave a Reply