
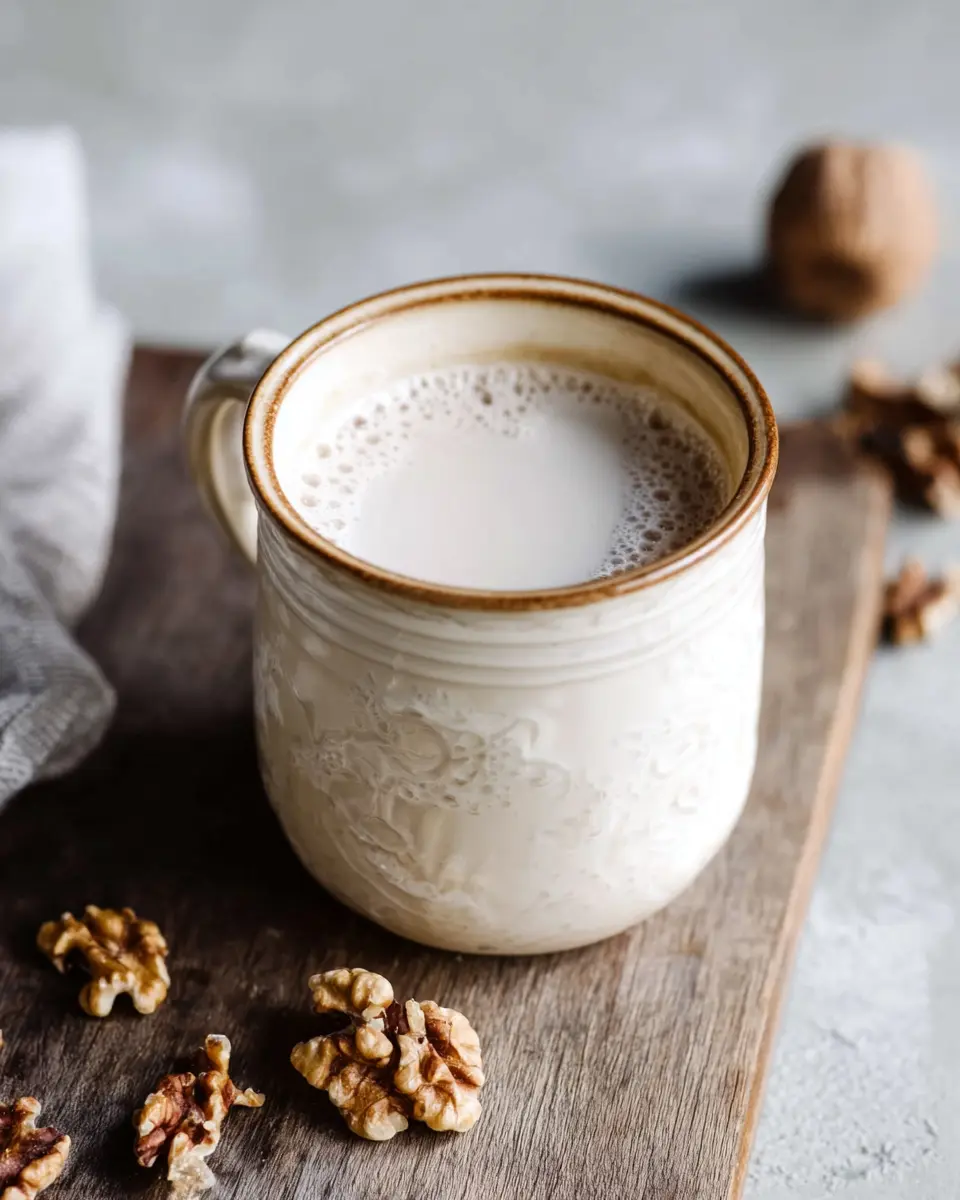
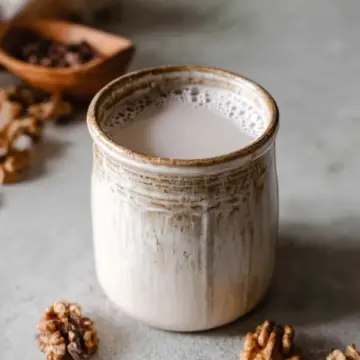
Introduction to Homemade Walnut Milk
Creating your own homemade walnut milk can be a delightful and rewarding experience. But why should you consider whipping up a batch at home instead of grabbing a carton from the store? For starters, homemade versions allow you to control the ingredients, ensuring everything is fresh and free from preservatives. Plus, you can customize the flavor to your liking—think hints of vanilla or a touch of sweetness from honey or maple syrup.
Another bonus? It's surprisingly quick and easy to make! In just about 15 minutes, you’ll have a creamy, delicious walnut milk that’s perfect for coffee, smoothies, and even cereal. And unlike many nut milks available in stores, this walnut milk contains no added stabilizers or sugar, making it a healthier choice to support your lifestyle.
Many people also find that making nut milks at home is more economical than purchasing them. According to a report from the Plant-Based Foods Association, plant-based milk sales have surged, but making it at home can still save you money in the long run. So grab your walnuts, and let’s dive into this simple yet satisfying recipe for homemade walnut milk!
Ingredients for Homemade Walnut Milk
Essential ingredients for creamy walnut milk
To whip up a batch of homemade walnut milk, you’ll need just a few straightforward ingredients that you probably already have in your pantry. Here’s what you'll need:
- 1 cup of walnuts: These nutrient-dense nuts are not only the star of your milk but also packed with omega-3 fatty acids.
- 3 cups of water: This acts as the base for your smooth, creamy milk.
- A pinch of salt (about ⅛ tsp): This enhances the flavor and brings out the natural nuttiness of the walnuts.
If you want to get started on this quick recipe, check out this link for high-quality walnuts.
Optional add-ins for flavor enhancement
To take your walnut milk from simple to sensational, consider these optional flavor enhancers:
- 1-2 teaspoons of vanilla extract: This adds a delightful sweetness and aromatic quality to your milk.
- 1-2 tablespoons of honey, or alternatives like dates or maple syrup: A natural sweetener will round out the flavors nicely.
With these basic ingredients and a few optional add-ins, you’re just moments away from enjoying a homemade beverage that’s not only delicious but also packed with nutrients!
Step-by-step Preparation of Homemade Walnut Milk
Making your own homemade walnut milk is not only affordable, but it also allows you to control the ingredients—ensuring you get the pure, delicious taste of walnuts. Whether you’re using it in smoothies, coffee, or simply enjoying it straight from the glass, homemade walnut milk adds a creamy touch to your diet. Here’s how to whip up a batch step-by-step.
Gather your ingredients and tools
Before you dive into the process, take a moment to gather everything you need. This makes the preparation smooth and enjoyable. You will need:
- 1 cup walnuts – Make sure to choose high-quality, fresh walnuts for the best flavor.
- 3 cups water – Filtered water is preferred for a cleaner taste.
- A pinch of salt (approximately ⅛ tsp) – This enhances the flavor.
- Optional extras:
- 1-2 teaspoons of vanilla extract for sweetness
- 1-2 tablespoons of honey, dates, or maple syrup for a touch of sweetness
Tools required include a small pot, strainer, and a high-speed blender. A nut milk bag or fine mesh strainer will be essential for the final step.
Softening the walnuts
Start by placing your walnuts in a small pot and covering them with water. Bring it to a boil, then reduce the heat to let it simmer for about 5-10 minutes. Softening the walnuts is crucial as it helps release their natural oils, creating a richer and creamier homemade walnut milk. Plus, it ensures a smooth blending process.
Straining and rinsing the walnuts
After simmering, strain your walnuts using a fine mesh strainer. Rinse them under cool water until the water runs clear. This step removes any residual bitterness and prepares the walnuts for the blending phase.
Blending the walnuts into milk
Next, transfer the rinsed walnuts back into your blender. Add your filtered water, salt, and any optional add-ins you wish. Blend on high for about one minute, or until the mixture becomes smooth and creamy. This is where the magic happens—watch as the walnuts transform into a luscious base for your walnut milk.
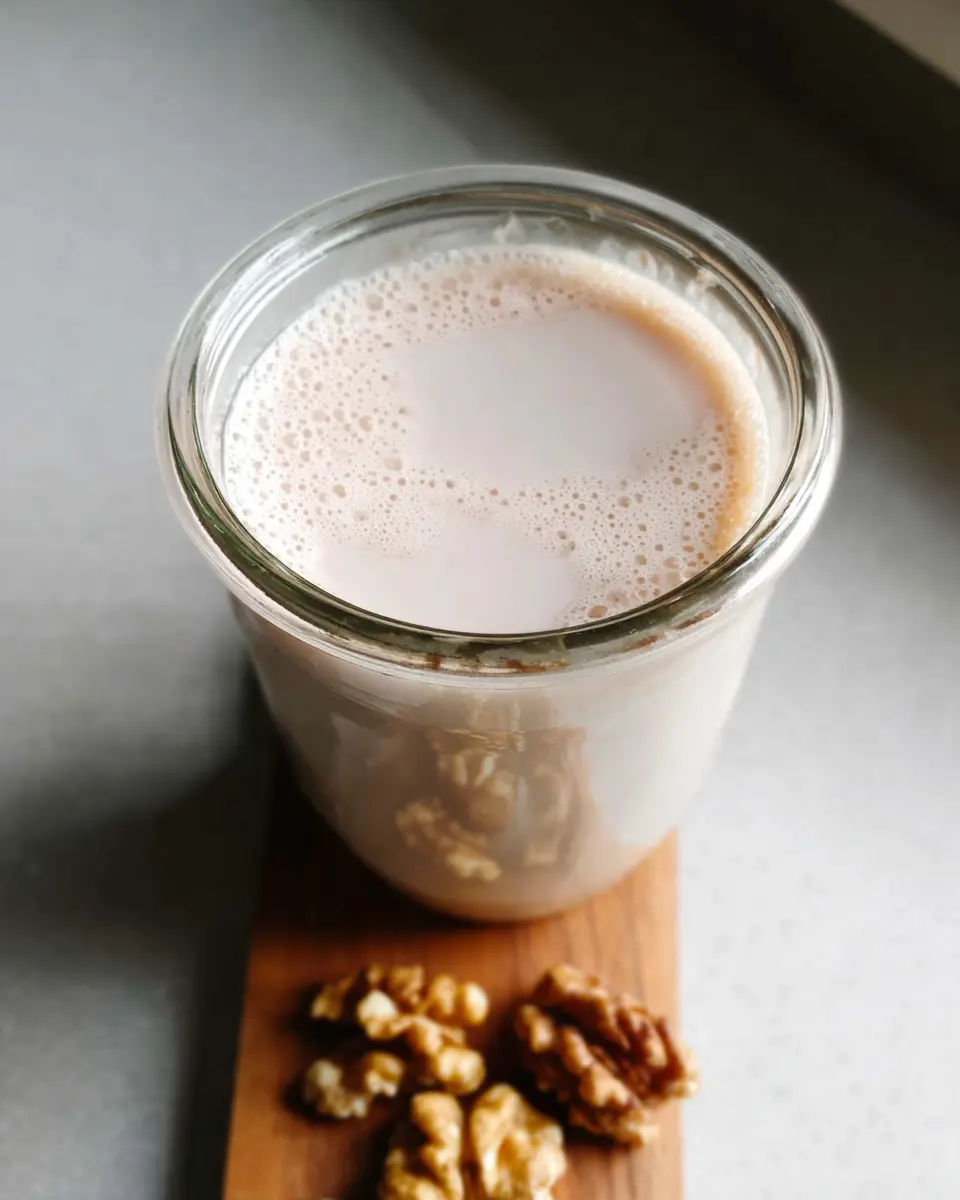
Straining the milk
Once blended, you’ll need to strain the mixture to separate the pulp from the liquid. Using a nut milk bag or fine mesh strainer, pour the blended walnut mixture through. You may need to do this 2-3 times to achieve that silky smooth texture you desire. Rest assured, walnuts don’t produce as much pulp as other nuts, so this process is usually quick and easy.
Storing your walnut milk
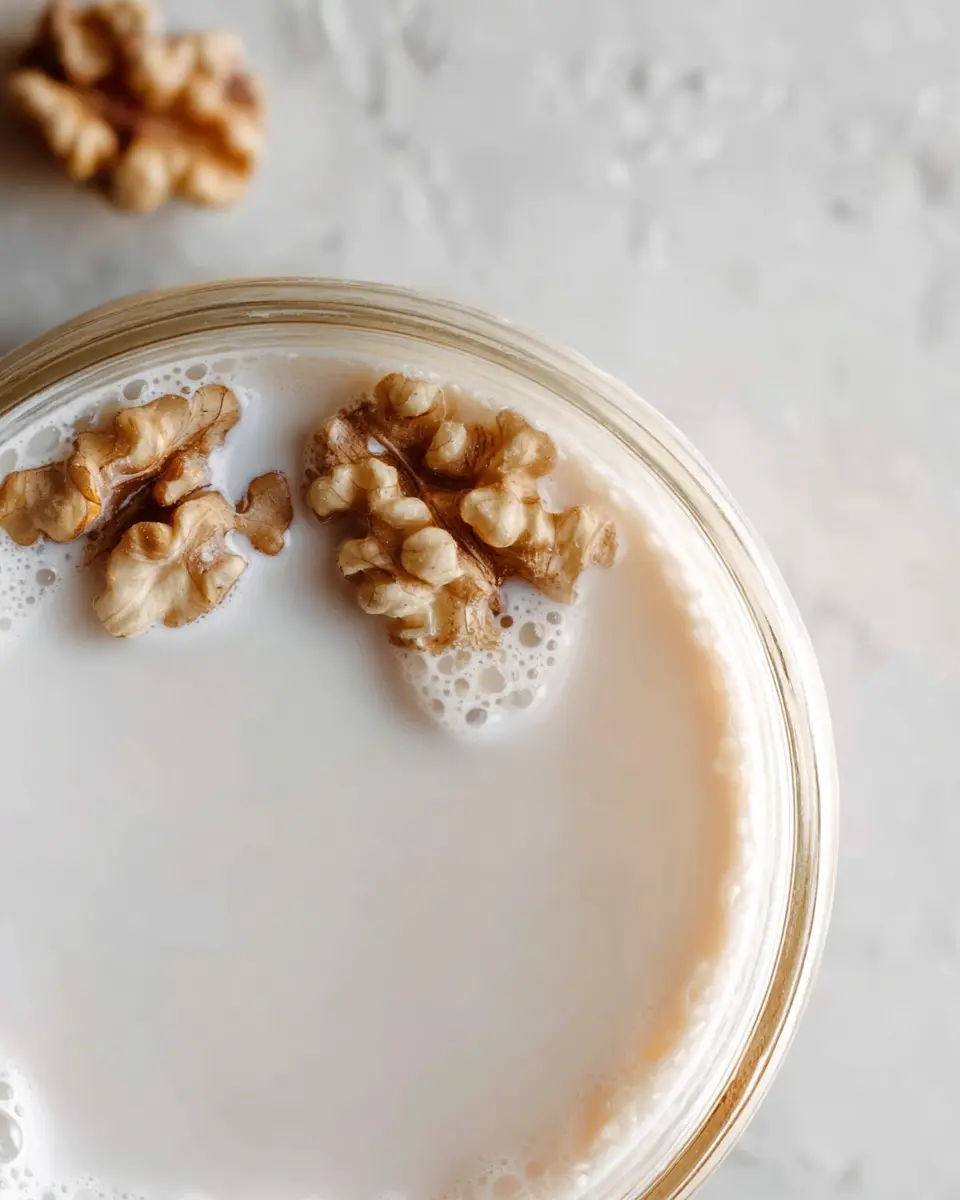
Finally, transfer your freshly made walnut milk into glass jars or bottles with airtight lids. Store it in the refrigerator, where it should stay fresh for about three days. Since you’re enjoying it homemade, it’s best to consume it within this timeframe for optimal flavor.
With these simple steps, you’ll have a delicious, creamy homemade walnut milk ready to enhance your beverages and meals. Enjoy the process, savor the results, and revel in the satisfaction of making something truly nourishing!
Variations of Homemade Walnut Milk
Sweetened Walnut Milk Options
If you prefer a touch of sweetness in your homemade walnut milk, there are delightful options to consider. You can easily add 1-2 tablespoons of honey, agave syrup, or maple syrup for a natural sweetener. For a lower sugar alternative, try using ripe mashed bananas or dates, which blend beautifully and contribute a unique flavor. Customize your sweetness level to your taste, looking for that perfect balance between nutty richness and sugary delight!
Flavored Walnut Milk Options
To elevate your homemade walnut milk, consider infusing it with flavor. A splash of vanilla extract or a sprinkle of cinnamon can transform your drink into a comforting treat. For something bolder, experiment with cocoa powder for a chocolatey twist or a dash of almond extract for extra nutty depth. You can even blend in fresh fruits like strawberries or blueberries for a fruity fusion! Think about your favorite flavors and let your creativity flow—this is your walnut milk adventure!
Cooking Tips and Notes for Homemade Walnut Milk
Ensuring Creaminess Without Excess Pulp
To achieve the perfect creamy texture in your homemade walnut milk, use a high-speed blender and strain the mixture through a fine mesh strainer or a nut milk bag. Walnuts naturally produce less pulp than other nuts, so straining just 2-3 times will yield a smooth and velvety milk. If you want to further enhance the creaminess, consider adding a pinch of vanilla extract during blending for a delicious twist.
Storage Tips for Freshness
Once prepared, your homemade walnut milk will stay fresh in the fridge for about three days. Since it doesn’t contain preservatives, it’s best to make small batches—enough to enjoy within this timeframe. For optimal freshness, store it in airtight glass jars, which also helps maintain flavor and nutrients. For tips on maximizing freshness, check out this guide from The Kitchn.
Serving Suggestions for Homemade Walnut Milk
Drinks and Breakfast Options
Once you’ve whipped up your homemade walnut milk, the possibilities are endless! Enjoy it in a cozy cup of coffee or espresso for a nutty twist on your morning routine. Want to perk up your breakfast? Pour it over oatmeal or whole-grain granola, and watch the flavors blend beautifully. You can even use it as a base for smoothies, mixing it with your favorite fruits, greens, or protein powders for a satisfying start to your day.
Recipes That Pair Well with Walnut Milk
If you’re looking to get creative, consider adding homemade walnut milk to your baking recipes. It's a fantastic addition to pancakes and muffins, bringing a rich, nutty flavor that elevates the dish. For a more savory option, try using it in creamy soups or sauces to achieve that perfect consistency and added nutrition.
Explore a world of flavors and textures by incorporating walnut milk into your dishes. What will you try first?
Time Breakdown for Homemade Walnut Milk
Preparation Time
To whip up a batch of delicious homemade walnut milk, you'll need just about 5 minutes for preparation. This includes gathering your ingredients and prepping the walnuts for cooking.
Cooking Time
The cooking time is fairly quick at 10 minutes. You’ll simmer the walnuts, allowing them to soften just right for blending.
Total Time
In under 15 minutes, you’ll have smooth and creamy homemade walnut milk ready to enjoy. It’s an easy, nutritious addition to your meals!
Nutritional Facts for Homemade Walnut Milk
Calories per serving
A typical serving of homemade walnut milk contains approximately 154 calories. This makes it a nourishing choice for a light snack or a delicious ingredient in smoothies and cereals.
Protein content
Each cup provides around 4 grams of protein. While not as high as some nut milks, it offers a decent protein boost that contributes to your daily intake, especially when combined with other sources.
Healthy fat breakdown
With 19 grams of fat per cup, homemade walnut milk is rich in healthy fats, primarily omega-3 and omega-6 fatty acids. These are essential for brain health and can promote heart health, making this milk a wholesome addition to your diet.
For more insights on the nutritional benefits of walnuts, check out this article on Healthline.
FAQ about Homemade Walnut Milk
Can I make walnut milk without boiling?
Yes, you can definitely make homemade walnut milk without boiling! While boiling helps to soften the walnuts and enhance their creaminess, you can simply soak them in water for 4-6 hours instead. This method will still yield a delicious milk, though boiling can save you some time.
How long does homemade walnut milk last?
Once prepared, your homemade walnut milk will last in the fridge for about 3 days. Since it doesn’t contain preservatives like store-bought options, consuming it fresh is key to enjoying its flavor and nutritional benefits. If you find you regularly have leftovers, consider scaling down your recipe!
What are the health benefits of walnut milk?
Walnut milk is free from lactose and is rich in omega-3 fatty acids, which are great for heart health. It also contains antioxidants that can help reduce inflammation. Plus, it’s a good source of vitamins and minerals like magnesium and phosphorus.
Can I use other nuts for nut milk?
Absolutely! Feel free to experiment with other nuts such as almonds, cashews, or hazelnuts for different flavors and nutritional profiles. Each nut will bring its own unique taste and texture to your nut milk recipes, allowing you to tailor them to your liking.
Conclusion on Homemade Walnut Milk
In conclusion, homemade walnut milk is a delightful and creamy alternative to store-bought options. With just a few simple ingredients and minimal prep time, you can enjoy this nutritious milk in your favorite beverages or recipes. Don't hesitate to experiment with flavors — it's a versatile treat!
Homemade Walnut Milk
Equipment
- small pot
- High speed blender
- nut milk bag
- Fine-mesh strainer
Ingredients
Walnut Milk Ingredients
- 1 cup walnuts
- 3 cups water
- 1 pinch salt about ⅛ tsp
- 1-2 teaspoons vanilla extract optional
- 1-2 tablespoons honey or can use dates or maple syrup, optional
Instructions
Preparation Steps
- Add the walnuts to a small pot and cover with water.
- Bring to a boil, then let simmer for 5-10 minutes to allow the walnuts to soften.
- Strain and rinse well until the water runs clear.
- Add to a high speed blender with the water, salt and any optional ad-ins.
- Blend until completely smooth, about 1 full minute.
- Use a nut milk bag to strain once or run through a fine mesh strainer 2-3 times until little pulp remains.
- Transfer to glass jars and store in the fridge.


Leave a Reply