
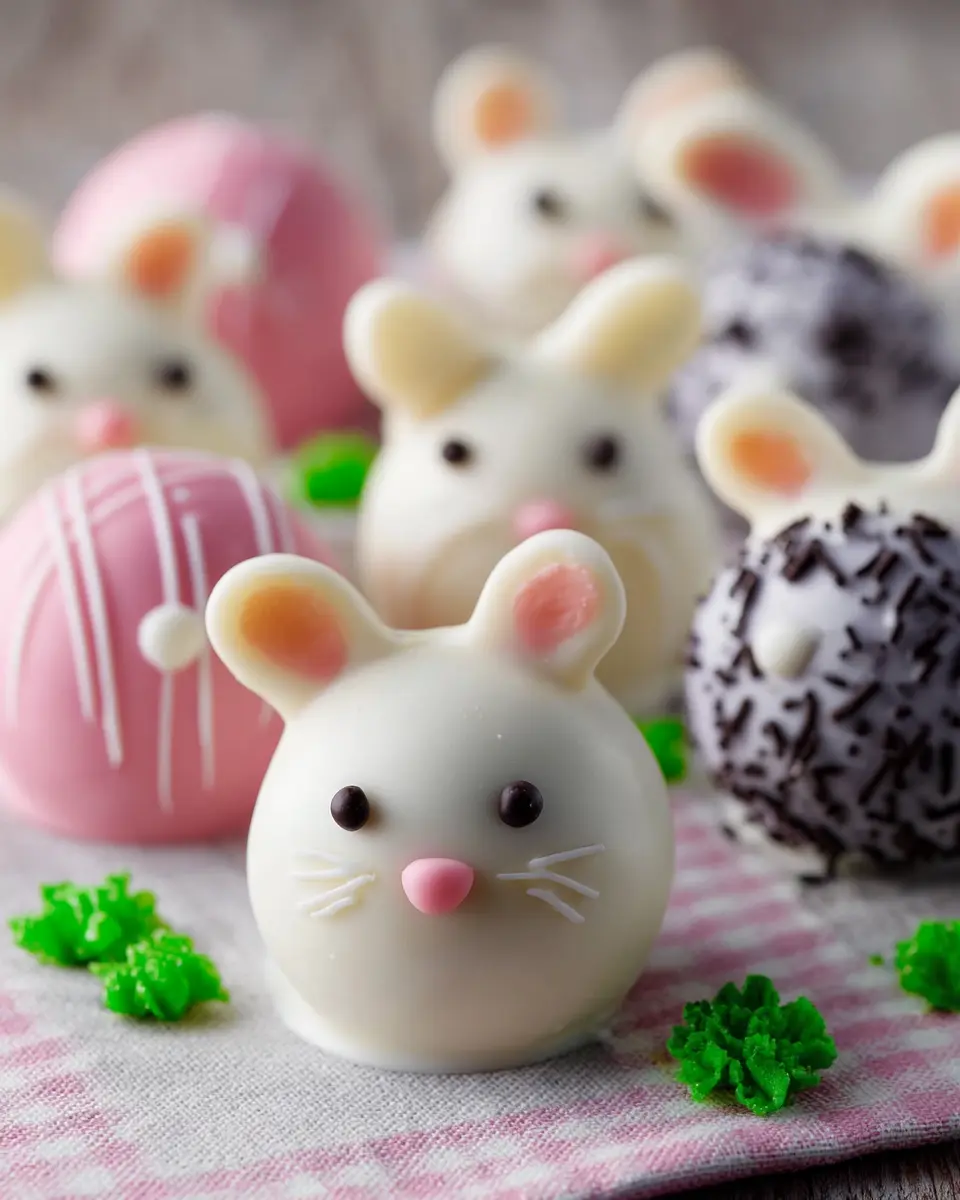
Introduction to Bunny OREO Balls
Easter is a time of joy, celebration, and of course, delicious treats! If you’re looking for an easy and fun homemade dessert to share with friends and family, Bunny OREO Balls are the way to go. These delightful treats are not only a feast for the taste buds but also a visual delight with their charming white chocolate coating and adorable icing bunny feet.
Why are Bunny OREO Balls the perfect homemade treat? First, they require minimal ingredients—just OREO cookies, cream cheese, and white chocolate melting wafers. This makes them accessible for even the busiest home cook. With a prep time of just 20 minutes and a little chilling time, you'll spend more time enjoying your creation than in the kitchen.
Furthermore, these no-bake desserts are perfect for gatherings or as a special surprise for loved ones. The simplicity of the recipe allows for customization; consider adding some colorful sprinkles or different decorations. You can find more engaging baking inspiration and tips at websites like Taste of Home or Food Network.
So, are you ready to dive into this delightful treat? Let's hop right into the Bunny OREO Balls recipe that will surely bring smiles to everyone around the table!
Ingredients for Bunny OREO Balls
Creating Bunny OREO Balls is a fun and easy way to celebrate Easter! Here’s what you’ll need:
Main ingredients you'll need
To whip up these delightful treats, gather the following key ingredients:
- 36 OREO Cookies: The base of our dessert, providing a rich chocolaty flavor.
- 8 oz cream cheese: Softened, this creamy ingredient binds the cookie crumbs for a deliciously rich texture.
- 16 oz white chocolate melting wafers: These will give your Bunny OREO Balls that lovely, sweet coating.
- Candy Bunny Decorations: To bring your treats to life, use adorable candy bunnies or icing to add a festive touch.
Once you have these essentials, you’ll be all set for a fun baking session!
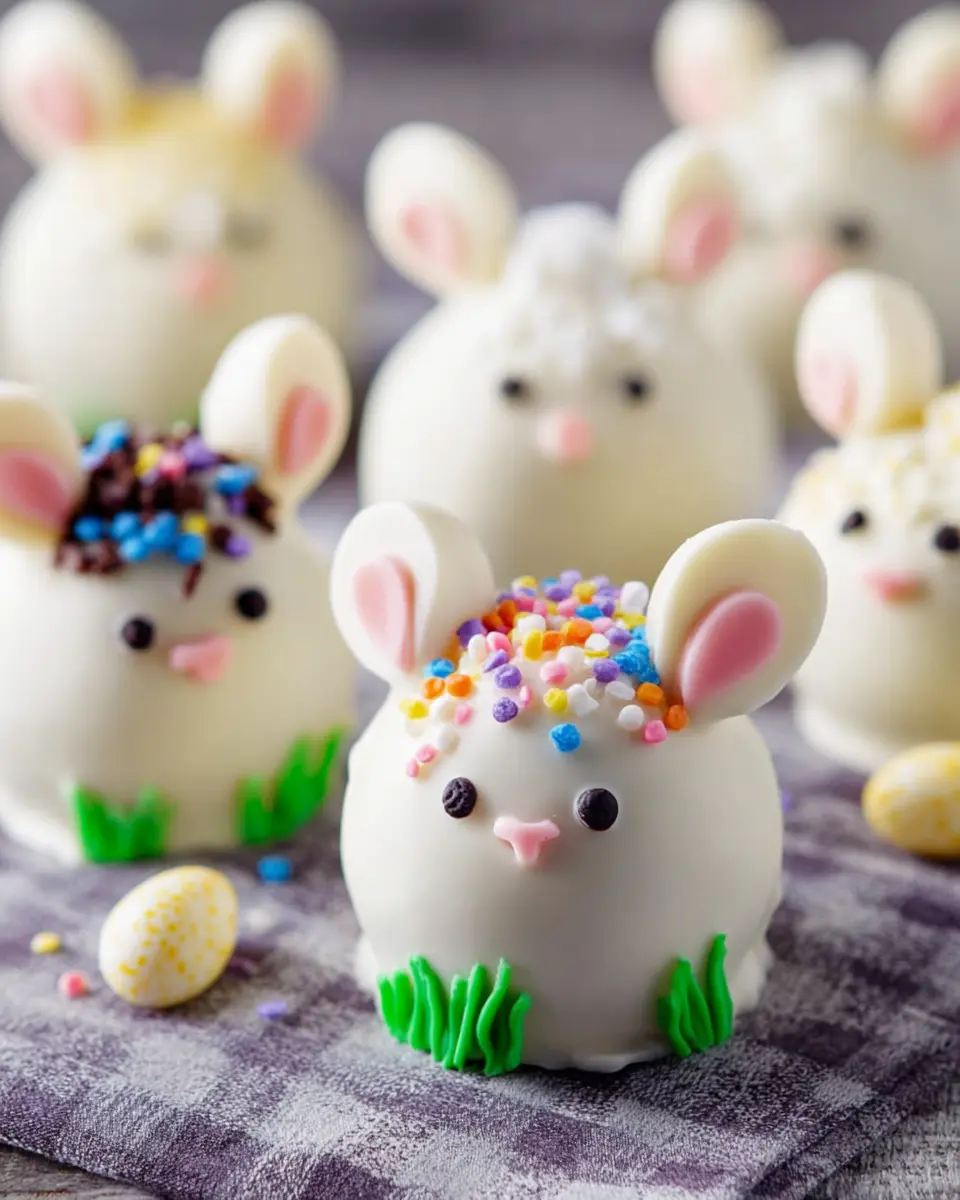
Optional decorations for that extra touch
While the main ingredients shine, consider adding some festive decorations to elevate your Bunny OREO Balls. Here are a few ideas:
- Colored Sprinkles: Perfect for a bit of color.
- Mini Chocolate Chips: Use these to create bunny eyes or other fun designs.
- Icing: Pipe on cute bunny footprints or little faces for that sweet touch.
These touches can truly transform your dessert from simple to spectacular!
Step-by-step preparation for Bunny OREO Balls
Creating Bunny OREO Balls is a delightful way to celebrate Easter, and it’s easier than you might think! Let’s get started with this step-by-step guide to make sure you have a hopping-good time in the kitchen.
Crumble those OREO cookies
First things first, you’ll want to get your hands on 36 OREO cookies. Trust me, this part is therapeutic! Use a food processor to pulse the cookies into fine crumbs. If you don’t have a food processor, no worries! You can seal them in a zip-top bag and crush them with a rolling pin. The key here is to make those crumbs as fine as possible, as this will help your Bunny OREO Balls hold their shape later on.
Mix with cream cheese for a creamy texture
Once your cookies are crumbled to perfection, it’s time to add some creaminess to the mix. Combine the cookie crumbs with 8 oz of softened cream cheese in a large bowl. Using a spatula or your hands, mix until everything is well incorporated. The mixture should feel a bit like dough—smooth and creamy. This step is crucial for that rich texture.
For some added flavor in your Bunny OREO Balls, consider blending in a splash of vanilla extract.
Chill to make shaping easier
Now let’s make the magic happen! After you’ve mixed everything together, cover the bowl with plastic wrap or a lid. Pop it into the refrigerator for about 10 minutes. Chilling the mixture will make it much easier to scoop and shape into balls later. Plus, it enhances the flavors—win-win!
Form into delightful little balls
Once your mixture is chilled, it’s time to scoop! Grab a cookie scoop or a tablespoon and portion out about 1 inch balls. Place each ball onto a parchment paper-covered baking sheet. After shaping all the balls, return the sheet to the fridge for another 20-30 minutes. This will ensure your Bunny OREO Balls hold their shape beautifully when you dip them in chocolate.
Dip in white chocolate and decorate
The final step brings in the sweetness! Melt your 16 oz of white chocolate melting wafers as per package directions. Dip each chilled ball into the melted white chocolate, letting any excess drip off. Place them back onto the lined baking sheet and decorate immediately with charming candy bunny decorations. Get creative here; a little personality goes a long way!
Once decorated, refrigerate your Bunny OREO Balls again until you’re ready to serve. These treats are sure to be a hit—perfect for any Easter gathering or just a sweet indulgence any day of the week!
Now you’re all set to impress your friends and family with these delightful Bunny OREO Balls. Happy making! For more festive ideas, check out Food Network or Epicurious for inspiration.
Variations on Bunny OREO Balls
Add a touch of flavor with extracts
Want to level up your Bunny OREO Balls? Consider adding extracts like vanilla, almond, or even mint to the cream cheese mixture. Just a teaspoon will enhance the overall flavor profile and make these treats even more delightful. Imagine a peppermint twist during Easter!
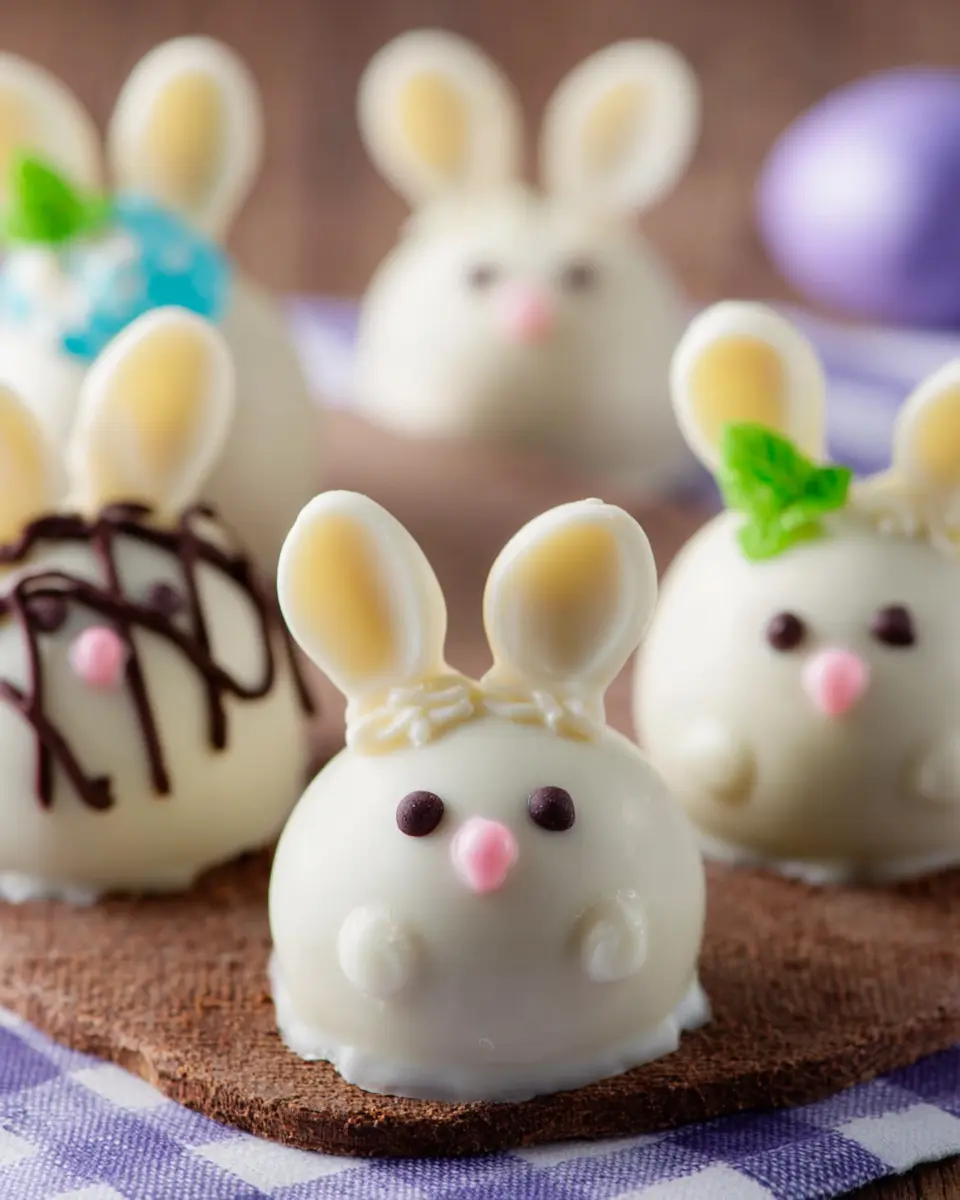
Make it colorful with different chocolate coatings
Why stick to just white chocolate? Try using colored melting wafers to create a vibrant assortment. Pink, blue, or even a rainbow of colors can make your Bunny OREO Balls pop on the dessert table. If you’re feeling particularly adventurous, consider a drizzle of dark chocolate for a striking contrast. This is a fabulous way to excite your guests and make your treats stand out!
Feel free to experiment and find your perfect combination. You’ll be on your way to crafting Bunny OREO Balls that are as unique as they are tasty!
Cooking Tips and Notes for Bunny OREO Balls
Keep Your Workspace Clean
When making Bunny OREO Balls, a tidy workspace can make a world of difference. Before you start, clear your counters and gather all your ingredients. Lay down some parchment paper for easy cleanup. As you go along, keep damp paper towels nearby to quickly wipe up any spills, ensuring a pleasant and hassle-free cooking experience!
Best Practices for Melting Chocolate
Melting chocolate can be tricky, but with a few techniques, you'll achieve that perfect smooth consistency. Use a microwave-safe bowl and heat the white chocolate wafers in short intervals (30 seconds at a time), stirring in between. This helps prevent burning and clumping. If you’re looking for more tips, consider checking out resources like The Chocolate Life for expert advice. Once melted, dip your chilled OREO balls swiftly to get that beautiful coating—remember, timing is key!
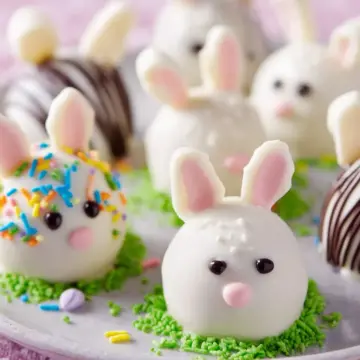
Serving suggestions for Bunny OREO Balls
How to display for a festive occasion
Elevate your Bunny OREO Balls presentation with a cheerful display. Arrange them on a colorful, themed platter surrounded by pastel-colored candies, like jellybeans or chocolate eggs. You could even use a decorative stand or tiered tray to add height and interest. For an extra touch, place small fake grass layers underneath the balls to mimic a springtime scene.
Pairing ideas for a fun dessert spread
Consider serving your Bunny OREO Balls alongside other delightful treats for a vibrant dessert table. Think mini carrot cakes, spring-themed cupcakes, or fruit skewers featuring strawberries and pineapple. To balance the sweetness, you could include a refreshing non-alcoholic lemonade or iced tea. With these pairings, your dessert spread will feel like a festive celebration everyone will enjoy!
For more tips on dessert setups, check out this guide to dessert tables.
Time Breakdown for Bunny OREO Balls
Preparation Time
To kick off the fun, you'll need about 20 minutes to prepare your Bunny OREO Balls. This includes crushing the cookies and blending the mixture for a smooth, creamy texture.
Chilling Time
Next, allow the mixture to chill for at least 30 minutes. This crucial step helps the balls hold their shape when rolling and dipping, ensuring a flawless treat.
Total Time
In just 50 minutes, you can create these delightful, no-bake dessert bites that are perfect for your Easter gatherings. Why not put on your favorite music while you prep? You'll find that these Bunny OREO Balls not only taste fantastic but are fun to make too!
For additional tips on fun Easter treats, check out resources like The Spruce Eats for inspiration. Happy baking!
Nutritional Facts for Bunny OREO Balls
When you indulge in Bunny OREO Balls, it's good to know what you're treating yourself to! Here are some key nutritional facts to keep in mind:
Calories
Each Bunny OREO Ball contains approximately 110 calories. So, if you're thinking of sharing these adorable treats, make sure you factor those calories in!
Sugar Content
With the sweetness of OREO cookies and white chocolate, each ball packs in about 8 grams of sugar. It’s a delightful indulgence, perfect for special occasions like Easter.
Fat Content
You’ll find around 6 grams of fat per ball, primarily from the cream cheese and chocolate. This gives them a rich taste—ideal for satisfying a sweet tooth!
For more insightful nutritional guidance, check out the USDA FoodData Central. Enjoy these heavenly treats responsibly!
FAQs about Bunny OREO Balls
How can I store my Bunny OREO Balls?
To keep your Bunny OREO Balls fresh and delicious, store them in an airtight container in the refrigerator. They’ll stay tasty for about a week. If you want to make them ahead of time, you can also freeze them! Just make sure to place parchment paper between layers to prevent sticking. Thaw them in the fridge before serving, and they'll taste just as delightful as the day you made them.
Can I use regular chocolate instead of white chocolate?
Absolutely! While white chocolate gives these Bunny OREO Balls a fun Easter vibe, you can use milk or dark chocolate if that’s your preference. Just make sure to adjust the melting process as each type of chocolate may have different melting points. The key is to dip your OREO Balls while the chocolate is still warm for the best coating.
What are some alternatives for cream cheese?
If cream cheese isn’t your thing, there are several alternatives you can use in your Bunny OREO Balls. Mascarpone cheese is a smooth, creamy option that works wonderfully. For a dairy-free version, consider using vegan cream cheese or nut-based cream cheeses like almond or cashew. Just ensure they are softened for easy mixing with the OREO crumbs!
Conclusion on Bunny OREO Balls
Bunny OREO Balls are a delightful addition to any Easter celebration, combining simple ingredients into a charming treat. Their white chocolate coating and playful bunny feet will surely impress your guests. Make a batch this season and enjoy the smiles they bring at your spring gatherings!
Bunny OREO Balls: Fun Easter Treats
Equipment
- Food processor
- baking sheet
- parchment paper
Ingredients
Main Ingredients
- 36 cookies OREO Cookies
- 8 oz cream cheese softened
- 16 oz white chocolate melting wafers
- Candy Bunny Decorations
Instructions
Main Instructions
- Place OREO cookies in a food processor and pulse into fine crumbs.
- Combine cookie crumbs and softened cream cheese until fully mixed.
- Refrigerate mixture for 10 minutes.
- Scoop into 1 inch balls and place on a parchment-covered baking sheet. Refrigerate for 20-30 minutes or until they hold their shape.
- Melt white chocolate according to package directions. Dip OREO balls into chocolate and shake off excess. Place on a lined baking sheet and decorate one at a time with bunny decorations.
- Refrigerate until ready to serve.


Leave a Reply