
Introduction to Easter Egg Cheesecake Jars
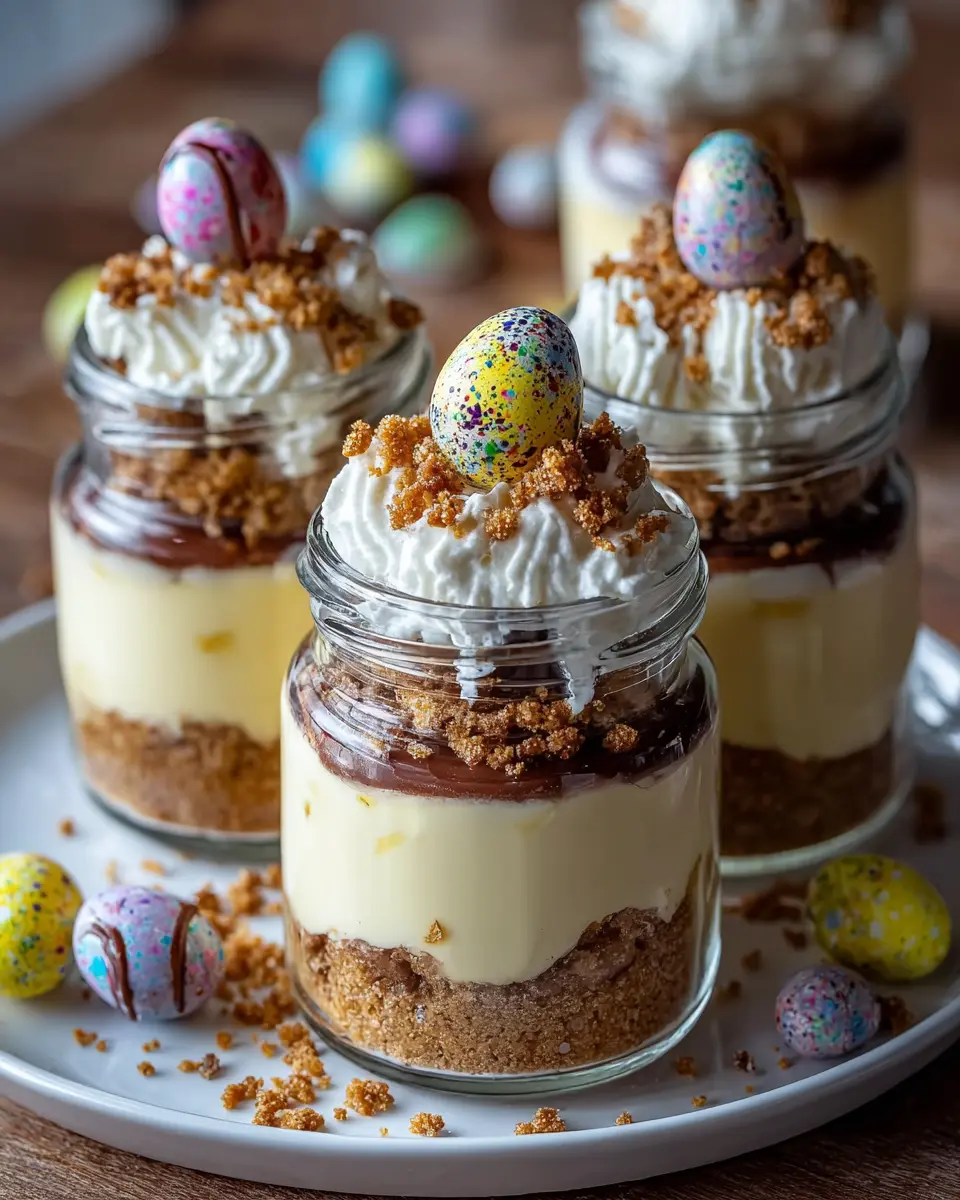
Easter is just around the corner, and what better way to celebrate than with some homemade delights? These Easter Egg Cheesecake Jars are not only visually stunning but also incredibly delicious. The contrast of creamy cheesecake filling and crunchy graham cracker crust, topped with colorful Easter candies, creates a dessert that’s guaranteed to impress your family and friends.
Why Homemade Desserts Are Worth It?
Creating your desserts at home allows for an unmatched personal touch. You can customize flavors, use fresh ingredients, and avoid artificial additives that often come with store-bought options. In fact, studies show that people who bake at home tend to have a deeper appreciation for their meals. Plus, there’s something satisfying about presenting your homemade creations—like these Easter Egg Cheesecake Jars—that store-bought options just can’t replicate.
Not only do homemade desserts taste better, but they also allow you to connect with the holiday spirit more intimately. Whether you are preparing for a family gathering or a casual get-together with friends, whipping up a batch of these adorable jars is a fun way to get everyone involved. And let’s not forget the joy of sharing a sweet treat that you created from scratch!
Ready to dive in? Let’s make these delightful jars and sweeten up your Easter celebrations!
Ingredients for Easter Egg Cheesecake Jars
Making delicious Easter Egg Cheesecake Jars is a fun and creative way to celebrate the holiday! Here’s what you’ll need to whip up these delightful treats:
- 8 oz cream cheese: Make sure it’s softened for easy blending.
- ½ cup powdered sugar: This adds the perfect touch of sweetness to your cheesecake filling.
- 1 teaspoon vanilla extract: A little vanilla goes a long way in enhancing the flavor.
- 1 cup heavy cream: Whipped to stiff peaks, it adds a luscious texture.
- 1 cup crushed graham crackers: These will form the crunchy base of your jars.
- ¼ cup unsalted butter, melted: It binds the graham cracker crumbs together.
- Mini chocolate eggs or Easter candies: For the colorful and festive topping.
Be sure to source high-quality ingredients; they truly make a difference! You can find the best cream cheese brands in culinary blogs like Serious Eats or Food52. Enjoy crafting these sweets that are sure to impress at your Easter festivities!
Preparing Easter Egg Cheesecake Jars
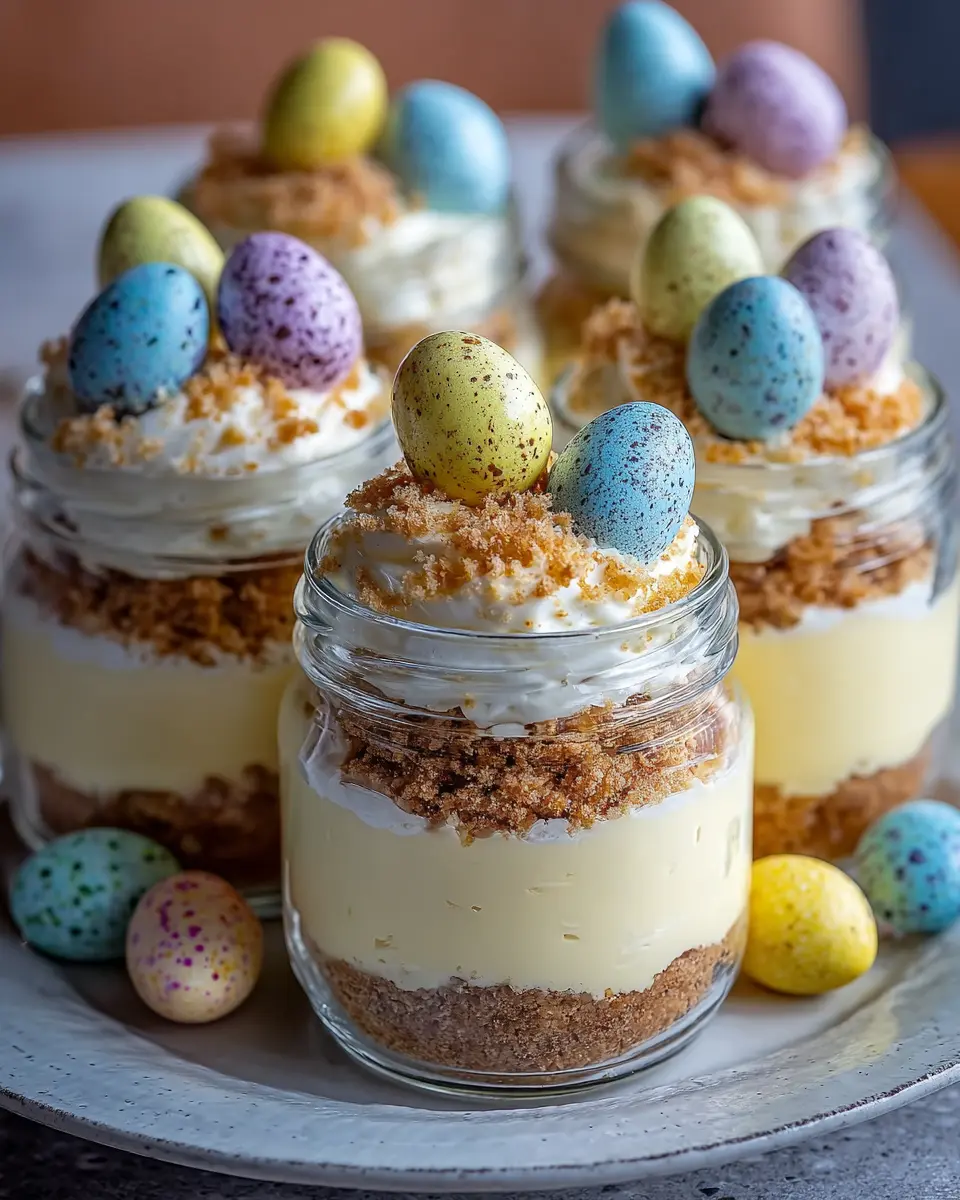
Easter is just around the corner, and what better way to celebrate than with Easter Egg Cheesecake Jars? These delightful little desserts are not only visually appealing but also packed with flavor. Whether you’re hosting a gathering or simply want to indulge on your own, these jars are sure to impress. Let’s walk through the simple steps to create this festive treat!
Prepare the cream cheese mixture
Start by making the star of your dessert – the cheesecake filling. In a mixing bowl, beat 8 oz of softened cream cheese until it’s smooth and creamy. This step is crucial as it sets the stage for the velvety texture you'll want in your Easter Egg Cheesecake Jars. Gradually add ½ cup of powdered sugar and 1 teaspoon of vanilla extract, mixing well until everything is combined. You want the mixture to be sweet and perfectly flavored, so take your time with this step!
Whip the heavy cream
Next up, let’s add that light and airy touch to our cheesecake. In a separate bowl, whip 1 cup of heavy cream until it forms stiff peaks. This is where it gets a bit fun! The whipped cream will provide the cheesecake with a delightful fluffiness, making it lighter on the palate. Once you’ve achieved those stiff peaks, gently fold the whipped cream into your cream cheese mixture. Remember, the goal here is to retain that wonderful airy texture, so be gentle!
Combine the graham cracker crust
No cheesecake is complete without its crust! In another bowl, combine 1 cup of crushed graham crackers with ¼ cup of melted unsalted butter. Mix these ingredients together until the crumbs are evenly coated. The buttery flavor of the crust will beautifully complement the creamy filling. If you want to take your crust to the next level, consider adding a pinch of cinnamon for a warm flavor twist.
Layer the jars
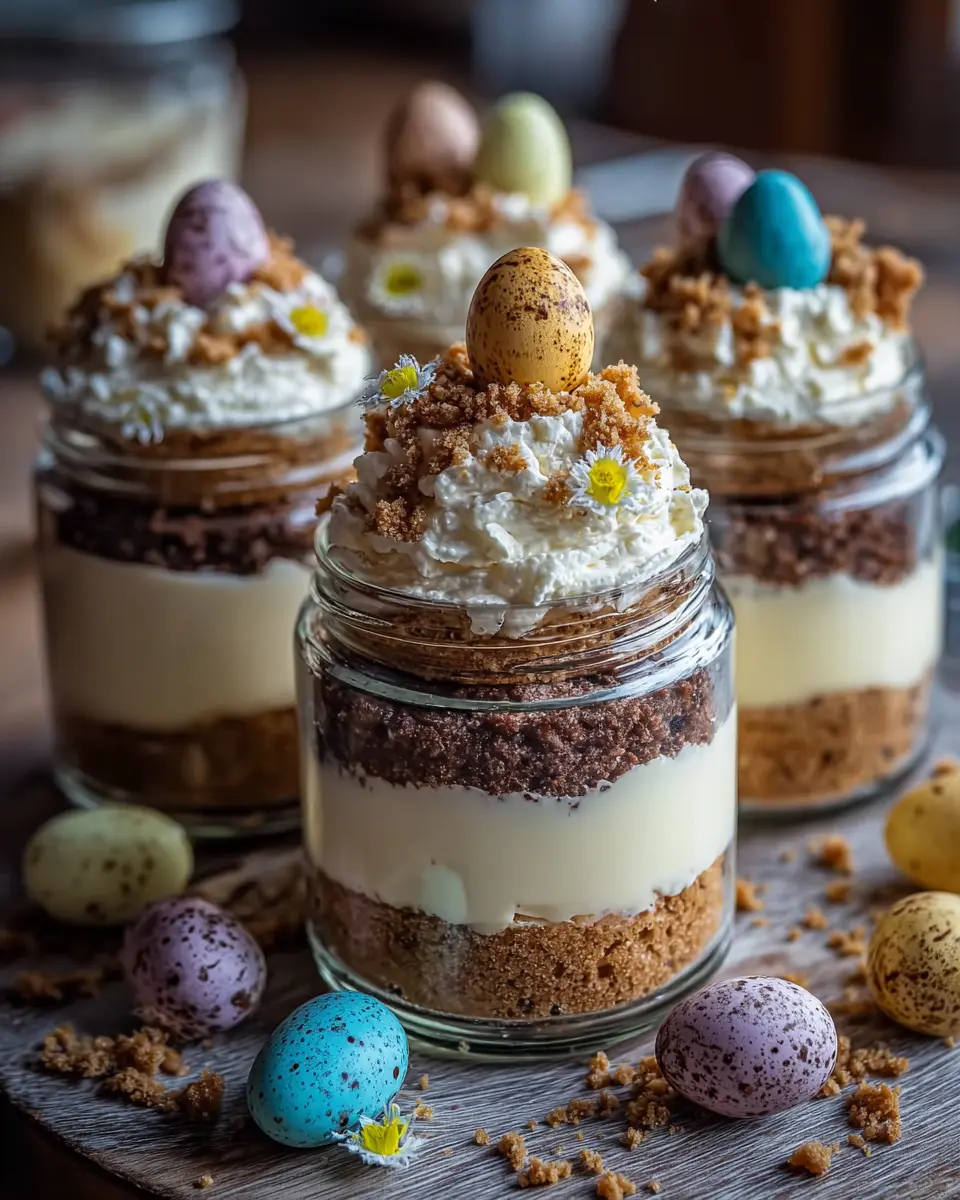
Now it’s time for the fun part – layering! Grab your small jars or cups and start with a layer of the graham cracker mixture. Then, spoon in a generous layer of the cheesecake filling over the crust. Repeat the layers until the jars are filled, making sure to leave a bit of space at the top for those delicious toppings. Each layer is a delightful surprise!
Chill and enjoy!
Once your jars are layered, it’s time to chill them in the refrigerator for at least 2 hours. This allows the flavors to meld together, creating a cohesive and delectable dessert. Before serving, top each jar with mini chocolate eggs or your favorite Easter candies. Not only will this add a dash of color, but it’ll also bring a delightful crunch. Once chilled, grab a spoon and enjoy your Easter Egg Cheesecake Jars – your taste buds will thank you!
For more fun and festive dessert ideas, check out resources like the American Pastry Association for inspiration!
Variations on Easter Egg Cheesecake Jars
Use different toppings
Elevate your Easter Egg Cheesecake Jars by experimenting with unique toppings! Consider fresh berries, crushed cookies, or even a drizzle of caramel sauce for an extra layer of flavor. Each topping adds a delightful twist and a pop of color, transforming your jars into a personalized dessert experience. Want to learn more about creative dessert toppings? Check out this in-depth guide on dessert garnishing.
Experiment with flavors
Don’t shy away from flavor variations! Instead of the classic vanilla, try adding lemon zest for a citrusy zing or use almond extract for a nutty essence. For chocolate lovers, you could even fold in cocoa powder to create a rich chocolate cheesecake filling. The possibilities are endless, making your Easter Egg Cheesecake Jars a canvas for your culinary creativity! What flavors do you love?
Baking Notes for Easter Egg Cheesecake Jars
When making your Easter Egg Cheesecake Jars, preparation is key! Start by letting the cream cheese soften at room temperature for easier mixing. This simple step can make a significant difference in achieving that smooth, creamy filling you want.
For an extra flavorful cheesecake, don't skip the vanilla extract—it's worth it.
Remember, refrigerating the jars for at least two hours is essential for a firmer texture and enhanced flavors. If you fancy a twist, feel free to experiment with different toppings like crushed cookies or seasonal fruits.
This festive dessert is all about personalization and fun! For more tips on cheesecake variations, check out this source.
Serving Suggestions for Easter Egg Cheesecake Jars
When it comes to Easter Egg Cheesecake Jars, presentation is key! Serve these delightful jars chilled for a refreshing dessert that screams celebration. Here are some serving suggestions to elevate your dessert experience:
-
Pair it with Fresh Fruits: A side of berries—like strawberries or blueberries—adds a burst of color and freshness. Their tartness beautifully balances the creamy sweetness of your cheesecake.
-
Add a Chocolate Drizzle: A simple drizzle of melted chocolate or a spoonful of chocolate sauce can intensify the dessert's flavor and aesthetics. Consider dark chocolate for an elegant touch.
-
Coffee or Tea: Serve alongside a rich cup of coffee or herbal tea. This combination makes for a wonderful end to any festive meal.
Want more festive ideas? Check out other dessert pairings here. Enjoy your Easter celebration!
Tips for Making Perfect Easter Egg Cheesecake Jars
Creating Easter Egg Cheesecake Jars is a breeze with a few handy tips. Start by ensuring your cream cheese is at room temperature; this will help achieve that silky-smooth consistency. When whipping the heavy cream, aim for stiff peaks—this is key for light and airy cheesecake.
Avoid overmixing when folding the whipped cream into the cream cheese mixture; gentle folding keeps your dessert fluffy. For an extra flavor punch, consider adding lemon zest or a splash of almond extract! Lastly, let your jars chill overnight if possible—this not only enhances the flavors but ensures that delightful firmness when you dig in. Enjoy every sweet and creamy bite!
Time details for Easter Egg Cheesecake Jars
Preparation time
Making your Easter Egg Cheesecake Jars takes about 20 minutes. In this short span, you’ll whip up a creamy filling that blends effortlessly with the crunchy graham cracker base.
Chilling time
After preparation, let your jars chill for at least 2 hours. This step is essential, as it allows the flavors to meld beautifully and the cheesecake to set.
Total time
In total, you’ll spend approximately 2 hours and 20 minutes creating these delightful desserts. Trust us; it’s worth every moment to bring this festive treat to life! For more tips on the importance of chilling desserts, check out this helpful guide on food prep.
Nutritional Information for Easter Egg Cheesecake Jars
When indulging in these delightful Easter Egg Cheesecake Jars, it’s helpful to understand the nutritional content to enjoy them mindfully. Each jar contains approximately:
- Calories: 350
- Sugar: 15g
- Protein: 4g
These jars offer a satisfying sweet treat while still being a manageable part of your dessert rotation. Consider mixing in some fruit or nuts for added nutrition! For deeper insights into balanced eating, check out resources like Nutrition.gov or Eatright.org.
FAQs about Easter Egg Cheesecake Jars
How can I make a low-sugar version?
If you're looking to enjoy Easter Egg Cheesecake Jars with less sugar, consider substituting the powdered sugar with a low-calorie sweetener like stevia or erythritol. You could also use Greek yogurt instead of some cream cheese for a tangy flavor and added protein. This way, you can savor the rich creaminess and cut down on sugar without sacrificing taste.
Can I make these jars ahead of time?
Absolutely! In fact, preparing your Easter Egg Cheesecake Jars a day or two in advance will allow the flavors to meld beautifully. Just be sure to keep them covered in the refrigerator. This not only enhances the taste but also makes entertaining a breeze—more time with guests, less time in the kitchen!
What are the best storage practices for cheesecake jars?
To keep your Easter Egg Cheesecake Jars fresh, store them in an airtight container in the refrigerator. If you plan to prepare them more than a few days in advance, consider freezing them. Just be sure to pop them out a few hours before serving for optimal taste and texture. For more tips on cheesecake storage, check out this helpful guide on cheesecake preservation from Food Network.
Enjoy your cheesecake adventure, and happy Easter!
Conclusion on Easter Egg Cheesecake Jars
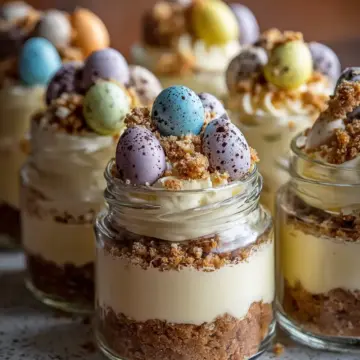
Easter Egg Cheesecake Jars are the perfect festive treat to elevate your spring gatherings. Their blend of creamy cheesecake and crunchy crust, adorned with colorful candies, is sure to impress friends and family. Try this recipe for a delightful dessert experience that’s easy to make and absolutely delicious!
Easter Egg Cheesecake Jars
Equipment
- mixing bowl
- Hand Mixer
- whisk
- spoons
- jars or cups
Ingredients
Cheesecake Mixture
- 8 oz cream cheese softened
- ½ cup powdered sugar
- 1 teaspoon vanilla extract
- 1 cup heavy cream
Graham Cracker Crust
- 1 cup crushed graham crackers
- ¼ cup unsalted butter melted
Topping
- Mini chocolate eggs or other Easter candies for topping
Instructions
Preparation
- In a mixing bowl, beat the softened cream cheese until smooth.
- Gradually add the powdered sugar and vanilla extract, mixing until well combined.
- In a separate bowl, whip the heavy cream until stiff peaks form, then gently fold it into the cream cheese mixture.
- In another bowl, combine crushed graham crackers with melted butter and mix well.
Layering
- In small jars or cups, layer the graham cracker mixture, followed by the cheesecake filling.
- Repeat the layers until the jars are filled.
- Top each jar with mini chocolate eggs or other candies.
Chilling
- Refrigerate for at least 2 hours before serving to allow the flavors to meld and the cheesecake to firm up.
Leave a Reply