
Introduction to Artisan Pizza Dough
The joy of homemade pizza
There’s nothing quite like the moment you pull a pizza out of the oven, the aroma wafting through your home. Homemade pizza isn’t just a meal; it’s an experience. Gathering ingredients, crafting your favorite toppings, and experimenting with flavors creates a personal touch that restaurant pizzas often lack. Whether it’s a cozy weeknight or a lively gathering, the chance to customize each pie makes it a fun endeavor.
Why artisan pizza dough is the game changer
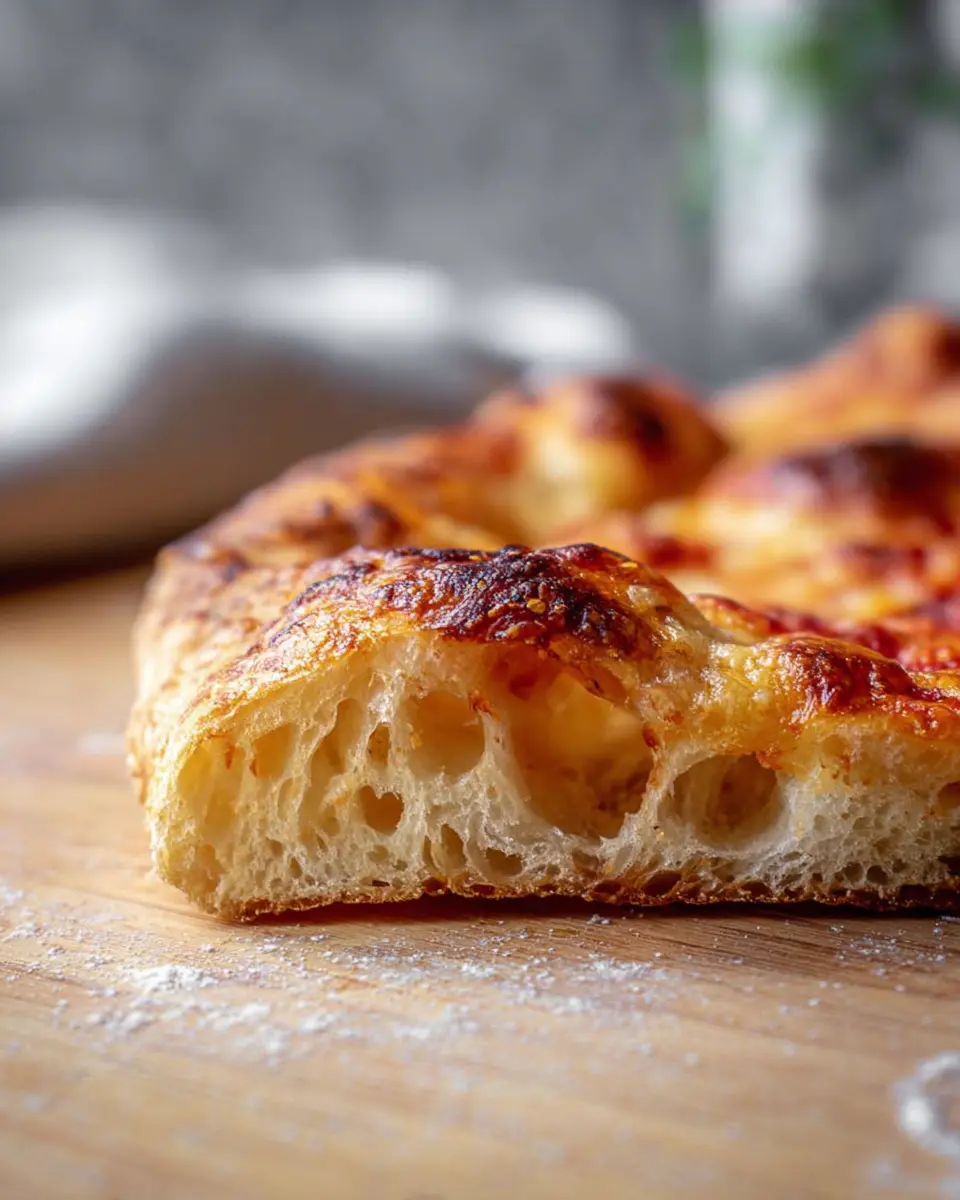
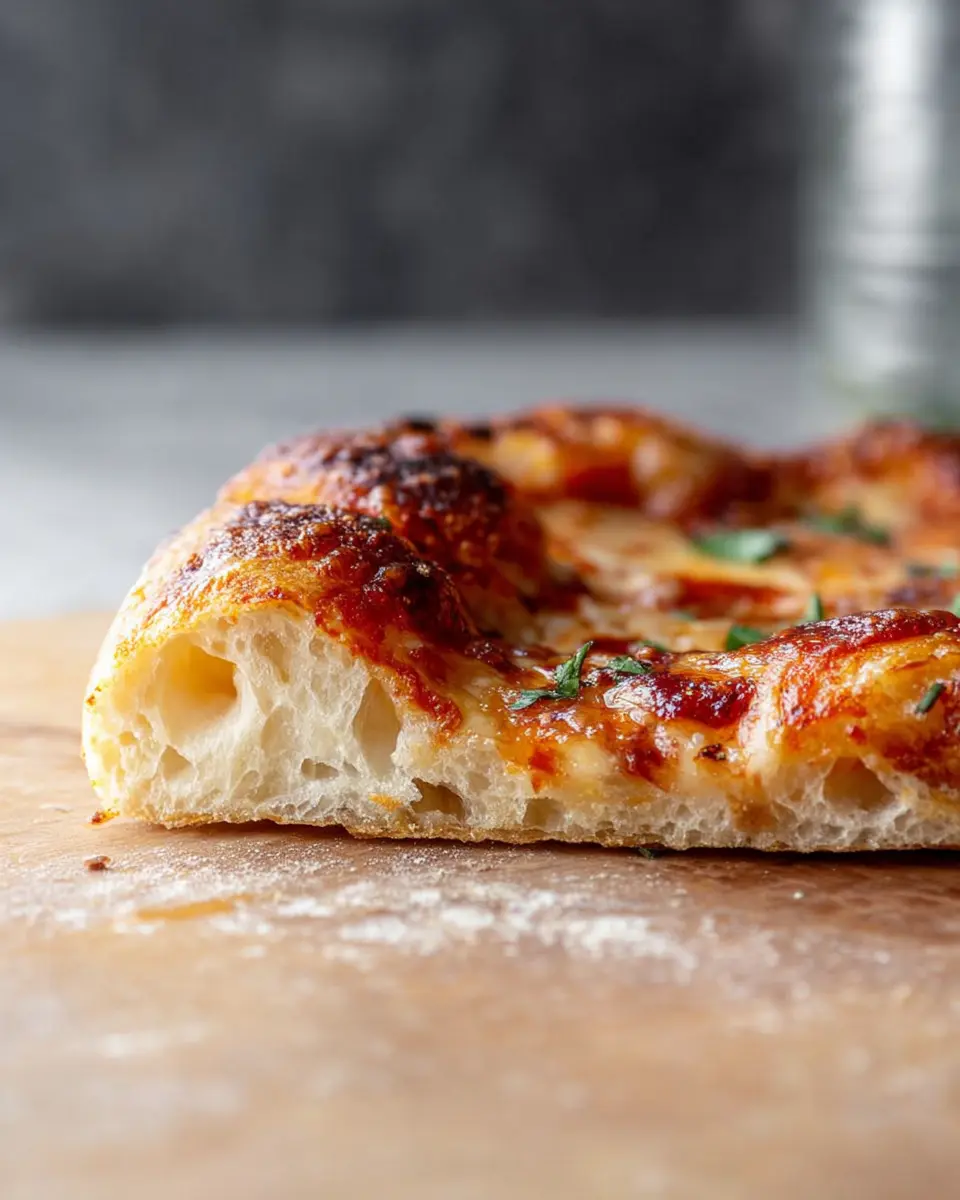
Now, speaking of personal touch, the secret to achieving that perfect crispy, chewy crust lies in artisan pizza dough. This dough is a game changer, primarily due to its high hydration levels and extended fermentation period. The result? A crust that’s not only flavorful but also boasts those delightful bubbly pockets that turn each bite into a true culinary delight.
Did you know that flour quality and preparation technique can significantly impact your pizza outcome? Flour with higher protein content creates better gluten structure, essential for that ideal bite. For more tips and insights, check out resources like King Arthur Baking for expert advice on your journey to pizza perfection.
By embracing artisan pizza dough, you’re not just making dinner; you’re embarking on a flavorful adventure that brings friends and family together over a shared love for great food. Let’s dive into the recipe that will transform your pizza night!
Ingredients for Artisan Pizza Dough
Essential Pantry Staples
Creating the perfect artisan pizza dough starts with a few essential pantry staples. You'll need:
- All-purpose flour: This is your primary ingredient, giving your dough structure and a chewy texture. Opt for high-quality flour for the best results.
- Active dry yeast: This tiny powerhouse helps your dough rise, creating that airy texture we all crave in great pizza.
- Fine salt: A crucial ingredient that brings out the flavors in your dough and controls yeast activity.
- Warm water: Hydration is key! Water activates the yeast and helps create that sought-after crust.
For a deeper dive into these ingredients, check out resources like King Arthur Baking.
Importance of High Hydration
One of the secrets behind a truly exceptional artisan pizza dough is high hydration. This means using a larger proportion of water relative to flour. Why does this matter? High hydration dough results in a more complex flavor and a wonderfully bubbly crust. As it ferments, the extra moisture allows the gluten to develop, contributing to that delightful chewiness. So, don’t shy away from that water; embrace the magic of hydration for the best results!
Step-by-step Preparation of Artisan Pizza Dough
Creating your own artisan pizza dough is not just a cooking endeavor; it's a delightful journey into the world of flavors and textures. Here’s how to go about it in five easy steps that will have your mouth watering at the thought of that crispy, chewy, and bubbly crust.
Mixing the ingredients
Start by gathering your ingredients: all-purpose flour, warm water, active dry yeast, and fine salt. In a large mixing bowl, combine 500g of flour with all but 1 tablespoon of the warm water. Mix them just until you get a shaggy mass—don’t overdo it! Cover the bowl and allow it to rest for 20 minutes. Meanwhile, sprinkle the yeast over the remaining water to dissolve it. This gentle approach helps to activate the yeast, ensuring a fluffy dough! For detailed insights into yeast reactions, you can explore Serious Eats on Yeast.
The resting phase
After the initial mixing, it's time for a resting phase that allows the dough to hydrate. This 20-minute interval isn’t just a wait; it's when the flour absorbs water, leading to a smoother texture. Cover your bowl and set it aside. You might wonder, why rest? Well, resting not only allows the flour to absorb moisture but also starts the gluten-development process, which affects the final crust texture significantly.
Folding and developing gluten
Next, bring in those gluten-development techniques! Sprinkle the salt onto your dough's surface and pour your dissolved yeast mixture over it. It’s time to fold! With slightly damp hands, lift sections of the dough and fold them over the center. Continue this process about 20 times until a cohesive dough forms. Cover your bowl again and let it rest for another hour. This folding action strengthens the gluten, contributing crucially to that chewy texture we all adore.
Shaping the dough
Once your dough has risen nicely, turn it out onto a floured surface and halve it. Take one portion and stretch it gently until you feel a little resistance. Fold the edges to the center to form a loose ball. Then, carefully cup your hands around the dough and gently drag it towards yourself to create tension—it’s like giving your dough a mini workout! Repeat this for the second piece of dough and set them on a greased plate.
The second rise
For the final rise, lightly oil the tops and cover them. Let the dough rest at room temperature for about an hour. This final phase is essential for achieving that airy crust with those desirable bubbles—that beautiful marriage of crispness and chewiness. If you're not ready to bake right away, no worries! Wrap the dough tightly in plastic wrap and store it in the fridge for up to two days.
Now that you’re equipped with this step-by-step guide to artisan pizza dough, all that’s left is to get creative with your toppings and enjoy!
Variations on Artisan Pizza Dough
Whole Wheat Artisan Pizza Dough
Switching to whole wheat flour for your artisan pizza dough not only adds a nutty flavor but also increases fiber content. For a really delicious crust, substitute 50% of the all-purpose flour with whole wheat. You may need to slightly adjust the hydration by adding an extra tablespoon of water. This variation gives your pizza a wholesome twist while still ensuring a crispy, chewy crust.
Gluten-Free Artisan Pizza Dough
Craving artisan pizza but need a gluten-free option? You can create a delightful gluten-free artisan pizza dough by using a blend of gluten-free flours like rice flour and tapioca flour. Adding xanthan gum can help mimic the elasticity of traditional dough. You might notice a slightly different texture, but with the right baking technique, your crust can still be crispy and bubbly! For more tips, check out this gluten-free baking guide from King Arthur Flour.
Cooking Tips and Notes for Artisan Pizza Dough
Choosing the Right Flour
To achieve a perfect artisan pizza dough, opt for high-protein flour, such as bread or all-purpose flour. This type of flour provides the essential gluten structure that contributes to a chewy and crispy crust. Many seasoned bakers recommend experimenting with a blend of flours to find your ideal balance. A great resource for understanding flour types is King Arthur Baking.
Importance of Oven Temperature
Oven temperature is crucial for a successfully baked pizza. A hot oven, ideally around 500°F, creates that desirable blistered crust while ensuring a quick cook time. To help achieve this, preheat your oven with a pizza stone or steel for at least 45 minutes. This technique promotes even heat distribution, resulting in that perfect bubbly crust we all crave. Remember, patience pays off in pizza making!
Serving Suggestions for Artisan Pizza Dough
Creative Topping Ideas
When it comes to your artisan pizza dough, the possibilities are just endless! Try classic combinations like:
- Margherita: Fresh mozzarella, basil, and a drizzle of olive oil.
- Mediterranean: Spinach, feta, olives, and sun-dried tomatoes.
- BBQ Chicken: Chicken ham, red onions, and barbecue sauce topped with cilantro.
Feeling adventurous? Explore seasonal ingredients or even unique spreads like hummus or pesto as your base!
Pairing with Delicious Sides
Don’t forget to complement your pizza with some fun sides! Consider:
- Garlic knots or herb-infused breadsticks for that perfect crunch.
- A fresh arugula salad with lemon vinaigrette to balance the richness of the pizza.
- Roasted vegetables seasoned with garlic and olive oil can be a delightful addition.
These sides not only elevate your pizza experience but make your meal feel complete. Need some inspiration? Check out this salad recipe that pairs beautifully with your artisan creation!
Time Breakdown for Artisan Pizza Dough
When preparing to make your artisan pizza dough, it's important to plan out your timing for a perfect crust. Here's a quick breakdown to help streamline your pizza-making process:
Preparation Time
- 20 minutes: This includes mixing the ingredients and letting the dough rest.
Rising Time
- 5 to 6 hours: Allow your dough to rise until it doubles in size for that amazing texture.
Baking Time
- 8 minutes: That’s all it takes for a deliciously crispy finish on your hot pizza steel or stone.
Total Time
- 8 hours: While it may seem lengthy, most of this time is hands-off, allowing the dough to develop its rich flavors.
For more detailed instructions on individual steps, check out the full recipe for the artisan pizza dough that promises a delightful culinary experience! If you want to dive deeper into the science of pizza-making, take a look at this article on pizza dough fermentation and texture.
Nutritional Facts for Artisan Pizza Dough
When indulging in delicious artisan pizza dough, understanding its nutritional profile can enhance your culinary experience. Here's a quick overview:
Calories per serving
Each serving of this pizza dough (¼ of a 12" pizza) contains approximately 228 calories.
Macronutrient breakdown
- Carbohydrates: 48g
- Protein: 6.5g
- Fat: 0.6g (Saturated Fat: 0.1g, Unsaturated Fat: 0.4g)
- Fiber: 1.7g
- Sugar: 0.2g
- Sodium: 488mg
This balanced mix of carbohydrates, protein, and minimal fats makes it a great choice for pizza lovers. For those looking to make healthier pizza choices, consider using fresh toppings and sauces packed with nutrients. Need more pizza inspiration? Check out this guide to healthy pizza toppings that can complement your artisan pizza dough!
FAQs about Artisan Pizza Dough
How do I know when my dough has risen enough?
Knowing when your artisan pizza dough is ready can be a bit tricky, but there are a couple of signs. Look for the dough to at least double in size — this typically takes about 5 to 6 hours, depending on the temperature of your kitchen. When you poke the dough lightly, it should spring back slowly, indicating that air has been trapped inside, creating that delightful texture we all love in pizza crusts.
Can I freeze artisan pizza dough?
Absolutely! Freezing is a fantastic way to save your artisan pizza dough for future pizza nights. Just shape the dough into balls, wrap them tightly in plastic wrap, and store in an airtight freezer bag. They can be kept for up to 3 months. To use, thaw overnight in the refrigerator, and allow it to come to room temperature before baking.
What should I do if my dough is too sticky?
If your artisan pizza dough is too sticky, don’t fret! You can sprinkle in a little more flour during the kneading process, but be careful not to add too much as this can affect the final texture. Alternatively, keep your hands slightly damp while handling the dough, which can help reduce stickiness without compromising the overall hydration levels. For more tips on dough consistency, check out King Arthur Baking’s comprehensive guide.
This way, you’ll be on your way to making incredible, artisan-style pizzas right from your kitchen!
Conclusion on Artisan Pizza Dough
Embracing the Art of Homemade Pizza
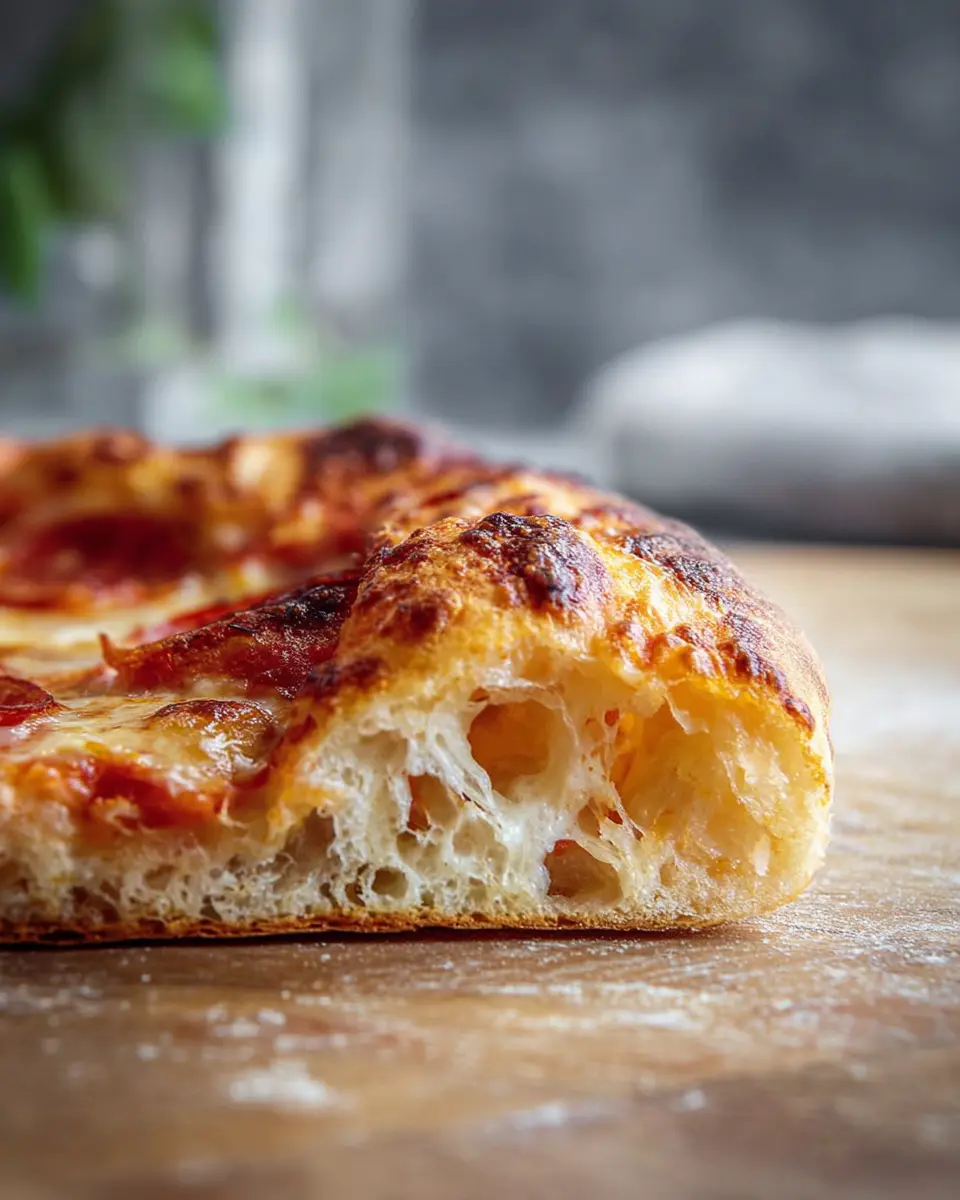
Crafting your own artisan pizza dough is not just about making dinner; it’s an experience that brings family and friends together. With its crispy, chewy, and bubbly crust, you'll soon find that your homemade pizzas are a new favorite. So roll up your sleeves and enjoy the delicious results!
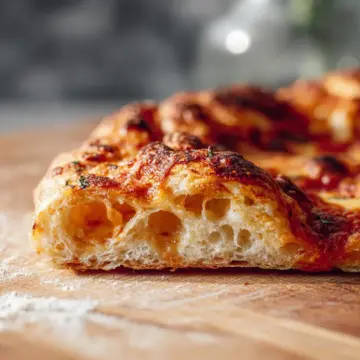
artisan pizza dough- crispy, chewy, bubbly crust
Equipment
- large bowl
- pizza peel
- baking steel or stone
- cast iron pan
Ingredients
- 500 g all-purpose flour
- 375 g warm water divided
- 1 g active dry yeast
- 10 g fine salt
Instructions
- Mix flour and all but 1 tablespoon of the water in a large bowl until just combined, then cover and set aside for 20 minutes to rest. Sprinkle yeast over remaining warm water and set aside to dissolve.
- Sprinkle salt over the surface of the dough. Stir yeast mixture and pour over dough. Fold the dough until a shaggy dough is formed. Cover the bowl and let rest about an hour.
- Fold the dough one time to develop the gluten and let rise until doubled in volume, 5-6 hours.
- Turn the dough out onto a floured work surface, cut in half, and shape into a ball.
- Transfer to a greased plate, lightly oil the tops, cover and let rest at room temperature for about an hour. Preheat oven.
- Preheat oven to 500°F with pizza steel or stone. Shape dough and transfer to a floured peel.
- Add sauce and toppings, then slide pizza onto the hot steel and bake for 5 minutes.
- Turn on the broiler and broil for 2-4 minutes until cheese is melted and crust is golden.


Leave a Reply