
Introduction to Homemade Banana Pudding
When it comes to comforting desserts, homemade banana pudding reigns supreme. There's a world of difference between the store-bought options and the bliss that comes from making it yourself. Have you ever tasted that silky, smooth pudding made with fresh ingredients? It’s simply divine. When you prepare it from scratch, you can control the quality of the ingredients, ensuring every bite is pure deliciousness.
Why Homemade Banana Pudding Beats Store-Bought?
One of the standout reasons to whip up your own banana pudding is the rich, authentic flavor. Homemade pudding typically uses fresh milk, heavy cream, and real vanilla, while many store-bought varieties rely on artificial flavors and preservatives. Plus, there’s something nostalgic about creating a dessert that brings back fond memories of family gatherings.
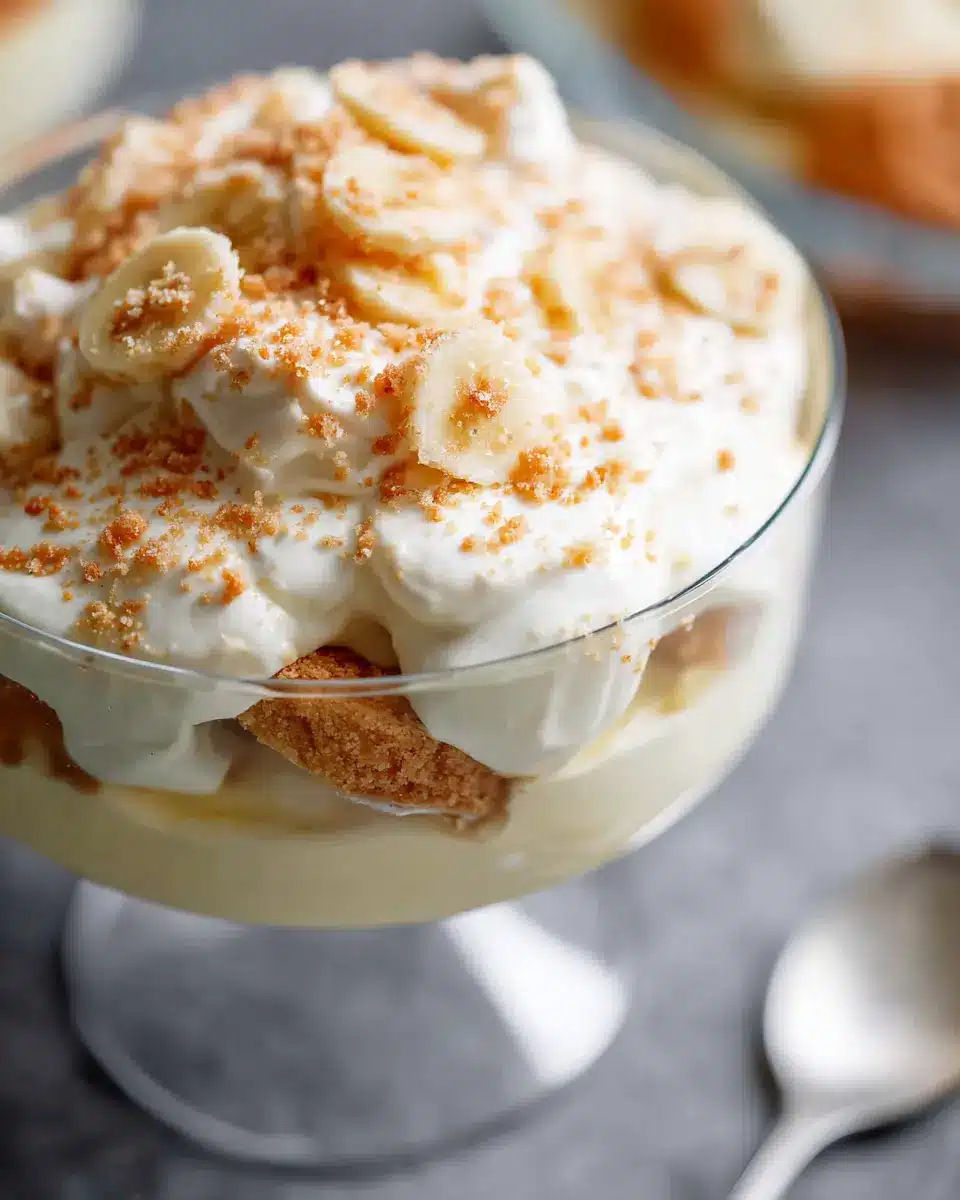
Imagine layers of creamy vanilla pudding, ripe sliced bananas, and crunchy Nilla wafers all coming together in your own kitchen; the experience adds to the joy. According to a study by the American Journal of Home Economics, preparing meals at home fosters creativity and mindfulness, enhancing your connection with good food. So, why settle for anything less than delightful? Try your hand at this homemade banana pudding recipe, and you might discover a new favorite dessert that’s worth the extra effort!
For an easy way to kick off your banana pudding journey, check out our full recipe.
Ingredients for Homemade Banana Pudding
Essential ingredients for the pudding layers
Creating the perfect banana pudding starts with some simple yet essential ingredients that form the rich and creamy layers. Here’s what you’ll need:
- 2 ½ cups whole milk: This will create a luscious base for your pudding.
- ½ cup heavy cream: Adds richness and a velvety texture.
- 1 egg and 2 egg yolks: These provide the necessary structure and depth.
- ¾ cup granulated sugar: Sweetness is key, as it balances the flavors.
- 4 ½ tablespoons cornstarch: This thickens the pudding beautifully.
- 4 tablespoons butter: For that creamy finish.
- 3 teaspoons vanilla extract: The star ingredient that brings everything to life.
- ½ teaspoon salt: Enhances all the flavors.
Extras for a touch of flavor
While the core ingredients are vital, consider adding a few extras to elevate your banana pudding game:
- Fresh bananas: Use 4 large, ripe bananas—preferably just shy of overly ripe, for the best texture.
- Nilla wafers: A must for that traditional crunch and flavor.
- Whipped cream: Top your dessert with fresh whipped cream for an extra touch of elegance.
- Optional: Try adding a splash of banana extract for a more pronounced banana flavor.
For additional information on whipping your own cream, check out this guide on making whipped cream. Happy baking!
Preparing Homemade Banana Pudding
Creating a batch of homemade banana pudding is a rewarding culinary experience. The warm aroma of vanilla, complemented by fresh bananas, evokes memories of family gatherings and summer picnics. Let’s dive into this delightful recipe!
Step 1: Gather Your Ingredients and Equipment
Before you start, make sure you have everything at hand. Here’s what you’ll need:
Ingredients:
- 2 ½ cups whole milk
- ½ cup heavy cream
- 1 egg (room temperature)
- 2 egg yolks (room temperature)
- ¾ cup granulated sugar
- 4 ½ tablespoons cornstarch
- 4 tablespoons butter (chopped)
- 3 teaspoons vanilla extract
- ½ teaspoon salt
- 1 box Nilla wafers
- 4 large bananas (sliced, ripe but not overly ripe)
- Fresh whipped cream (optional for topping)
Equipment:
- Medium saucepan
- Mixing bowl
- Fine mesh strainer
- Container for chilling
Step 2: Make the Vanilla Pudding from Scratch
First, combine the milk and cream in your medium saucepan over medium heat. Stir often until it reaches a gentle simmer. This step infuses flavors and creates a creamy base for your pudding. While the milk heats, whisk the egg, egg yolks, sugar, and cornstarch in a mixing bowl until well blended. This mixture is crucial for achieving that silky texture.
Step 3: Temper the Eggs with Hot Milk
To prevent the eggs from scrambling (yikes!), you’ll want to temper them. Spoon a bit of that hot milk into your egg mixture while whisking continuously. This warms the eggs slowly. Gradually add more hot milk, whisking away until combined. Pour the egg mixture back into the saucepan and cook over medium-low heat, stirring until thickened—about 5-8 minutes. It should coat the back of a spoon beautifully.
Step 4: Assemble the Banana Pudding Layers
Now comes the fun part: assembly! In a trifle dish, large bowl, or a classic 9-inch square pan, layer the dessert. Start with a layer of Nilla wafers at the bottom, followed by sliced bananas, and then half of your homemade pudding. Repeat the layers for a second round, ending with a final layer of wafers on top. You can crush some wafers to sprinkle if you'd like some texture!
Step 5: Chill and Set Your Dessert
Cover your creation tightly with plastic wrap and place it in the refrigerator. Let it sit for 4 to 8 hours—it’s essential for allowing the flavors to meld and for the pudding to set properly. Before serving, don’t forget to top it off with some fresh whipped cream for that extra indulgent touch.
Homemade banana pudding is not just a dessert; it’s a delectable experience steeped in nostalgia. So grab your spoon and dive into this creamy, dreamy delight that’s sure to impress everyone at the table! For more delicious tips on how to perfect your banana pudding, check out this banana recipe guide for inspiration and variations.
Variations on Homemade Banana Pudding
There are delightful variations on the classic banana pudding that can scream comfort and creativity! Here are three fun alternatives to try out.
Southern-style Banana Pudding with Meringue
For a nostalgic twist, top your banana pudding with a fluffy meringue. Simply whisk egg whites and sugar until they form stiff peaks, spread it over the pudding, and bake until golden. This adds a crispy, sweet layer, making it the perfect Southern indulgence.
Banana Pudding Cake Twist
Transform your banana pudding into a show-stopping cake! Bake a yellow cake, allow it to cool, and spread your homemade pudding on top. Finish it off with sliced bananas and crushed Nilla wafers—it's a decadent dessert that serves beautifully!
Banana Pudding Pie Alternative
Love banana pudding but want something different? Try a pie! Use a baked pie crust, layer it with sliced bananas, your creamy pudding, and Nilla wafers. Top it off with whipped cream or use meringue for a fun finish.
For more inspirations, visit Food Network or Bon Appétit for unique dessert ideas!
Cooking Tips and Notes for Homemade Banana Pudding
Making Ahead of Time
You can easily prepare your banana pudding 1-2 days in advance. This is perfect for parties or busy weekdays; just store it covered in the refrigerator until you're ready to serve.
Freezing Guidelines
For optimal results, freeze just the pudding and wait to assemble the banana pudding later. Allow the pudding to cool completely, then transfer it into a freezer-safe bag. It can last up to 3 months! Thaw it overnight in your fridge before layering with bananas and Nilla wafers.
Tips for Smooth Pudding Texture
To ensure a silky and luscious pudding, strain it through a fine mesh strainer after cooking. This will eliminate any lumps. Also, remember to whisk well when tempering the eggs—this helps prevent scrambling and keeps your pudding perfectly creamy!
For more expert advice on making pudding, check out Serious Eats.
Serving Suggestions for Homemade Banana Pudding
Creative Serving Dishes
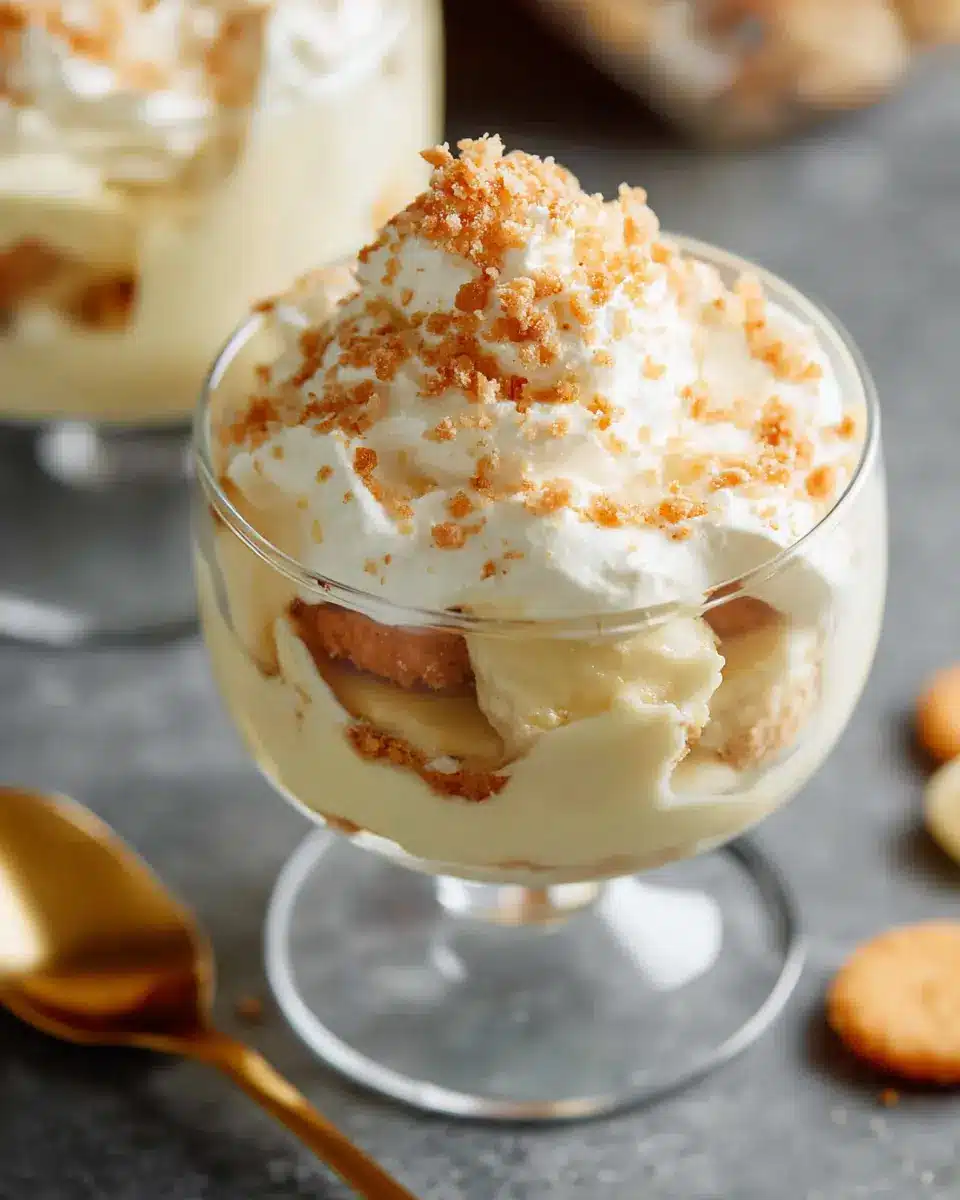
When it comes to serving your homemade banana pudding, think outside the traditional bowl! Opt for fun and unique dishes like mason jars for individual servings, or use a trifle dish to showcase the beautiful layers. You could even use clear cups for a casual picnic-style dessert—perfect for gatherings!
Garnishing and Presentation Ideas
Enhance your banana pudding's appeal with a few simple touches. Consider:
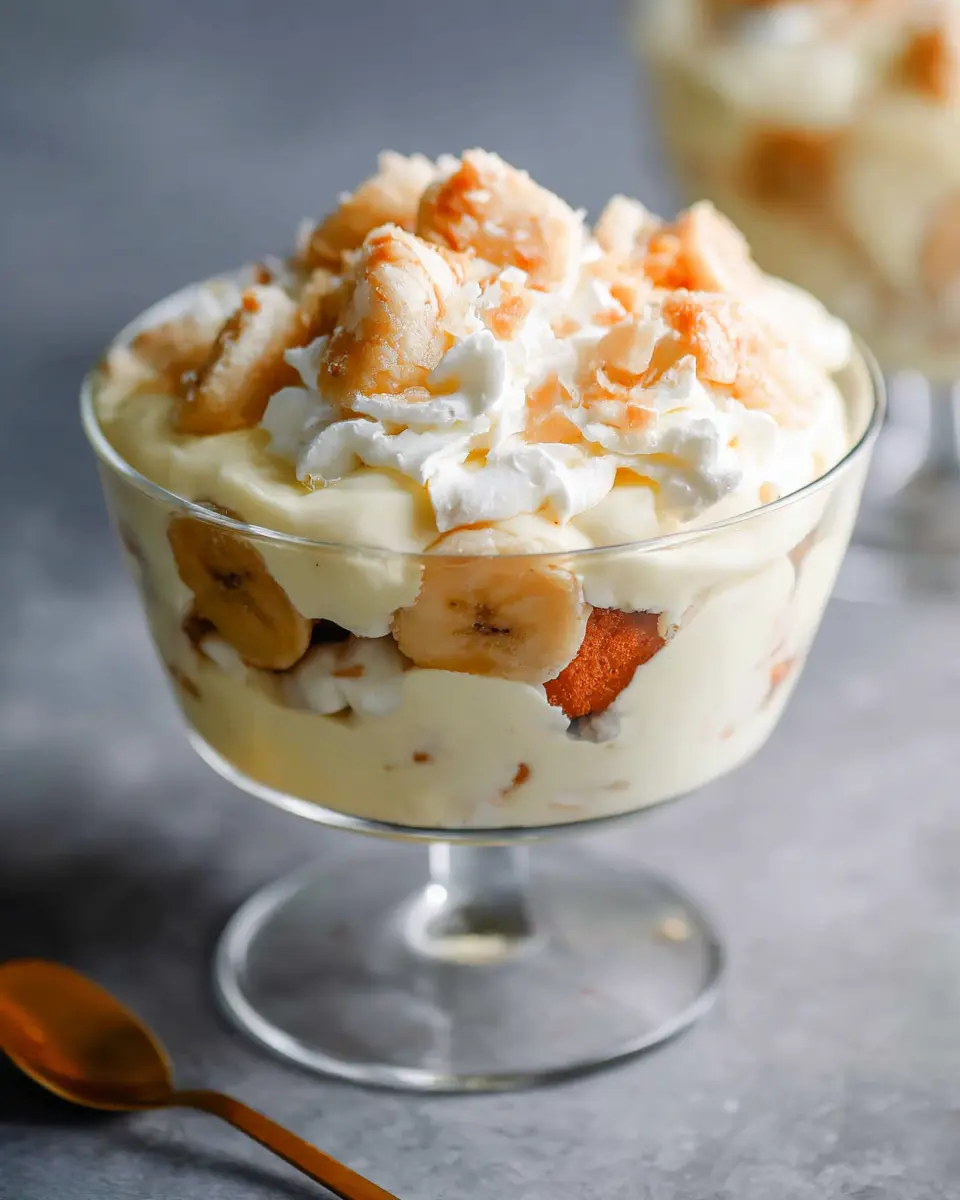
- A dollop of fresh whipped cream on top for a light, airy finish.
- Sliced bananas arranged artistically for a pop of color.
- Crushed Nilla wafers sprinkled on top for added texture.
To elevate your presentation, drizzle caramel sauce over the top or add mint leaves for a refreshing touch. These small details can make all the difference in impressing friends and family with your banana pudding masterpiece!
Time Breakdown for Homemade Banana Pudding
Preparation Time
Getting started on your banana pudding is a breeze! Spend about 15 minutes preparing the ingredients and whisking your egg mixture together. It’s the perfect time to sip on your favorite beverage while you work.
Cooking Time
You'll need roughly 15 minutes to cook the pudding. Keep a close eye on it, stirring often until it thickens to perfection. This step is essential to achieve that creamy texture we all love!
Chilling Time
Patience pays off here! Allow your banana pudding to chill in the refrigerator for about 4 hours. This ensures that all the flavors meld beautifully. In a hurry? You can let it chill for a minimum of 4 hours, but it's worth the wait for maximum yum!
Now that you have the time breakdown, you’re ready to create this delightful dessert! For more tips and tricks on making the best banana pudding, check out resources like Serious Eats or Food Network. Happy cooking!
Nutritional Facts for Homemade Banana Pudding
Calories per serving
A delightful homemade banana pudding carries about 288 calories per serving. This makes it a comforting dessert option without being overly indulgent. Perfect for sharing after dinner or enjoying a little treat on a cozy night in!
Breakdown of key nutrients
When you dig into that creamy goodness, you're also treating your body to important nutrients:
- Carbohydrates: 38g
- Protein: 5g
- Fat: 14g (Saturated Fat: 8g)
- Cholesterol: 98mg
- Fiber: 2g
- Sugar: 28g
Additionally, your banana pudding offers potassium (346mg) and calcium (105mg), making it not just delicious but also somewhat nutritious. Pair your dessert with a side of fresh fruit for added vitamins! For more detailed insights on nutrition and dessert options, check out Healthline for expert tips.
Whether enjoyed at a gathering or a simple weeknight dessert, knowing the nutritional value helps you savor your treat even more!
FAQs about Homemade Banana Pudding
Can I use other types of bananas?
While ripe bananas are essential for that sweet flavor, you can experiment with different varieties. For a twist, try using plantains (when slightly green or sautéed) for a firmer texture, or even baby bananas for a fun presentation. Just remember that the sweetness and flavor will vary!
What’s the best way to store leftovers?
For optimal freshness, cover your banana pudding tightly with plastic wrap and refrigerate. It’s best enjoyed within 2-3 days to maintain the creamy texture. If you notice browning on the bananas, a splash of lemon juice can help slow down oxidation. Need more tips? Check out this storage guide.
How can I enhance the flavor further?
Looking to take your banana pudding to the next level? Consider adding a sprinkle of cinnamon or nutmeg in your pudding mixture for a warm touch. You can also fold in some banana extract for an extra burst of flavor or layer in some chocolate chips for a delightful surprise. There’s no wrong way to enjoy your dessert—let your creativity shine!
Conclusion on Homemade Banana Pudding
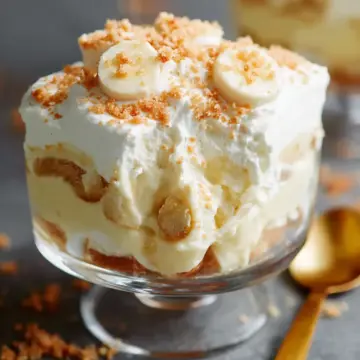
Creating homemade banana pudding is an enjoyable experience that truly resonates with nostalgia and comfort. This classic dessert blends creamy vanilla pudding, fresh bananas, and crunchy Nilla wafers to perfection. Impress your friends at your next gathering, and embrace the joy of sharing this delicious treat! Happy cooking!
Banana Pudding
Equipment
- Fine-mesh strainer
- Sauce Pan
- mixing bowl
Ingredients
- 2.5 cups whole milk
- 0.5 cups heavy cream
- 1 whole egg at room temperature
- 2 large egg yolks at room temperature
- 0.75 cups granulated sugar
- 4.5 Tablespoons cornstarch
- 4 Tablespoons butter chopped
- 3 teaspoons vanilla extract *
- 0.5 teaspoon salt
- 1 box Nilla wafers
- 4 large bananas sliced (use ripe, but not overly ripe bananas)
- Fresh whipped cream for topping (optional)
Instructions
- Add milk and cream to a medium saucepan over medium heat. Bring to a simmer, stirring often.
- In a medium bowl, whisk together the eggs, sugar, and cornstarch until well blended.
- Spoon a little of the hot milk over the egg mixtures and whisk well. Repeat with another few spoonfuls of the hot milk, to temper the eggs.
- Pour the egg mixture into the saucepan and continue to cook over medium low heat for 5-8 minutes until thickened.
- Once thickened, remove from the heat and stir in the butter, vanilla extract, and salt.
- Pour the pudding through a sieve or fine mesh strainer into a container, to remove any lumps and make it silky smooth.
- Place a piece of plastic wrap directly on top and refrigerate for an hour or more, until chilled. Stir well once chilled.
- To assemble the banana pudding, use a 9 inch square pan or individual dishes. Line the bottom with vanilla wafers, top with sliced bananas, then half of the pudding mixture. Repeat with another layer, and end with a final layer of wafers.
- Cover tightly with plastic wrap and place the assembled dessert in the fridge for 4-8 hours.
- Top with fresh whipped cream before serving, if desired.

Leave a Reply