
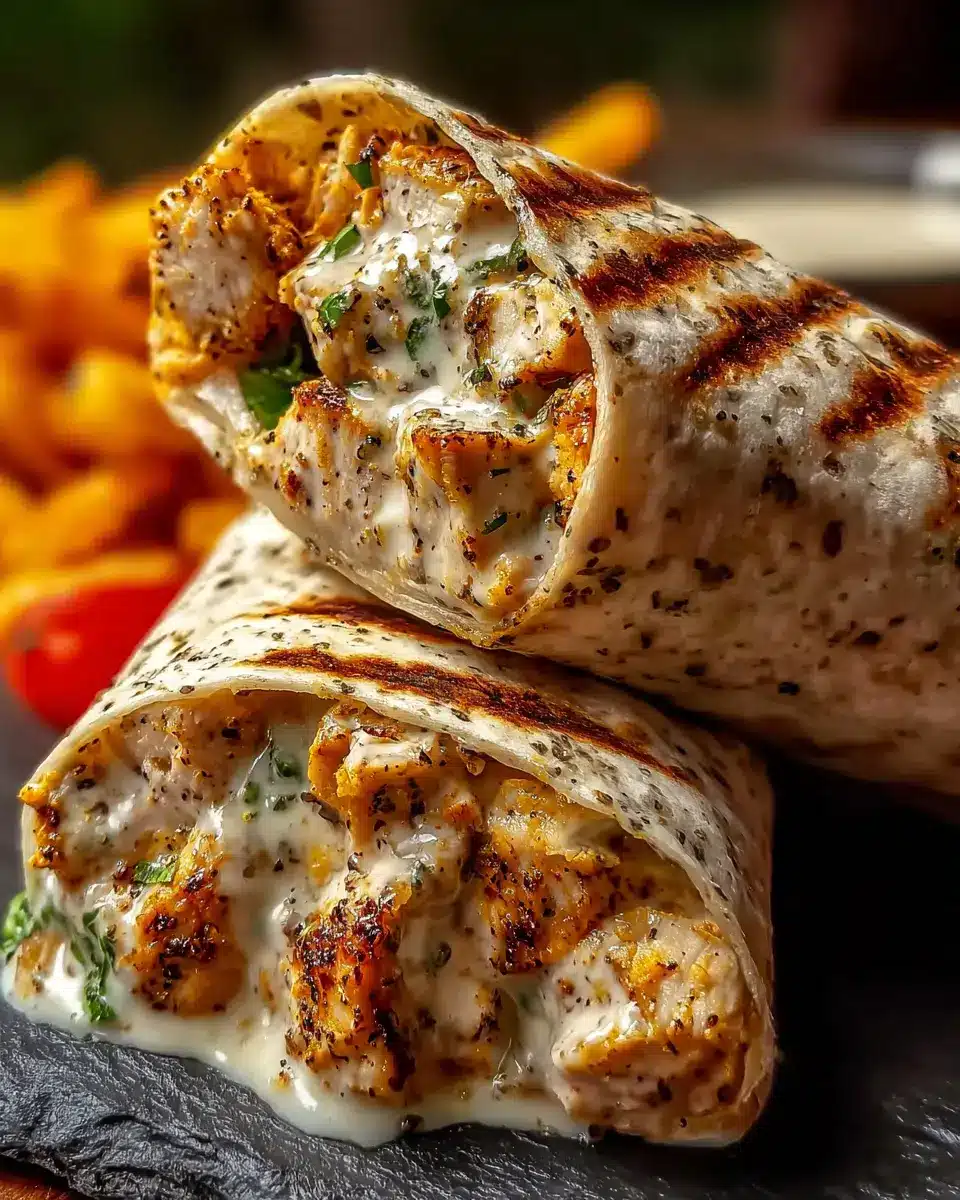
Introduction to Cheesy Garlic Chicken Wraps
If you're looking for a quick lunch or dinner option that's satisfying and flavorful, cheesy garlic chicken wraps are an excellent choice! Making homemade wraps allows you to customize ingredients to suit your tastes and dietary needs. Plus, they're often much healthier than fast food alternatives, which can be high in preservatives, hidden sugars, and unhealthy fats.
Why settle for a greasy drive-thru when you can whip up a delicious meal at home in just 20 minutes? As a bonus, preparing these wraps is a fantastic way to use up leftover rotisserie chicken, reducing food waste while enjoying a scrumptious dish. You can even sneak in some greens, like fresh spinach, to boost your fiber intake without sacrificing taste.
Homemade meals also give you control over the flavors and textures. Use a creamy garlic sauce that you love, or adjust the amount of cheese to satisfy your cravings. The best part? You'll leave the kitchen with a warm, gooey wrap that's crispy on the outside and heavenly on the inside.
Ready to impress your taste buds? Let’s dive into this cheesy garlic chicken wrap recipe!
Ingredients for Cheesy Garlic Chicken Wraps
Essential ingredients for a delicious wrap
To make your cheesy garlic chicken wrap shine, you'll need:
- 2 cups cooked shredded chicken: Rotisserie chicken works wonderfully for ease and flavor.
- 4 ounces cream cheese: Softened to room temperature for a creamy texture.
- ¼ cup mayonnaise or sour cream: This adds a delightful creaminess.
- 1.5 cups shredded mozzarella cheese: Divide it to use some in the filling and sprinkle extra on top.
- 1.5 teaspoons garlic powder: Adjust according to your garlic love.
- ½ teaspoon salt and ¼ teaspoon black pepper: Season to taste.
- 4 large flour tortillas: A 10-inch size tends to work best.
- 2 tablespoons butter: Essential for that golden, crispy exterior.
These core ingredients come together to create a satisfying wrap that’s perfect for lunch or dinner.
Optional additions for extra flavor
Want to tailor the cheesy garlic chicken wrap to your taste? Consider adding:
- Fresh spinach: A nutritious crunch that pairs well with the creamy filling.
- Sliced jalapeños: For those who enjoy a spicy kick.
- Cherry tomatoes: Diced and thrown in for extra freshness.
- Avocado: To elevate the creaminess and add healthy fats.
Mix and match these options to craft the wrap that suits your palate. The beauty of this recipe lies in its flexibility — feel free to get creative!
Preparing Cheesy Garlic Chicken Wraps
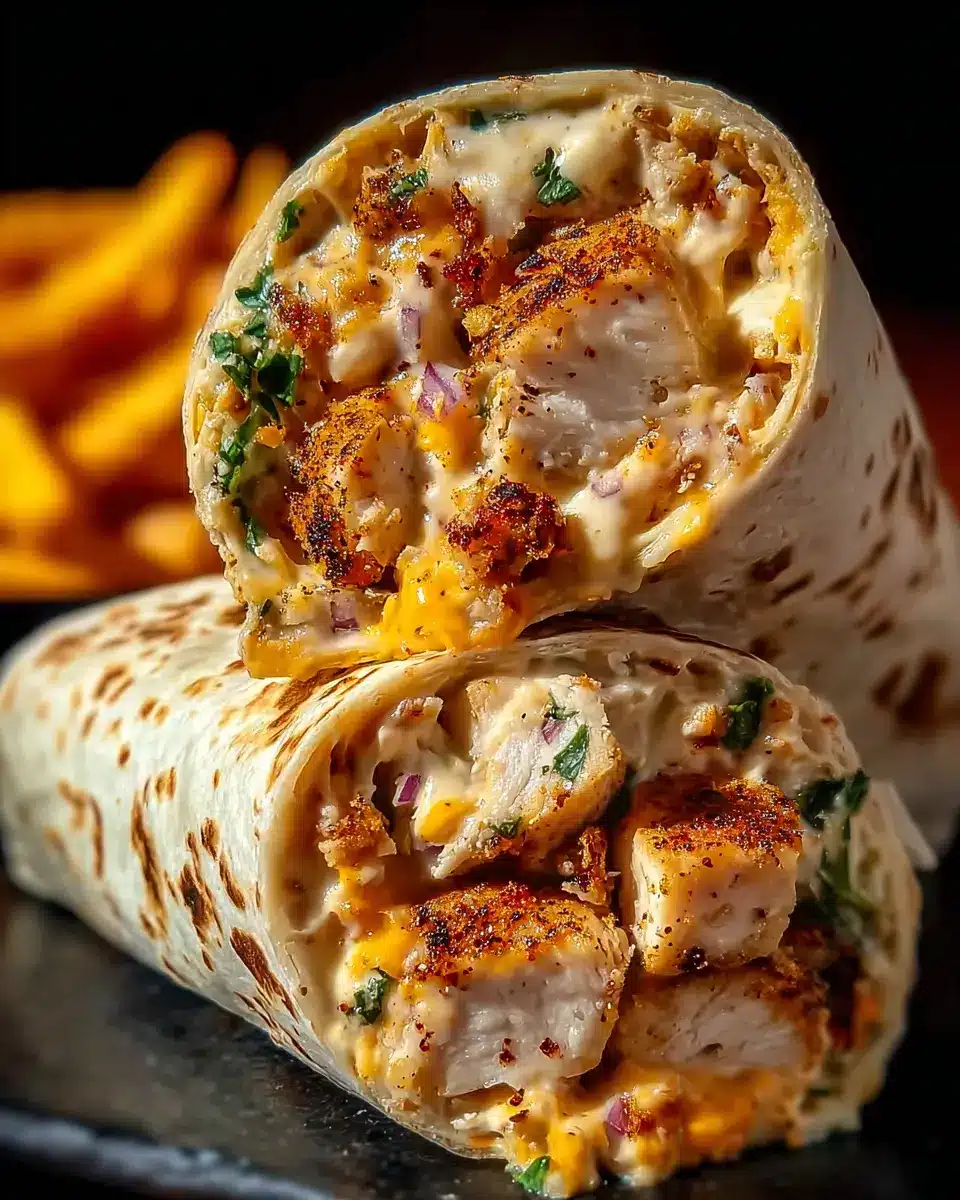
Making cheesy garlic chicken wraps can easily become your new go-to for a quick, satisfying meal. Packed with tender shredded chicken, a creamy garlic sauce, and lots of melted cheese, these wraps are perfect for lunch or dinner. Let's break down the steps to prepare these delicious wraps!
Step 1: Gather your ingredients
Before diving into the cooking process, make sure you have all your ingredients ready. Here’s what you’ll need:
- 2 cups cooked shredded chicken (Rotisserie chicken works great)
- 4 ounces cream cheese (softened to room temperature)
- ¼ cup mayonnaise or sour cream (for a creamy texture)
- 1.5 cups shredded mozzarella cheese (divided)
- 1.5 teaspoons garlic powder (adjust to taste)
- ½ teaspoon salt (or to taste)
- ¼ teaspoon black pepper (freshly ground)
- 4 large flour tortillas (10-inch size)
- 2 tablespoons butter (for grilling wraps)
- Fresh spinach (optional but adds a nice touch)
Having everything prepped ensures a smoother cooking experience and less stress!
Step 2: Mix the creamy garlic sauce
In a mixing bowl, combine the softened cream cheese, mayonnaise (or sour cream), garlic powder, salt, and pepper. Use a spatula or a whisk to blend these ingredients until the mixture is perfectly smooth and creamy. This garlic sauce will not only add flavor but also create a delightful texture when combined with the chicken.
Step 3: Combine chicken with the sauce
In the same bowl, add your shredded chicken and one cup of shredded mozzarella cheese to the creamy garlic sauce. Mix until the chicken is well-coated. The goal is a deliciously creamy mixture with bits of cheese peeking through, ready to be wrapped up. Pro tip: using rotisserie chicken not only saves time but adds an irresistible flavor!
Step 4: Assemble the wraps
Now that your filling is ready, it’s time to assemble your wraps. Lay a large flour tortilla flat on a clean surface. Spoon about ½ cup of the chicken mixture in a horizontal line down the center of the tortilla. If you like extra cheesy goodness, feel free to sprinkle a little more mozzarella on top.
Fold the left and right sides of the tortilla inward over the filling, then fold the bottom up and roll tightly away from you. This technique helps keep everything securely wrapped!
Step 5: Grill the wraps to perfection
Heat your large skillet over medium heat and add a small pat of butter to melt. Place your wrap seam side down in the hot, buttered pan and cook for 2 to 3 minutes until golden brown and crispy. Flip the wrap and grill for another 2 to 3 minutes on the other side. The result? Irresistibly crispy wraps with deliciously melted cheese inside!
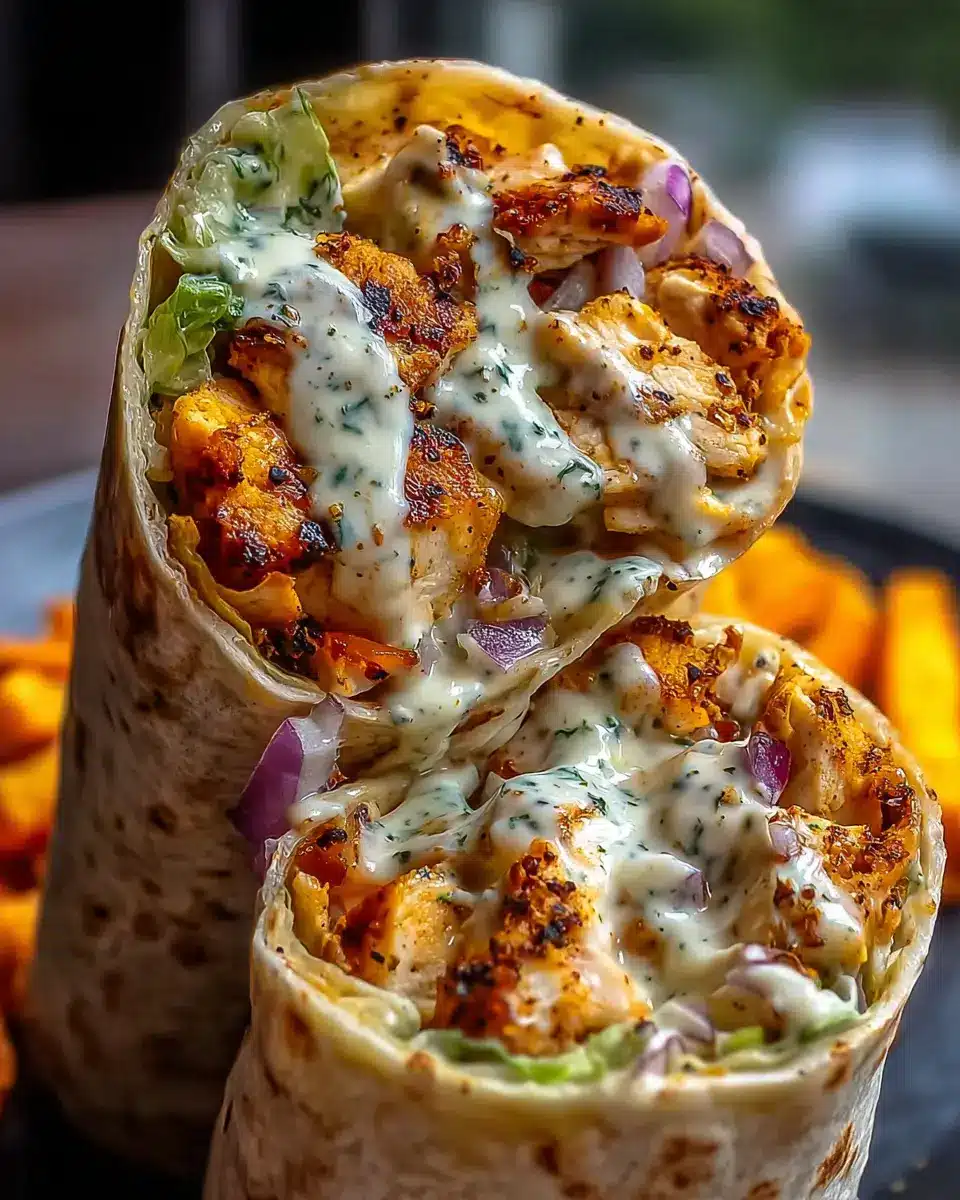
After you’ve grilled them to perfection, remove the wraps from the skillet and let them cool for a minute. Then slice each wrap in half diagonally and serve while still hot. Enjoy your flavorful, cheesy garlic chicken wraps—perfect for a quick lunch or an on-the-go dinner!
Variations on Cheesy Garlic Chicken Wraps
Spicy Chicken Garlic Wraps
Looking to amp up your cheesy garlic chicken wrap? Try incorporating some heat! Add chopped jalapeños or a few dashes of your favorite hot sauce to the chicken mixture. For a fun twist, you can substitute regular mozzarella with pepper jack cheese. The combination of creamy and spicy will take your taste buds on an exciting adventure.
Veggie-Loaded Garlic Wraps
If you're in the mood for something a little lighter, consider making veggie-loaded garlic wraps. Start with the classic cheesy garlic chicken wrap and add a colorful mix of sautéed bell peppers, zucchini, and onions. Not only does this enhance the flavors, but it also boosts the nutritional value. Fresh spinach or arugula can be added for an extra crunch and freshness. Explore these variations to find your perfect wrap version!
Cooking Tips and Notes for Cheesy Garlic Chicken Wraps
Achieving the Perfect Crispy Texture
To get that golden, crispy perfection in your cheesy garlic chicken wrap, it’s all about the heat and butter! Use a medium skillet and let it preheat for a few minutes before adding a pat of butter. This ensures the butter sizzles and coats the wrap evenly. Grill each side for 2 to 3 minutes, or until the wrap is golden brown. Don’t rush it—if you see the cheese melting and the wrap crisping, you're on the right track!
Storage Tips for Leftovers
If you have any leftovers (which is rare with these wraps!), store them in an airtight container in the refrigerator for up to three days. To reheat, pop them in a skillet over medium heat, adding a touch of butter to revive that crispy exterior. Microwaving is an option, but it won't bring back the best texture. For longer storage, consider wrapping them tightly in foil and freezing for up to a month. Just remember, thaw them overnight in the fridge before reheating for optimal results!
For more tips on reheating leftovers, check out Food Safety.gov.
Serving suggestions for Cheesy Garlic Chicken Wraps
Accompaniments that pair well
To elevate your cheesy garlic chicken wrap experience, consider serving it with a side of crispy potato wedges or a fresh garden salad. These pairings not only complement the creamy and savory flavors but also offer a delightful crunch. You could also opt for a tangy yogurt sauce or homemade ranch dressing for dipping, providing a cool contrast to the warm, cheesy wraps.
Creative serving ideas
Feeling adventurous? Try serving your wraps cut into bite-sized pinwheels, perfect for party platters or game day snacks. Alternatively, plate them with a side of steamed vegetables or roasted asparagus for a colorful and nutritious touch. For a unique twist, consider adding some pickled jalapeños or olives for a burst of flavor, making every bite even more satisfying. Don’t forget to check out this salad recipe that pairs well with wraps for a refreshing meal!
Time Details for Cheesy Garlic Chicken Wraps
Preparation Time
In just 10 minutes, you can prep your cheesy garlic chicken wraps to perfection. Gather your ingredients, whip up the creamy garlic sauce, and mix in the shredded chicken. It's that simple!
Cooking Time
Takes about 10 minutes to grill those beauties! Just pop them in a skillet until they’re golden and warm, allowing the cheese to melt beautifully.
Total Time
In just 20 minutes, you’ll transform your kitchen into a mini restaurant, serving up delicious cheesy garlic chicken wraps ready to impress. Perfect for a quick lunch or a satisfying dinner!
Craving more quick meals? Check out these 15-minute recipes for busy weeknights!
Feeling adventurous with flavors? Add fresh herbs or spices — the possibilities are endless!
Nutritional Information for Cheesy Garlic Chicken Wraps
Calories
Each cheesy garlic chicken wrap contains approximately 485 calories. This makes it a satisfying option for lunch or dinner, ensuring you get a delicious meal without overdoing it on calories.
Protein
Packed with flavor, these wraps also deliver a good protein punch, boasting 32 grams of protein per wrap. This is essential for energizing your body and keeping you feeling full throughout the day.
Sodium
While delicious, it's worth noting that each wrap has around 820 mg of sodium. If you're watching your sodium intake, consider adjusting the seasoning or pairing with a fresh side, like a salad, for balance.
For more insights on meal prep and healthy eating, check out the latest nutrition guidelines from Nutrition.gov or explore meal planning resources available at ChooseMyPlate.gov.
FAQs about Cheesy Garlic Chicken Wraps
Can I use different types of chicken?
Absolutely! While shredded rotisserie chicken is convenient, you can use any cooked chicken you have on hand, such as grilled or sautéed chicken breast. For a twist, try using turkey or even chicken ham. Just be sure to keep the flavors balanced—adding spices or marinades can enhance your wrap even further.
How do I make this wrap healthier?
To give your cheesy garlic chicken wrap a nutritious boost, consider these adjustments:
- Swap out regular cream cheese for a low-fat version.
- Use whole wheat tortillas to increase fiber content.
- Add fresh veggies like spinach, bell peppers, or avocados inside the wrap for added vitamins and minerals.
- You can even substitute mayonnaise with Greek yogurt for extra protein.
What can I serve with these wraps?
These wraps pair perfectly with a variety of sides! Consider serving with:
- A fresh garden salad drizzled with a light vinaigrette.
- Sweet potato fries for a delicious crunch.
- Steamed vegetables for a simple, healthy addition.
Feel free to get creative! For more sides, check out this easy salad recipe to complement your meal.
Conclusion on Cheesy Garlic Chicken Wraps
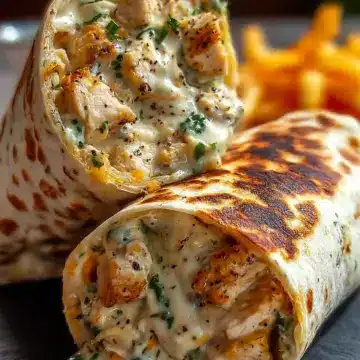
In summary, the cheesy garlic chicken wrap is a delightful, quick meal perfect for busy days. With its creamy filling and crispy exterior, it’s sure to please! Enjoy experimenting with ingredients like fresh spinach or turkey bacon. This wrap isn’t just a meal; it’s a flavor adventure!
Cheesy Garlic Chicken Wrap
Equipment
- large skillet
- mixing bowl
- spatula
- measuring cups
Ingredients
- 2 cups cooked shredded chicken Rotisserie chicken works great
- 4 ounces cream cheese Softened to room temperature
- ¼ cup mayonnaise or sour cream For creamy texture
- 1.5 cups shredded mozzarella cheese Divided
- 1.5 teaspoons garlic powder Adjust to taste
- ½ teaspoon salt Or to taste
- ¼ teaspoon black pepper Freshly ground
- 4 large flour tortillas 10 inch size
- 2 tablespoons butter For grilling wraps
- fresh spinach Optional addition
Instructions
- Mix softened cream cheese, mayonnaise, garlic powder, salt, and pepper in a bowl until smooth and creamy.
- Add shredded chicken and 1 cup shredded mozzarella cheese to the cream cheese mixture and stir until chicken is well coated and everything is combined.
- Lay a large flour tortilla flat on a clean surface and spoon about ½ cup of the chicken mixture into the center in a horizontal line.
- Sprinkle a little extra mozzarella cheese over the chicken filling if desired.
- Fold the left and right sides of the tortilla inward over the filling, then fold the bottom up and roll tightly away from you to create a compact wrap.
- Heat a large skillet over medium heat and add a small pat of butter to melt.
- Place the wrap seam side down in the hot buttered pan and cook for 2 to 3 minutes until golden brown and crispy.
- Flip the wrap and cook another 2 to 3 minutes on the other side until both sides are golden and cheese is melted inside.
- Remove from pan and let cool for 1 minute before slicing in half diagonally.
- Serve immediately while cheese is still melted and wrap is hot.
Leave a Reply