
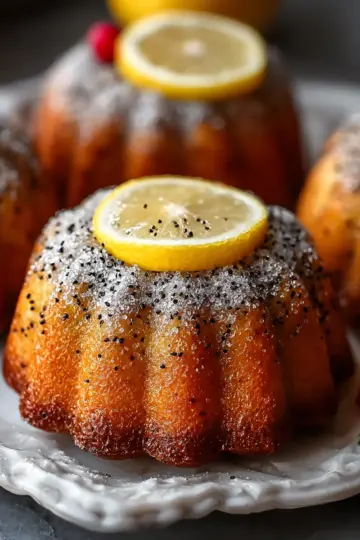
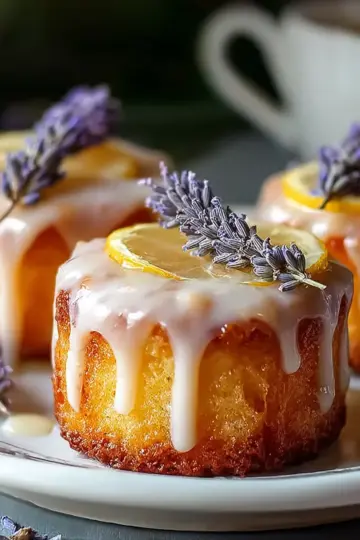
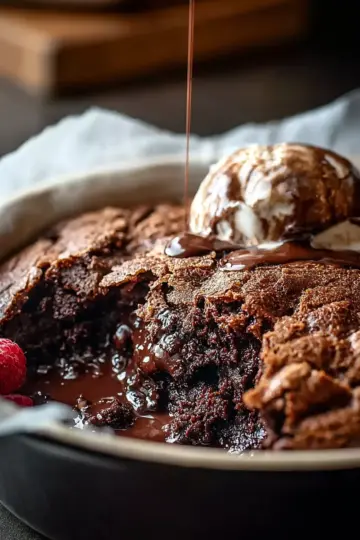
Introduction to Black Forest Cake
Why Black Forest Cake is a Favorite
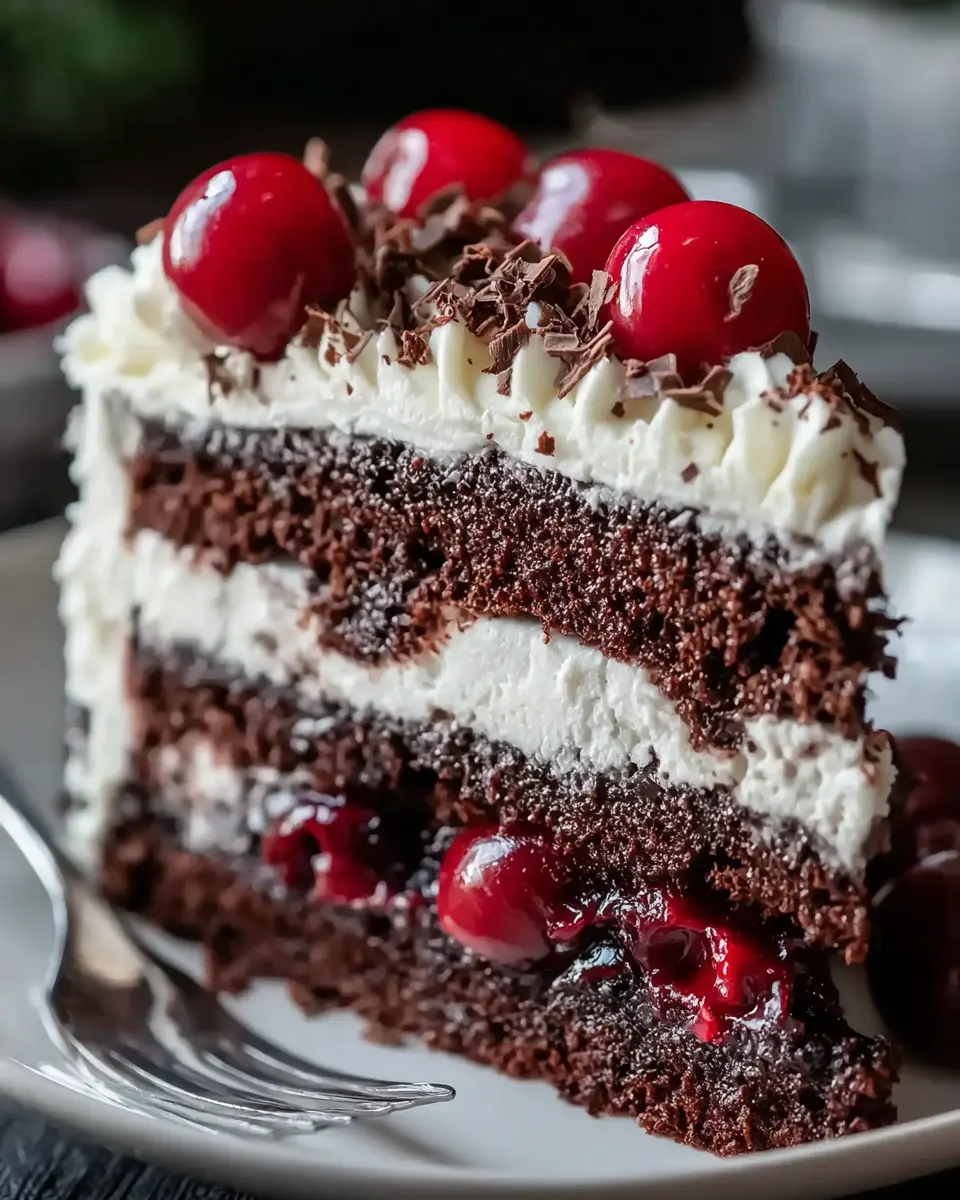
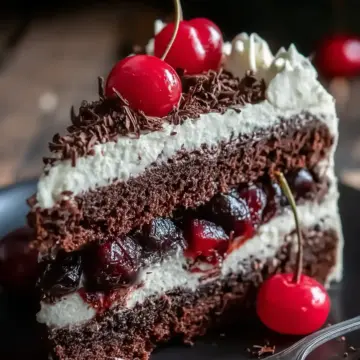
Black Forest Cake has long held a special place in the hearts of dessert lovers across the globe. Originating from the Black Forest region of Germany, this luscious cake layers rich chocolate sponge with a delightful medley of whipped cream and tart cherries. The combination of the soft, moist cake and the light, fluffy cream is simply irresistible.
What’s more, the vibrant contrast between the dark chocolate and the bright cherries makes for an eye-catching dessert, perfect for celebrations. According to a survey by The International Center for Cake Studies, chocolate cakes consistently rank among the top three favorite desserts worldwide, and Black Forest Cake is a shining star in this category.
As you dive into the recipe presented below, think about the occasions where this cake might shine — birthdays, anniversaries, or even just a cozy gathering with friends. Whether you’re looking to impress someone special or simply satisfy your own sweet tooth, learning to recreate this classic cake will surely elevate your dessert game. So, let’s roll up our sleeves and embark on this delicious baking adventure!
Remember to check out the history behind the flavors and ingredients here for a deeper appreciation of this beloved treat.
Ingredients for Black Forest Cake
To create the delightful Black Forest Cake that’s sure to impress friends and family, gathering the right ingredients is crucial. Here’s what you’ll need for this scrumptious recipe:
-
Dry Ingredients: Start with 1 ¾ cups of all-purpose flour, ⅔ cup of unsweetened cocoa powder for that rich chocolate flavor, 1 ½ cups of granulated sugar, and essential leaveners like 1 ½ teaspoons each of baking powder and baking soda. Don’t forget a pinch of salt (½ teaspoon) to balance the sweetness!
-
Wet Ingredients: For a moist cake, you’ll need 2 large eggs, 1 cup of whole milk, ½ cup of vegetable oil, and 2 teaspoons of vanilla extract for deep flavor. The magic happens when you add 1 cup of boiling water, creating a velvety batter.
-
Filling and Topping: Bring in 1 jar (13 ounces) of drained sour cherries (save that juice!) and 2 cups of heavy cream mixed with 3 tablespoons of powdered sugar. Top it all off with some dark chocolate shavings for a classic finish.
Gathering these ingredients is the first step towards baking an unforgettable Black Forest Cake. For more details on cherry varieties and their uses, feel free to check out this informative guide on cherries.
Happy baking!
Step-by-step Preparation of Black Forest Cake
Creating a delicious Black Forest Cake may seem daunting, but with this step-by-step guide, you'll be well on your way to mastering this classic dessert. Let's dive right into the process, and get that cake in the oven!
Preheat the Oven
To kick things off, preheat your oven to 350°F (175°C). While it's warming up, grab two 9-inch round cake pans and grease them. Ensuring they’re well-prepared will prevent any sticking later on.
Mix Dry Ingredients
In a large mixing bowl, it's time to combine the dry ingredients. Whisk together 1 ¾ cups of all-purpose flour, ⅔ cup of cocoa powder, 1 ½ cups of granulated sugar, 1 ½ teaspoons of baking powder, 1 ½ teaspoons of baking soda, and ½ teaspoon of salt. This mixture will form the base of your cake, providing that rich chocolate flavor!
Combine Wet Ingredients
Now, let’s add some moisture. In the same bowl, add 2 large eggs, 1 cup of whole milk, ½ cup of vegetable oil, and 2 teaspoons of vanilla extract. Mix everything until it's smooth and creamy. This is where the cake starts to come together, so make sure everything is well incorporated.
Incorporate Hot Water into Batter
Here comes the special ingredient! Gradually stir in 1 cup of boiling water into your batter. It might seem strange, but this is the secret to a moist cake. Just remember, the batter will be thinner than most cake batters. Don't worry; this is exactly what you want!
Divide and Bake the Cake
Once your batter is mixed, pour it evenly into the prepared cake pans. This ensures consistent baking. It’s time for some heat! Place them in your preheated oven and bake for 30-35 minutes. A toothpick inserted in the center should come out clean when they’re ready.
Cool Cakes
After baking, allow the cakes to cool in the pans for approximately 10 minutes. Then, transfer them to wire racks to cool completely. This cooling phase is crucial, as it helps prevent a soggy base when you layer the cakes later on.
Whip the Cream
While your cakes cool, it’s time to prepare the whipped cream. In a mixing bowl, whip 2 cups of heavy cream along with 3 tablespoons of powdered sugar until you achieve soft peaks. This fluffy cream will become the delightful filling between the layers of your Black Forest Cake.
Layer the Cake
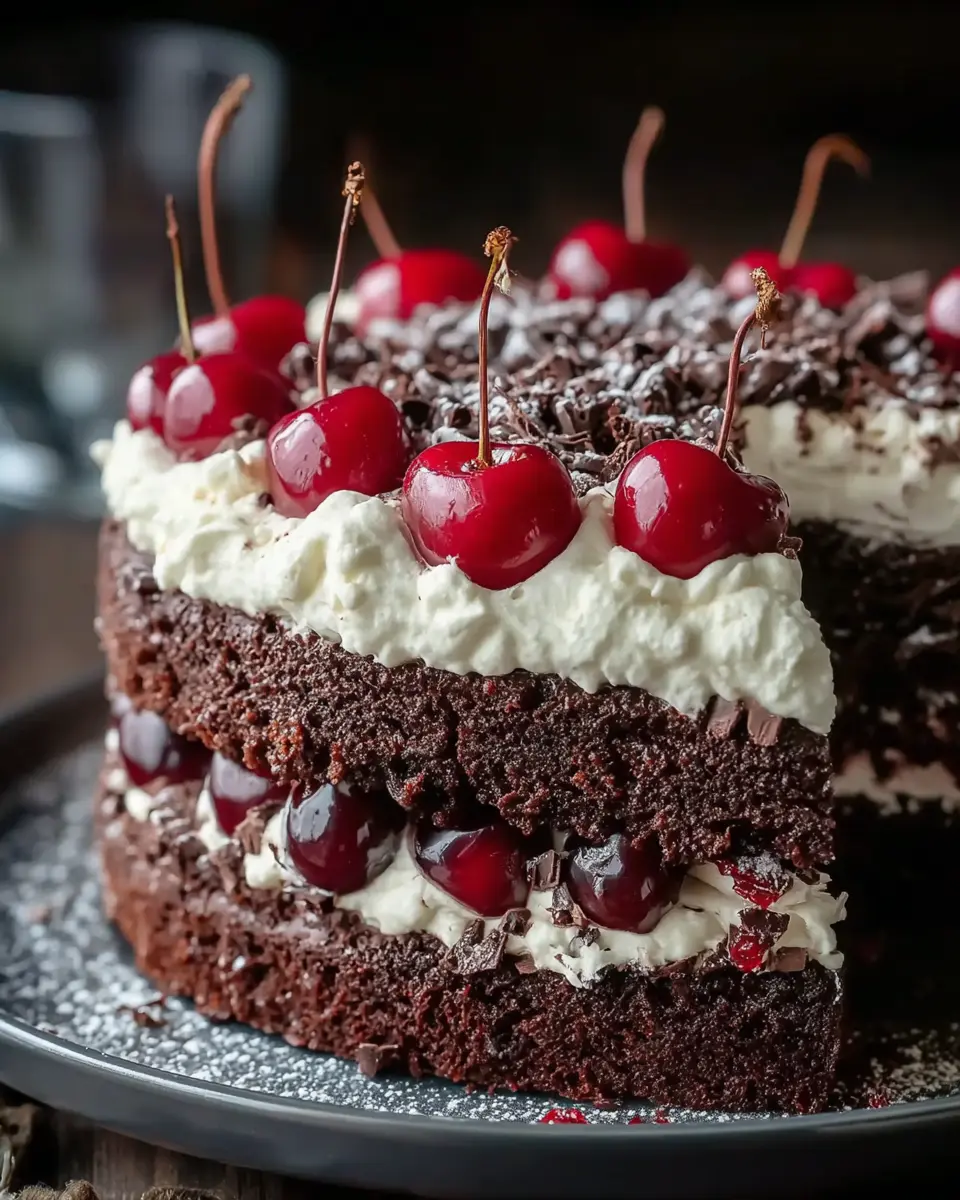
When the cakes are completely cool, slice each one in half horizontally. Place the first layer on a serving platter. This is where the fun begins! Spread some reserved cherry juice over the layer, followed by a generous portion of whipped cream and a handful of sour cherries.
Repeat Layering Process
Continue the layering process with the remaining cake layers, repeating the steps until all layers are stacked. Don’t forget to finish with the final layer on top to create that perfect rustic look.
Decorate the Cake
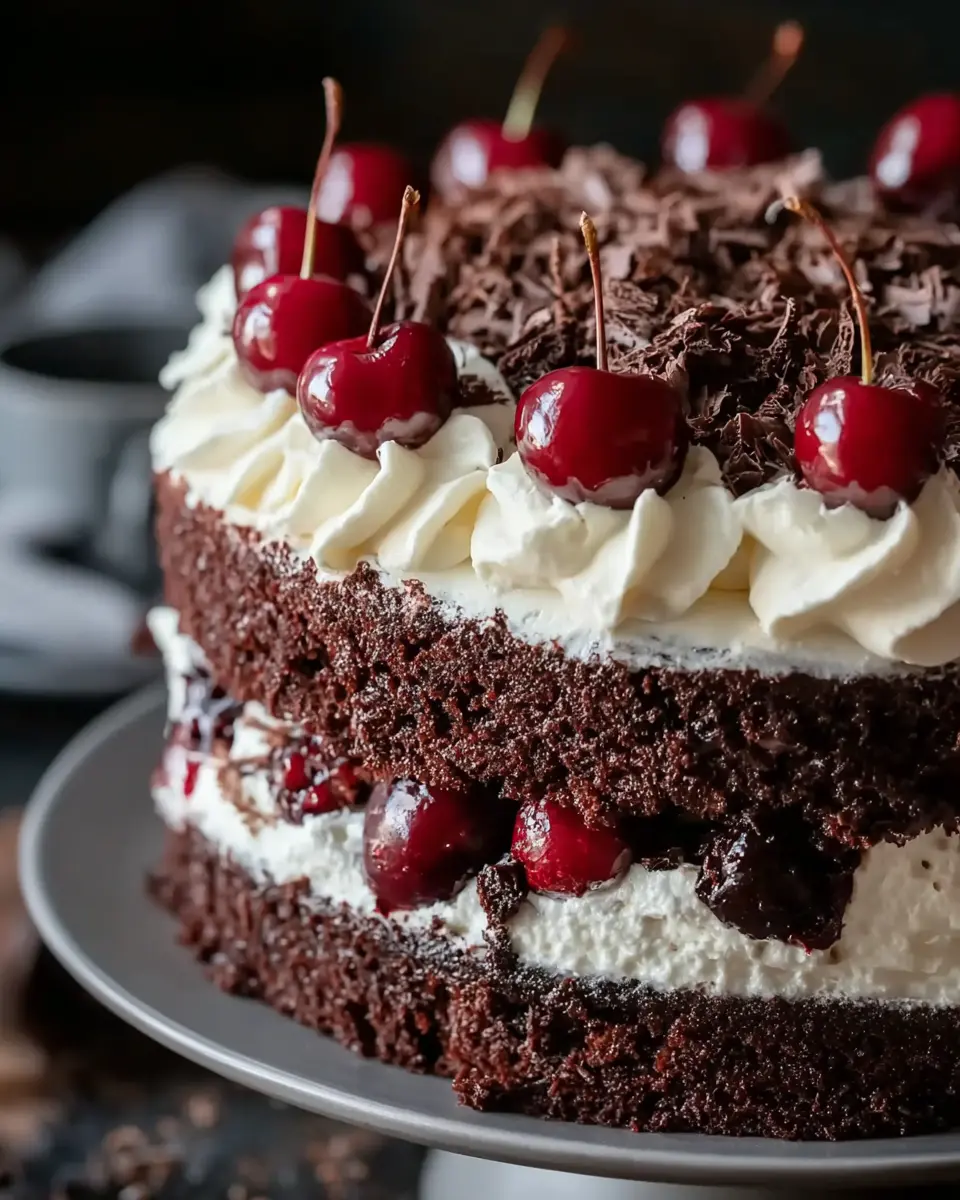
Finally, let's make it truly spectacular! Top your Black Forest Cake with the remaining whipped cream. You can use a spatula or a piping bag to create patterns. Garnish it beautifully with dark chocolate shavings and a few extra cherries for that classic touch.
And voilà! You’ve created a stunning Black Forest Cake that’s sure to impress at any gathering. Enjoy slicing into your masterpiece and relish every delicious bite!
For more tips on baking cakes and other exciting recipes, be sure to check out reliable sources like Serious Eats and King Arthur Baking for all your baking needs!
Variations of Black Forest Cake
Chocolate Cherry Variations
If you adore the classic Black Forest Cake, consider exploring different chocolate cherry variations! Try adding different types of chocolate, like white or milk chocolate, for a unique twist. You can also layer in chocolate ganache between the cake layers for added richness. For something extra special, incorporate cherry liqueur or a cherry compote to enhance the flavor of the cherries and add extra moisture. Whether you're aiming for a more decadent dessert or a playful twist, these options will undoubtedly delight your taste buds!
Gluten-free Black Forest Cake
For those who follow a gluten-free diet, don’t fret—the Black Forest Cake can easily be adapted! Substitute all-purpose flour with a high-quality gluten-free flour blend. Make sure to check your cocoa powder and baking soda for gluten-free certifications. This way, everyone can enjoy the delightful combination of cherries and chocolate without any worries. The rich flavor and moist texture can still shine through, proving that dietary restrictions don't mean sacrificing taste!
For more information on gluten-free baking, consider checking out Gluten Free Living for tips and recipes.
Cooking Tips and Notes for Black Forest Cake
Creating the perfect Black Forest Cake is all about balance and flavor. Here are some tips to elevate your baking experience:
-
Choose Quality Ingredients: Invest in high-quality cocoa powder and fresh cherries for the best taste. Organic options can enhance flavor significantly.
-
Egg Temperature: Use eggs at room temperature to ensure a smooth batter. Warm eggs incorporate more air, resulting in a fluffier cake.
-
Layering Wisely: When stacking the layers, let the whipped cream sit briefly before adding cherries to prevent sogginess. This allows for better flavor absorption.
-
Make Ahead: You can prepare the cake layers a day in advance. Just wrap them tightly in plastic wrap and refrigerate; this adds to the moisture!
Remember, cooking is as much about enjoying the process as it is about the outcome. Now, go ahead and bring this delicious Black Forest Cake to life!
Serving Suggestions for Black Forest Cake
When it comes to enjoying Black Forest Cake, the possibilities go beyond a simple slice! Here are some delightful serving suggestions that can elevate your dessert experience:
-
A Scoop of Ice Cream: Pair your cake with a scoop of vanilla bean or cherry ice cream for a refreshing contrast and delightful creaminess.
-
Drizzling Chocolate Sauce: A light drizzle of rich chocolate sauce on top can intensify the flavors and make for a visually stunning dessert.
-
Fresh Mint Leaves: Adding a couple of fresh mint leaves as a garnish not only enhances the presentation but also adds a refreshing aroma.
-
Serve with Coffee: This cake pairs beautifully with a strong cup of coffee or espresso, balancing the cake's sweetness and offering a perfect afternoon treat.
Experiment with these suggestions to find your favorite way to enjoy this classic dessert! For more pairing ideas, check out The Spruce Eats for inspiration.
Time Breakdown for Making Black Forest Cake
Preparation Time
The preparation for your Black Forest Cake will take about 30 minutes. This includes gathering all your ingredients, mixing the batter, and preparing your pans for baking.
Cooking Time
Once you place your cakes in the oven, the cooking will take approximately 30-35 minutes. Keep an eye on the cakes and use the toothpick test to ensure they're baked perfectly.
Total Time
In total, you're looking at around 1 hour to 1 hour and 5 minutes from start to finish. This includes both preparation and baking time. It’s a manageable timeframe to whip up a delicious dessert that will impress your guests!
For more detailed insights into baking or decorating techniques, consider checking out resources like Bon Appétit’s baking tips. They offer phenomenal advice on achieving that perfect cake texture!
Nutritional Facts for Black Forest Cake
Calories per Serving
One slice of decadent Black Forest Cake contains approximately 360 calories. This makes it a delightful yet indulgent treat for special occasions.
Main Nutritional Components
In addition to its calorie count, this cake packs a mixture of macronutrients:
- Fat: 15g
- Protein: 4g
While the rich chocolate and cream give it a luscious taste, it can be beneficial to enjoy it in moderation. Want to dive deeper into dessert nutrition? Check out resources from the USDA Nutrition Database or the Harvard Health Blog. Enjoy your cake guilt-free!
FAQs about Black Forest Cake
Can I use fresh cherries instead of canned ones?
Absolutely! Using fresh cherries can elevate your Black Forest Cake, giving it a delightful freshness. Just make sure to pit and slice them before adding. If possible, consider soaking them in a bit of cherry juice or syrup to enhance their flavor. Fresh cherries can provide a slightly different texture but are a wonderful alternative!
How do I make the cake more chocolatey?
If you’re a chocolate lover, there are a few tricks to boost the richness of your Black Forest Cake. You can increase the amount of unsweetened cocoa powder in the recipe or opt for dark chocolate cake instead. Another idea is to fold in some mini chocolate chips into the batter before baking for an added chocolate surprise in every bite!
What’s the best way to store leftovers?
To keep your Black Forest Cake fresh and delicious, store any leftovers in an airtight container in the refrigerator. This will help maintain the creaminess of the whipped cream and the moisture of the cake. It’s best enjoyed within 3-4 days, but if you have gravy or other side items, that can enhance the flavor it!
For more tips on cake storage, check out this expert guide from the American Baking Association.
Conclusion on Black Forest Cake
Creating a delightful Black Forest Cake is a rewarding experience that celebrates rich flavors and textures. Whether you're entertaining guests or simply indulging yourself, this cake is sure to impress. Remember to enjoy your baking journey, and share this gem with friends and family! For more baking ideas, check out this fantastic cake guide for inspiration!
Black Forest Cake: An Amazing Ultimate Recipe
Equipment
- 9-inch Round Cake Pans
- mixing bowl
- whisk
- spatula
Ingredients
Dry Ingredients
- 1 ¾ cups all-purpose flour
- ⅔ cup unsweetened cocoa powder
- 1 ½ cups granulated sugar
- 1 ½ teaspoons baking powder
- 1 ½ teaspoons baking soda
- ½ teaspoon salt
Wet Ingredients
- 2 large eggs
- 1 cup whole milk
- ½ cup vegetable oil
- 2 teaspoons vanilla extract
- 1 cup boiling water
Filling and Topping
- 1 jar sour cherries, drained reserve juice
- 2 cups heavy cream
- 3 tablespoons powdered sugar
- Dark chocolate shavings for garnish
Instructions
Cake Preparation
- Preheat the Oven: Set your oven to 350°F (175°C) and grease two 9-inch round cake pans.
- Mix Dry Ingredients: In a large bowl, combine flour, cocoa powder, sugar, baking powder, baking soda, and salt.
- Add Wet Ingredients: Add eggs, milk, oil, and vanilla extract to the dry mixture. Mix until smooth.
- Incorporate Hot Water: Gradually stir in boiling water until the batter is well combined. The mixture will be thin.
- Divide Batter: Pour the batter evenly into the prepared cake pans.
- Bake: Place the pans in the oven and bake for 30-35 minutes. A toothpick inserted in the center should come out clean.
- Cool Cakes: Allow the cakes to cool in their pans for about 10 minutes, then transfer them to wire racks to cool completely.
Assembly and Decoration
- Prepare Whipped Cream: In a mixing bowl, whip the heavy cream and powdered sugar until soft peaks form.
- Layer the Cake: Once completely cool, slice each cake in half horizontally. Place one layer on a serving platter.
- Add Cherries: Spread some of the reserved cherry juice over the first layer, followed by a portion of the whipped cream and a layer of cherries.
- Repeat Layers: Add the next cake layer and repeat the process until all layers are constructed. Finish with the last layer on top.
- Decorate: Top the cake with the remaining whipped cream and garnish with dark chocolate shavings and cherries.

Leave a Reply